Modificador Curva
The Curve modifier provides a simple but efficient method of deforming a mesh along a curve object.
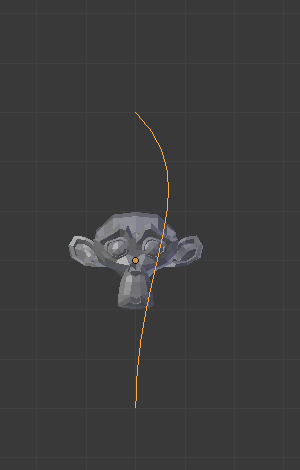
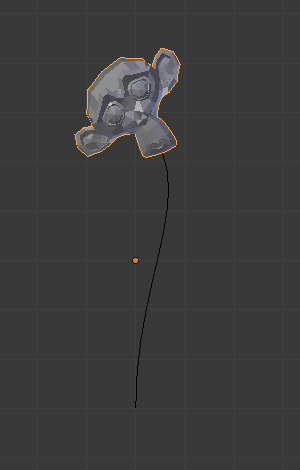
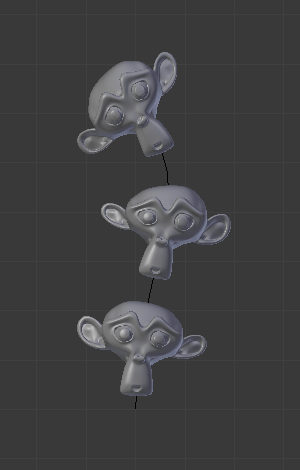
It works on a (global) dominant axis, X, Y, or Z. This means that when you move your mesh in the dominant direction (by default, the X axis), the mesh will traverse along the curve, as if it was a train following and deforming along rails. Moving the mesh perpendicularly to this axis, the object will move closer or further away from the curve.
When you move the object beyond the curve’s ends, the object will continue to deform based on the direction vector at those ends.
Nota
This modifier works in global space, in other words, the actual position of the geometry relative to the curve is determinant to get a correct result.
Typically, you’ll want your object’s origin to be at the center of your geometry (not offset far away from it, you can e.g. Set Origin to Geometry).
And then you’ll want to start with your object’s origin at the same location as your curve object’s origin (you may use snap tools for that…).
If the curve is 3D, the Tilt value of its control points will be used to twist the deformed object. And the Radius property controls the size of the object as well. Those options are in the Shape panel, under Path/Curve-Deform.
Opciones

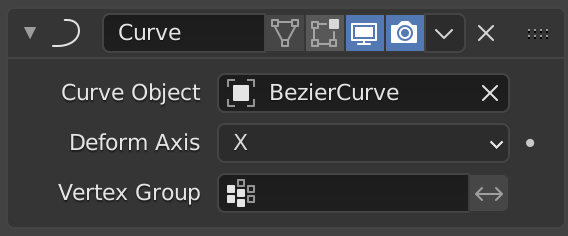
El modificador Curva.
- Objeto curva
The name of the curve object that will affect the deformed object.
- Eje de deformación
This is the axis that the curve deforms along.
X/Y/Z/-X/-Y/-Z
- Grupo de vértices
If set, restrict the effect to the only vertices in that vertex group.
- Invertir
<-> Invierte la influencia del grupo de vértices seleccionado, lo que significa que el grupo ahora representa vértices que no serán deformados por el modificador.
Esta opción invierte los valores de las influencias del grupo.
- Invertir


