Circle Tool
Reference
- Mode:
Draw Mode
- Tool:
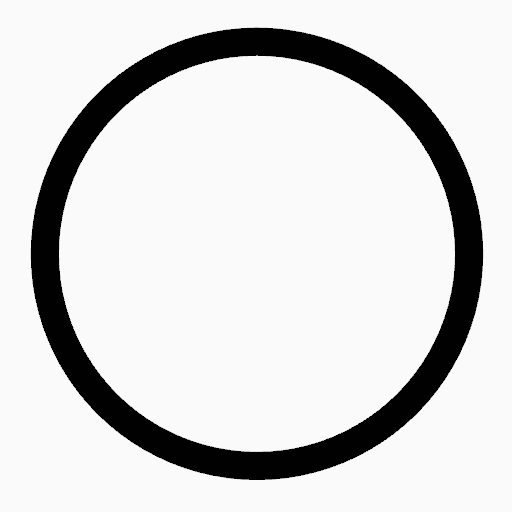
The Circle tool create oval shapes using any of the Draw type brushes.
Tool Settings
You can configure the brush main settings exposed on the Tool Settings for convenience. For the draw brushes configuration and settings see: Draw Brush.
- Subdivisions
The number of stroke points between each stroke edge.
- Thickness Profile
Use a curve widget to define the stroke thickness from the start (left) to end (right) of the stroke.
- Use Curve
When enabled, the stroke use a curve profile to control the thickness along the line.
Brush Asset
Picks the brush asset used by the tool.
See Brush Asset for more information.
See Draw Brushes for a detailed list of all draw brushes and their options.
Brush Settings
Parameters to control to look of the stroke.
See Draw Brushes for details.
Color
Settings to determine the color of strokes.
See Color
Penggunaan
Selecting a Brush and Material
In the Tool Settings select the brush, material and color type to use with the tool. The Circle tool uses Draw Brush types. See Brush Settings for more information.
Creating Circles
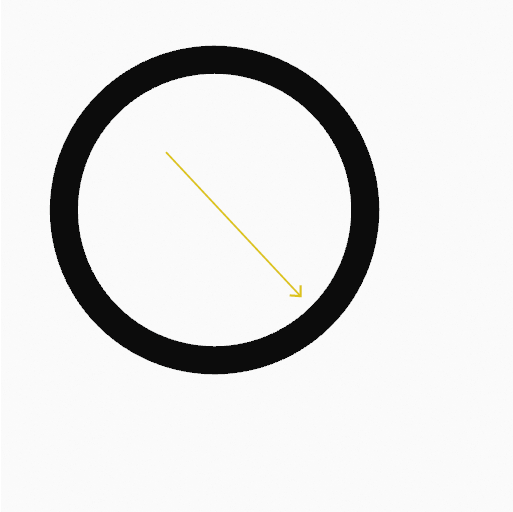
Click (LMB or the Pen tip) and drag the start point.
Release on the desired end point.
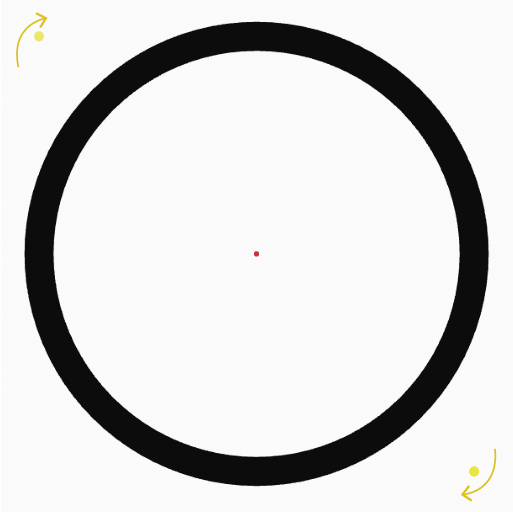
After releasing you can move the start and end point by clicking and dragging on the yellow manipulators.
Then confirm (Return/MMB) or cancel (Esc/RMB).
While dragging you can use Shift to make a perfect circle or use Alt to create the circle from a center point.
NumpadPlus and NumpadMinus or using the mouse Wheel will increase or decrease the amount of points in the final circle.


