Introduction
Compositing Nodes allow you to assemble and enhance an image (or movie). Using composition nodes, you can glue two pieces of footage together and colorize the whole sequence all at once. You can enhance the colors of a single image or an entire movie clip in a static manner or in a dynamic way that changes over time (as the clip progresses). In this way, you use composition nodes to both assemble video clips together and enhance them.
Белешка
Term: Image
The term Image may refer to a single picture, a picture in a numbered sequence of images, or a frame of a movie clip. The Compositor processes one image at a time, no matter what kind of input you provide.
To process your image, you use nodes to import the image into Blender, change it, optionally merge it with other images, and finally, save it.

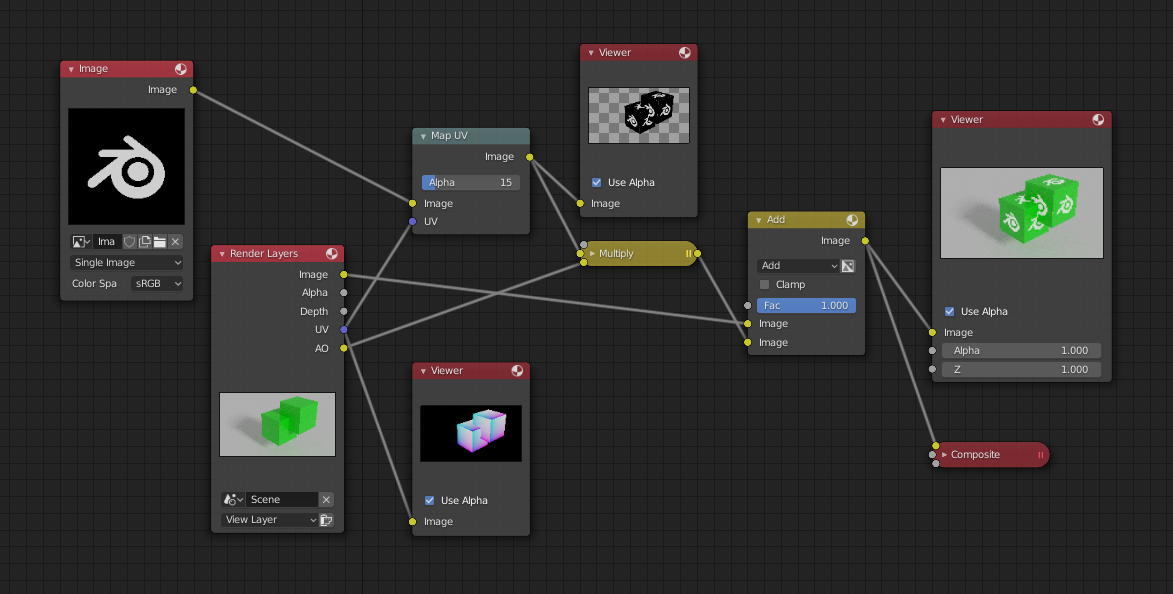
An example of a composition.

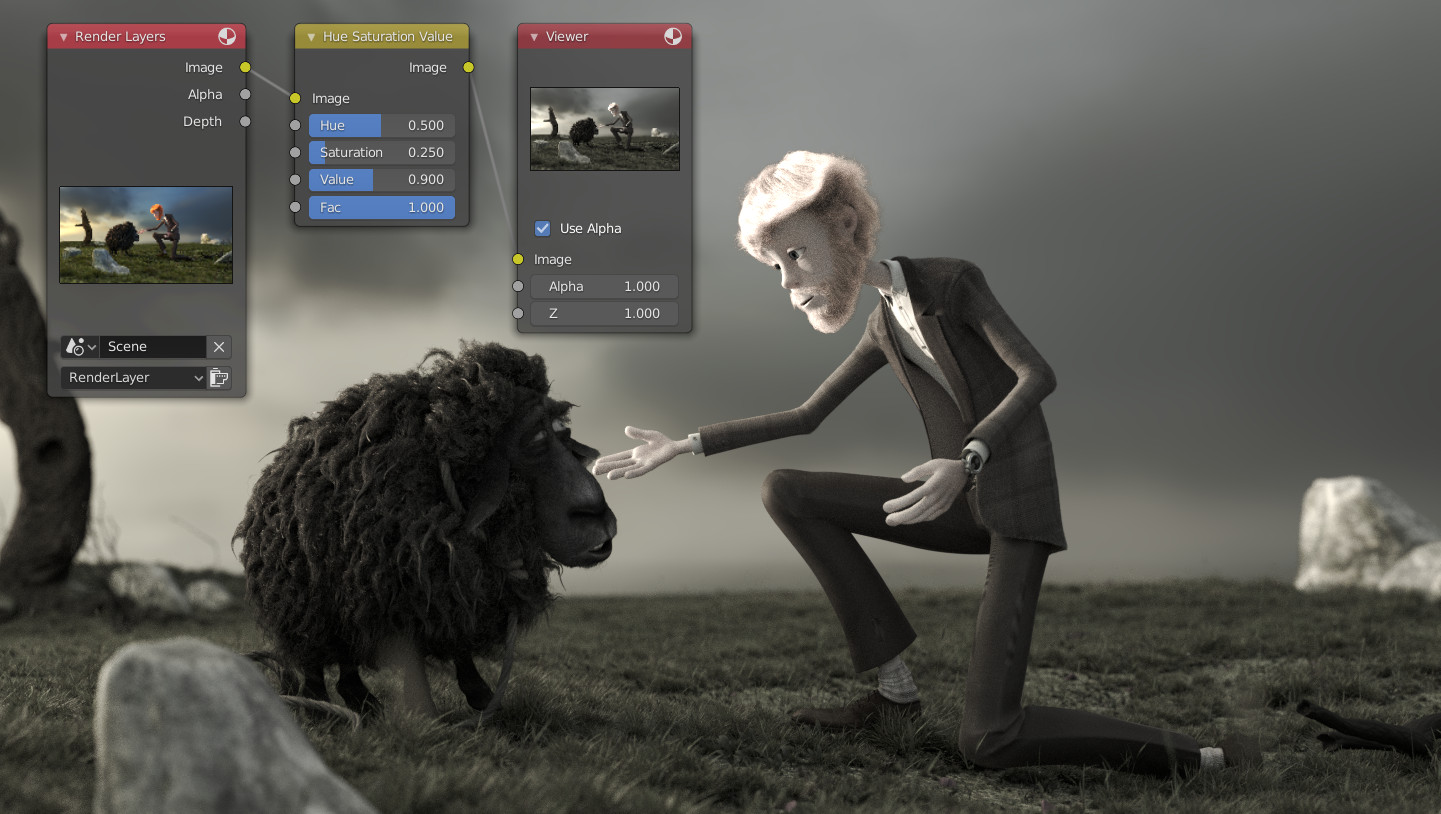
An example of color correction.
Polazna tačka
Access the Compositor and activate nodes for compositing by clicking the Use Nodes checkbox in the header (see Introduction).
Белешка
After clicking Use Nodes the Compositor is enabled, however, it can also be disabled in the Post Processing.
You now have your first node setup, from here you can add and connect many types of Compositing Nodes, in a sort of map layout, to your heart’s content (or physical memory constraints, whichever comes first).
Белешка
Nodes and node concepts are explained in more detail in the Nodes reference.
Examples
You can do just about anything with images using nodes.
Raw footage from a foreground actor in front of a blue screen, or a rendered object doing something, can be layered on top of a background. Composite both together, and you have composited footage.
You can change the mood of an image:
To make an image ’feel’ colder, a blue tinge is added.
To convey a flashback or memory, the image may be softened.
To convey hatred and frustration, add a red tinge or enhance the red.
A startling event may be sharpened and contrast-enhanced.
To convey a happy feeling add yellow (equal parts red and green, no blue).
Dust and airborne dirt are often added as a cloud texture over the image to give a little more realism.
Image Size
It is recommended to pay attention to image resolution and color depth when mixing and matching images. Aliasing, color flatness, or distorted images can all be traced to mixing inappropriate resolutions and color depths.
The Compositor can mix images with any size, and will only perform operations on pixels where images have an overlap. When nodes receive inputs with differently sized Images, these rules apply:
The first/top Image input socket defines the output size.
The composite is centered by default, unless a translation has been assigned to a buffer using a Translate node.
So each node in a composite can operate on different sized images as defined by its inputs. Only the Composite output node has a fixed size, as defined by the Format Output Properties The Viewer node always shows the size from its input, but when not linked (or linked to a value) it shows a small 320×256 pixel image.
Saving your Composite Image
The Render button renders a single frame or image. Save your image using Save Image. The image will be saved using the image format settings on the Render panel.
To save a sequence of images, for example,
if you input a movie clip or used a Time node with each frame in its own file,
use the Animation button and its settings. If you might want to later overlay them,
be sure to use an image format that supports an Alpha channel (such as PNG).
If you might want to later arrange them front to back or create a depth of field effect,
use a format that supports a Z-depth channel (such as EXR).
To save a composition as a movie clip (all frames in a single file),
use an AVI or QuickTime format, and use the Animation button and its settings.