Úvod
Expozičný hárok.
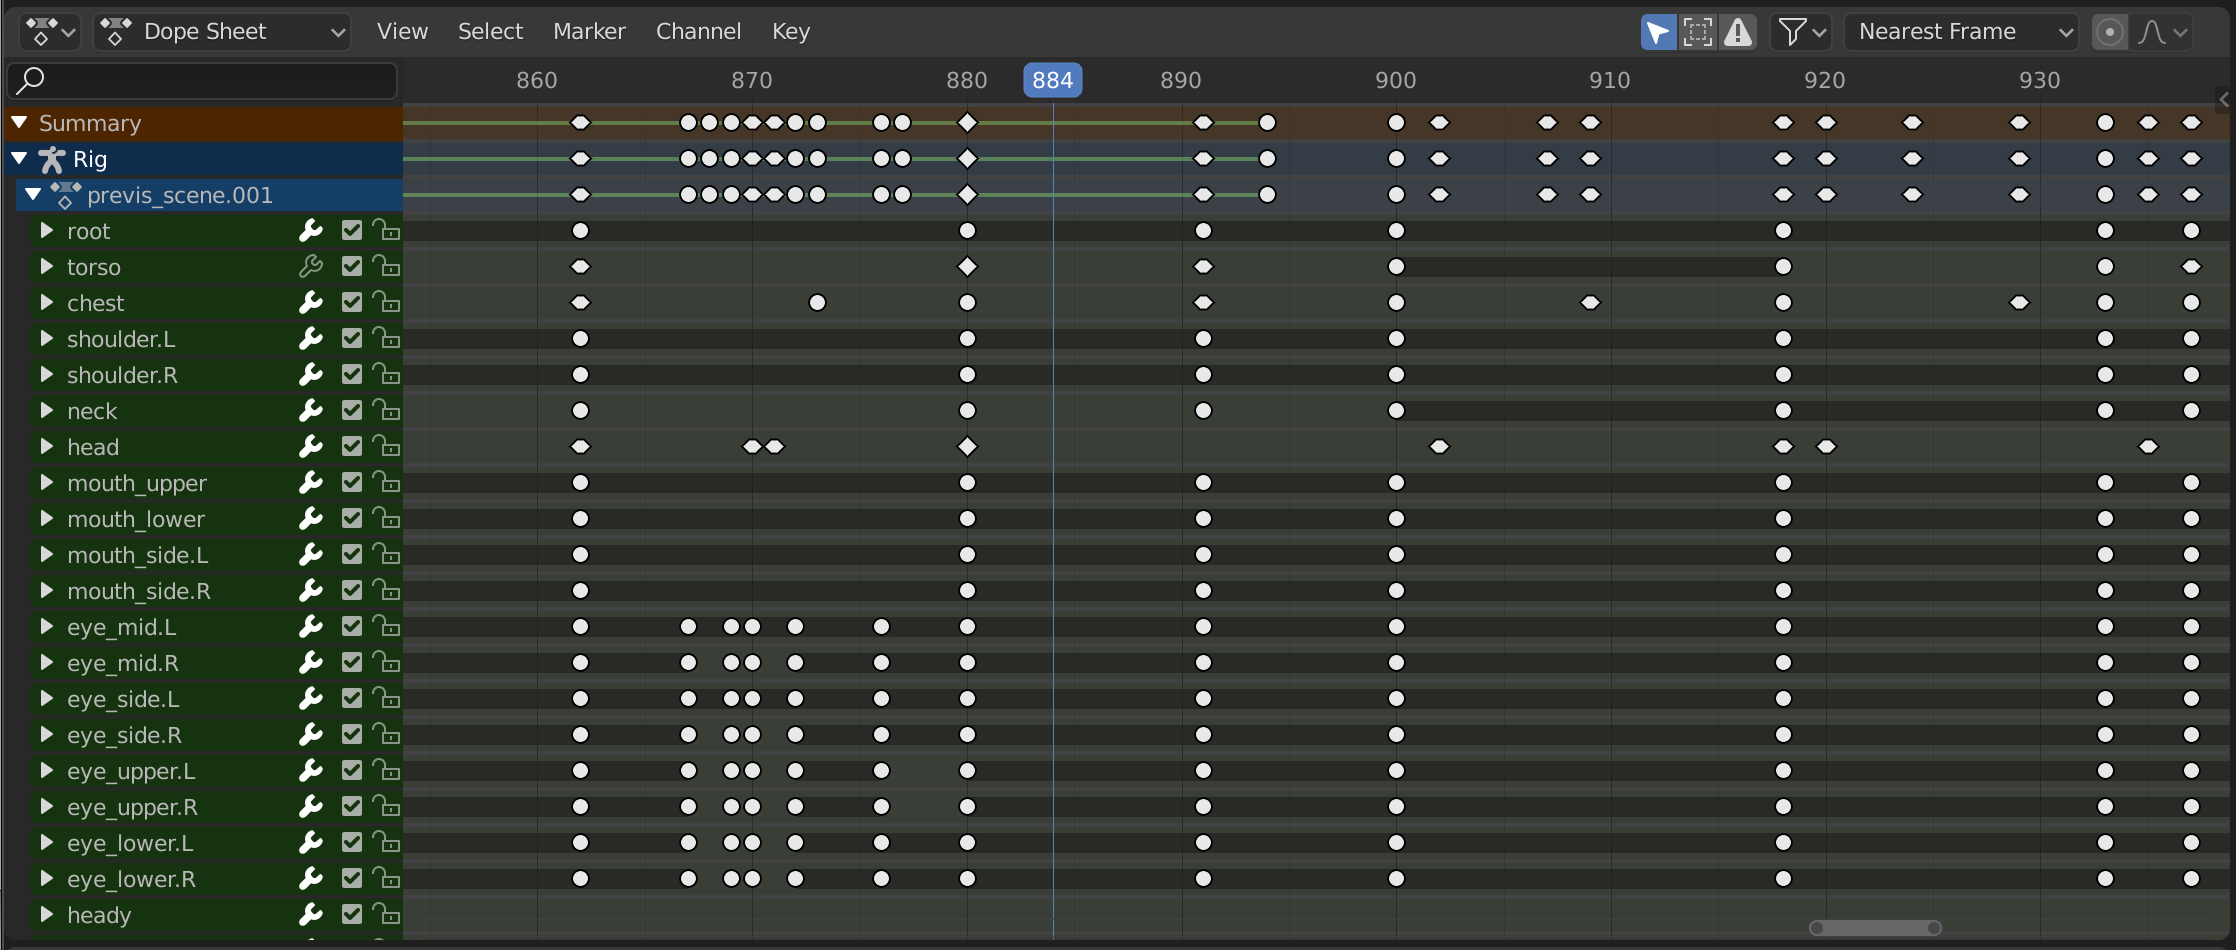
The Dope Sheet gives the animator a birds-eye-view of the keyframes inside the scene.
The Dope Sheet is inspired by classical hand-drawn animation process, in which animators will make use of a chart, showing exactly when each drawing, sound and camera move will occur, and for how long. This is called an exposure sheet or ‚dope sheet‘. While CG foundations dramatically differ from classical hand-drawn animation, Blender’s Dope Sheet inherits a similar directive.
Režimy expozičných hárkov
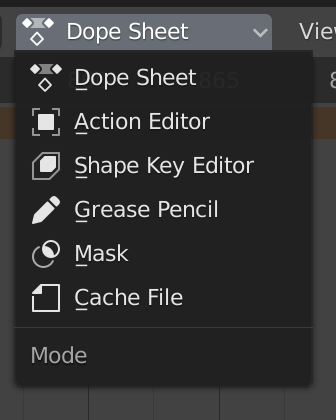
Režimy expozičných hárkov.
While the Dope Sheet Mode allows you to edit multiple actions at once, the other ones are dedicated to view and edit specific data-blocks used in different context of animation.
Expozičný hárok
Cache File: Alembic Todo 2.78.
Hlavná oblasť
Kľúčové snímky
Editor expozičných hárkov s objektovými kanálmi.
This area contains keyframes for all visible action channels. As with the other time-based editors, the X axis represents time. The Y axis represents a stack of action channels.
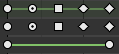
On these channels lay the keyframes, which can show different information:
Sivá |
Nevybrané |
Žltá |
Vybrané |
Diamant |
Free Keyframe Handle |
Zaokrúhlené |
Manipulátor automaticky upnutej kľúčovej snímky |
Kruh |
Manipulátor automatickej kľúčovej snímky |
Štvorec |
Manipulátor vektoru kľúčovej snímky |
Kosoštvorec |
Manipulátor zarovnania kľúčovej snímky |
Various colors |
These represent custom keyframe tags set by the user () |
Sivá lišta medzi klávesami |
Pridržaná klávesa (dve kľúčové snímky sú identické) |
Zelená čiara medzi klávesami |
Fixed keyframe interpolation (set in ) |
Šípka nahor |
Maximum Extreme keyframe (visible if are enabled) |
Šípka nadol |
Minimum Extreme keyframe (visible if are enabled) |
A diagonal hash fill in the background is used to display the Manual Frame Range of the action the channel belong to.
Selecting Keyframes
Selection tools are available in the Select menu in the header, and the main shortcuts are listed below:
- Výber
Click on a key to select it. Hold Shift to extend the current selection.
- Box Selecting
Click and drag to box select multiple keyframes at once. You can hold Shift to extend or Ctrl to subtract from the current selection.
- Vybrať lasom
Pozrite si časť Vybrať lasom.
- Select/Deselect All
To select all keys, press A.
To deselect all keys, press Alt-A.
To inverse the selection, press Ctrl-I.
- Before/After Current Frame [, ]
Select all to the right or left. Or hold Shift-Ctrl and click on either side of the Playhead.
See the Select menu for a full list of selection tools.
Manipulating Keyframes
Keyframe tools are available in the Key menu in the header, and the main shortcuts listed below:
- Moving Keyframes
To move a single keyframe, click and drag on a key. To move multiple keyframes, make sure several keys are selected and press G.
- Scaling Keyframes
To scale (stretch) selected keys, press S.
- Extending Keyframes
To extend the time between two keys, select all with A, place the Playhead between two keyframes and press E.
See the Key menu for a full list of selection tools.
Oblasti kanálov
The Action editor’s channels region.
See Kanály.
Záhlavie
Here you find the menus, a first group of controls related to the editor „mode“, a second one concerning the action data-blocks, and a few other tools (like the copy/paste buttons, and snapping type).
Ponuka Zobraziť
- Upraviť poslednú operáciu
Zobrazí vyskakovací panel na zmenu vlastností poslednej dokončenej operácie. Pozrite si časť Upraviť poslednú operáciu.
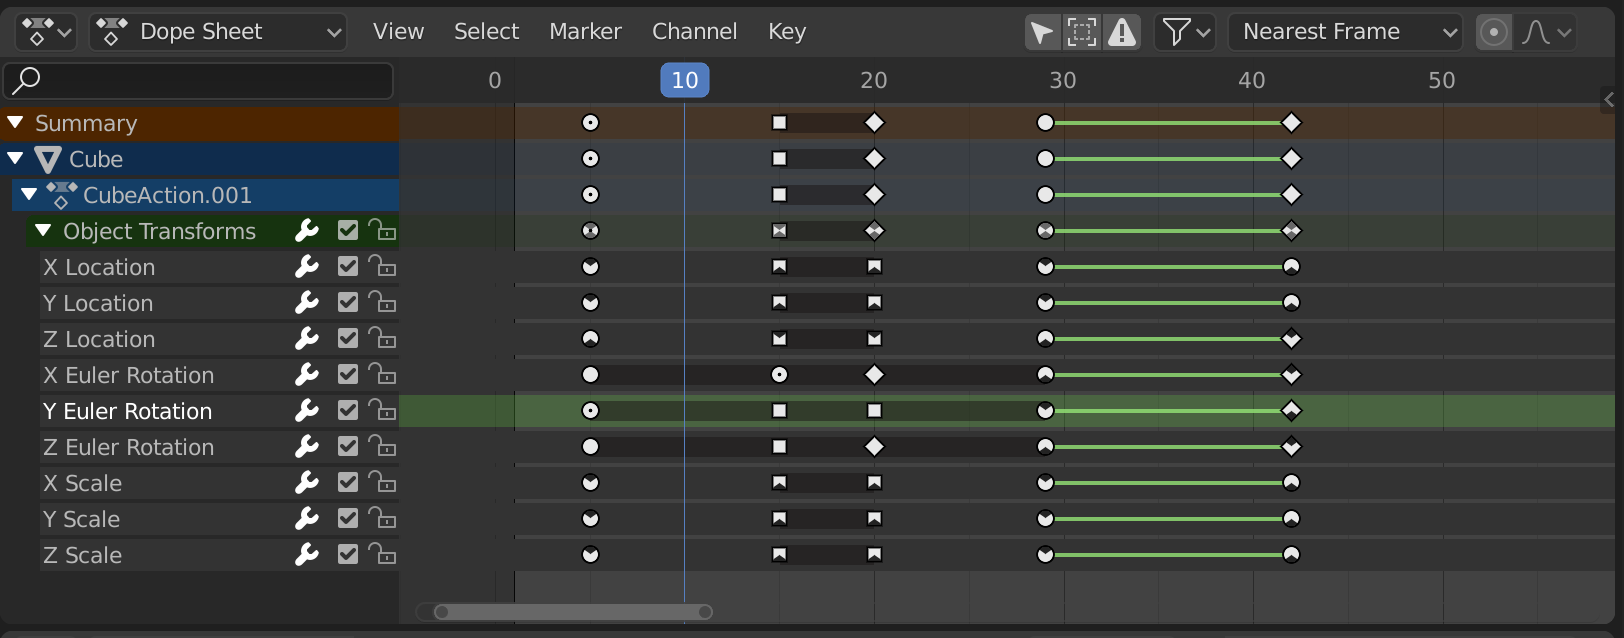
Typy manipulátorov.
- Zobraziť manipulátor a interpoláciu
Instead of displaying all keyframes as diamonds, different icons are used to show the Bézier handle type. When curves use a different interpolation type, a line is shown between keys to highlight that.
Pozrite si Zobrazenie manipulátorov a interpolácie.
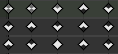
Značky extrémov.
- Show Extremes
Detect keys where the curve changes direction based on comparing with the adjacent key values, and display that by changing the keyframe icons to resemble an arrow. A muted version of the icon is used if the curve overshoots the extreme, or for groups with different results for contained curves.
See Graph editor’s Ponuka Zobraziť.
Markers Menu
Značky sa používajú na označenie snímok s kľúčovými bodmi alebo významnými udalosťami v rámci animácie. Rovnako ako u väčšiny editorov animácií sú značky zobrazené v dolnej časti editora.

Značky v editore animácií.
Existuje niekoľko možností, ktoré sú exkluzívne pre editor expozičného hárku:
- Synchronizácia značiek
Sync Markers with keyframe edits.
- Zobraziť značky pózy
Available in Action and Shape Key modes. Shows pose markers owned by the active action instead of the scene ones.
- Vytvoriť lokálne značky
Available in Action and Shape Key modes. Converts selected scene markers in pose markers, assigning them to the active action.
For more information and the description of the other marker tools, see Editing Markers.
Filtre
- Zobraziť iba vybrané
Only include keyframes related to the selected item this item could be sequencer strips, nodes, objects, or any other type of data.
- Zobraziť skryté
Include keyframes from objects or bones that are not visible.
- Zobraziť iba chyby
Only include curves and drivers that are disabled or have errors. Useful for debugging.
- F-Curve Name Filter
Fuzzy/Multi-Word name filtering matches word snippets/partial words, instead of having to match everything. It breaks down the search text based on whitespace placement. e.g. „lo ro“ will filter all location and rotation, while „lc rt“ will not work.
- Filtrovať podľa typu
Filtruje krivky podľa typu vlastnosti.
- Kolekcie filtrovania
Select a collection to only show keyframes from objects contained in that collection.
- Triediť blok údajov
Objects data-blocks appear in alphabetical order, so that it is easier to find where they occur (as well as helping to keep the animation of related objects together in the NLA editor for instance).
If you find that your playback speed suffers from this being enabled (it should only really be an issue when working with lots of objects in the scene), you can turn this off.
- Zhrnutie
Toggles the „Dope Sheet Summary“ channel at the top of the Channels Region. This is used to give an overview of all the channels by combining all the actions into one channel.
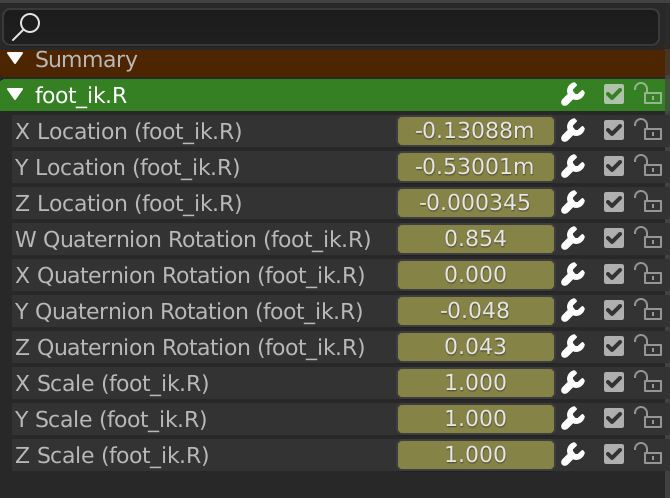
Oblasť bočného panela
Panel Akcia
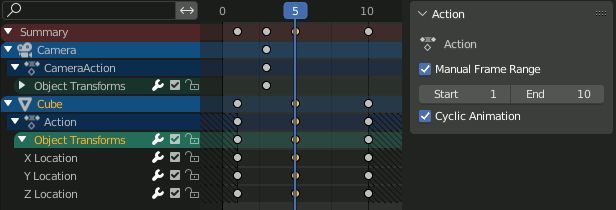
Akcie s a bez manuálneho rozsahu snímok v Expozičnom hárku.
When the editor is in the Action mode, or a channel belonging to an action is selected in Dope Sheet mode, this panel allows changing some settings of the selected action, specifically the Manual Frame Range.
Užívateľské vlastnosti
Vytvárajte a spravujte svoje vlastnosti na ukladanie údajov v bloku údajov akcie. Viac informácií nájdete na stránke Užívateľské vlastnosti.