Giới Thiệu (Introduction)

Bảng Hành Động.
The Dope Sheet gives the animator a birds-eye-view of the keyframes inside the scene.
The Dope Sheet is inspired by classical hand-drawn animation process, in which animators will make use of a chart, showing exactly when each drawing, sound and camera move will occur, and for how long. This is called an exposure sheet or 'dope sheet'. While CG foundations dramatically differ from classical hand-drawn animation, Blender's Dope Sheet inherits a similar directive.
Chế Độ của Bảng Hành Động (Dope Sheet Modes)

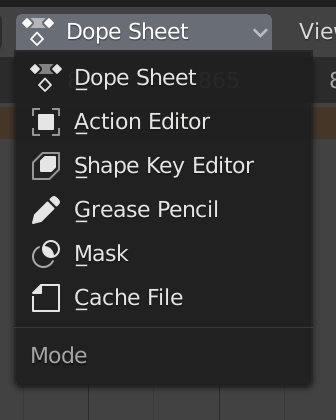
Chế Độ của Bảng hành động.
While the Dope Sheet Mode allows you to edit multiple actions at once, the other ones are dedicated to view and edit specific data-blocks used in different context of animation.
Bảng Hành Động (Dope Sheet)
Cache File: Alembic Todo 2.78.
Vùng Chính (Main Region)
Các/Số/Khung Khóa (Keyframes)

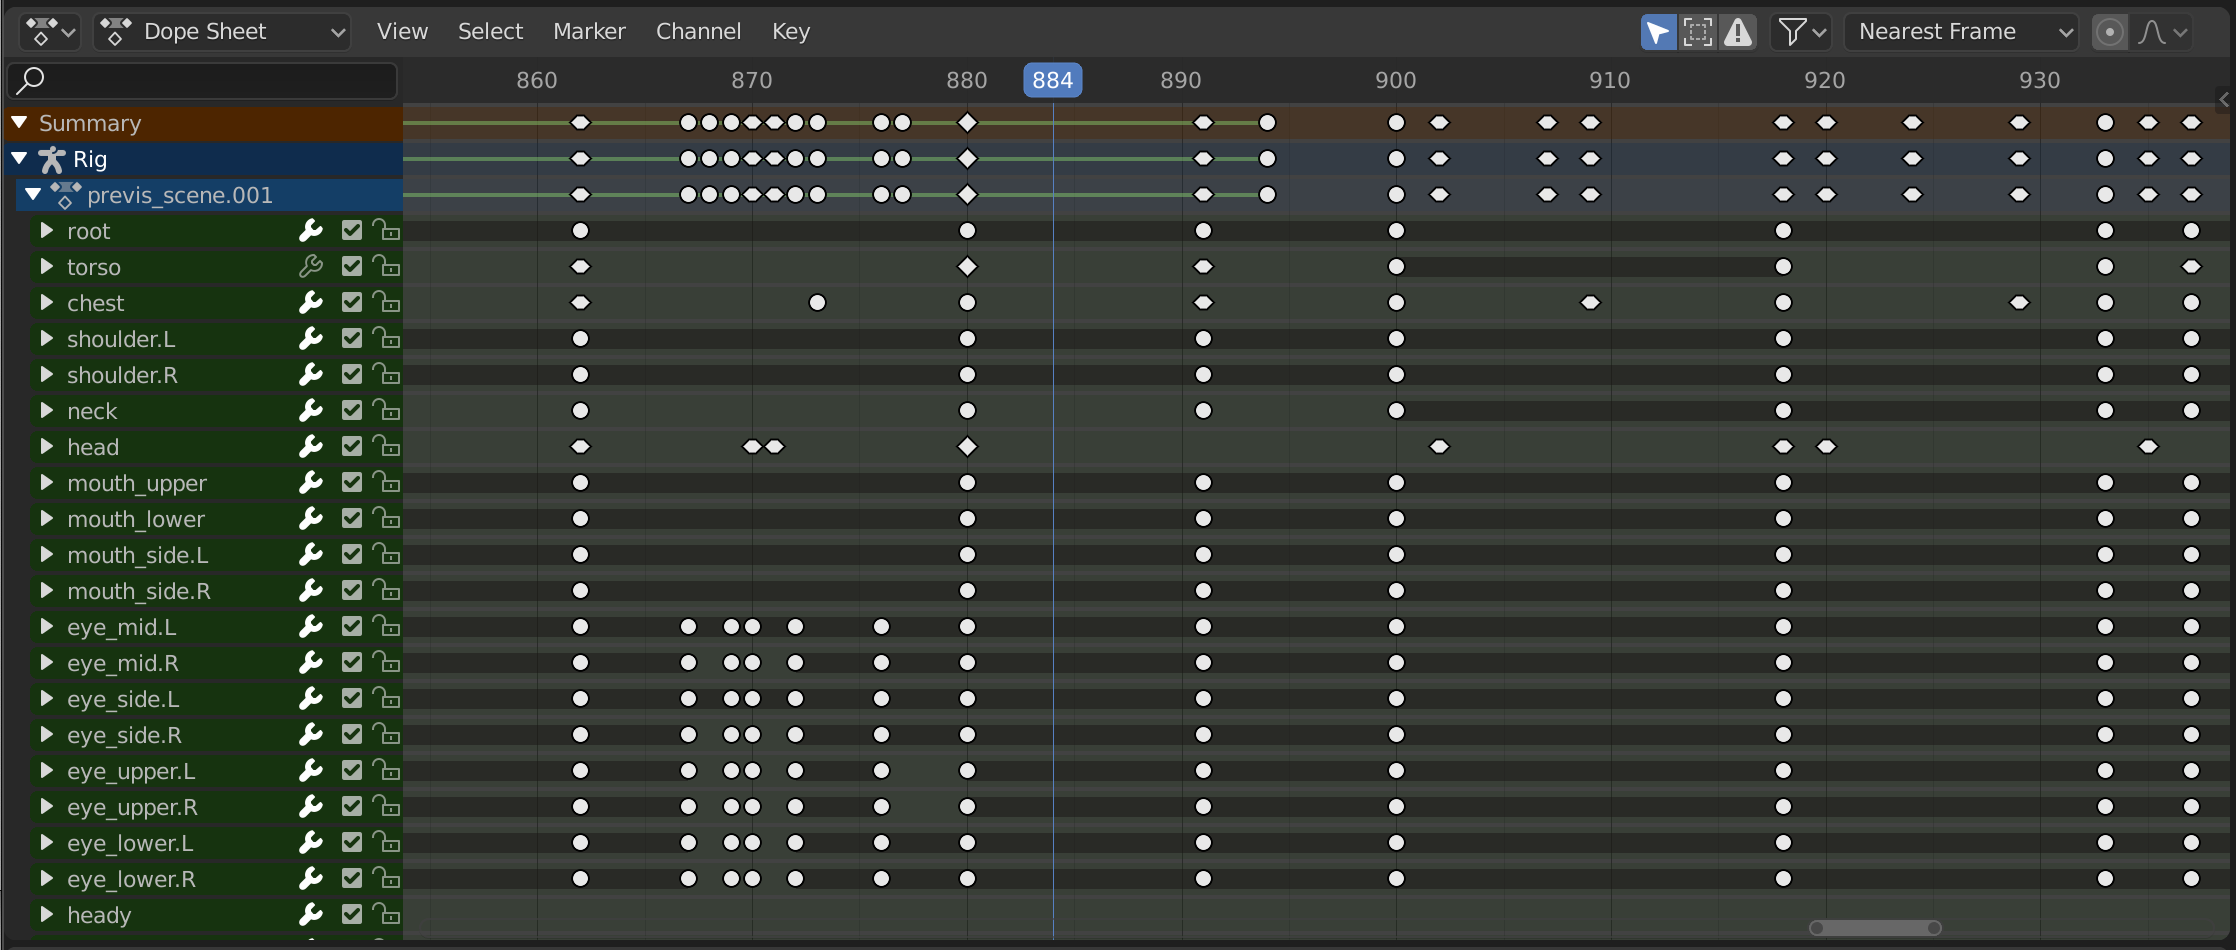
Trình Biên Soạn Bảng Hành Động với các kênh của đối tượng.
This area contains keyframes for all visible action channels. As with the other time-based editors, the X axis represents time. The Y axis represents a stack of action channels.
On these channels lay the keyframes, which can show different information:
Màu Xám |
Chưa Chọn (Unselected) |
Màu Vàng (Yellow) |
Được Chọn (Selected) |
Hình Kim Cương (Diamond) |
Free Keyframe Handle |
Tròn (Round) |
Tay Cầm Khung Khóa Tự Động Hạn Chế |
Hình/Vòng/Tròn (Circle) |
Tay Cầm Khung Khóa Tự Động |
Hình Vuông (Square) |
Tay Cầm Khung Khóa Véctơ |
Rhombus |
Tay Cầm Căn Chỉnh Khung Khóa |
Various colors |
These represent custom keyframe tags set by the user () |
Thanh màu xám giữa các khóa |
Khóa giữ nguyên (hai khung khóa giống hệt nhau) |
Đường màu xanh lá cây giữa các khóa |
Fixed keyframe interpolation (set in ) |
Mũi tên hướng lên |
Maximum Extreme keyframe (visible if are enabled) |
Mũi tên xuống |
Minimum Extreme keyframe (visible if are enabled) |
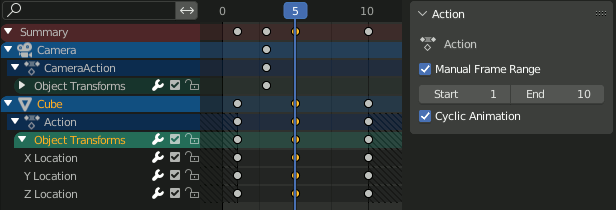
A diagonal hash fill in the background is used to display the Manual Frame Range of the action the channel belong to.
Selecting Keyframes
Selection tools are available in the Select menu in the header, and the main shortcuts are listed below:
- Lựa Chọn (Selecting)
Click on a key to select it. Hold Shift to extend the current selection.
- Box Selecting
Click and drag to box select multiple keyframes at once. You can hold Shift to extend or Ctrl to subtract from the current selection.
- Lựa Chọn bằng Dây Thòng Lọng (Select Lasso)
Xin xem mục Lựa Chọn bằng Dây Thòng Lọng (Select Lasso).
- Select/Deselect All
To select all keys, press A.
To deselect all keys, press Alt-A.
To inverse the selection, press Ctrl-I.
- Before/After Current Frame [, ]
Select all to the right or left. Or hold Shift-Ctrl and click on either side of the Playhead.
See the Select menu for a full list of selection tools.
Manipulating Keyframes
Keyframe tools are available in the Key menu in the header, and the main shortcuts listed below:
- Moving Keyframes
To move a single keyframe, click and drag on a key. To move multiple keyframes, make sure several keys are selected and press G.
- Scaling Keyframes
To scale (stretch) selected keys, press S.
- Extending Keyframes
To extend the time between two keys, select all with A, place the Playhead between two keyframes and press E.
See the Key menu for a full list of selection tools.
Vùng Kênh (Channels Region)

The Action editor's channels region.
See Kênh (Channels).
Tiêu Đề (Header)
Here you find the menus, a first group of controls related to the editor "mode", a second one concerning the action data-blocks, and a few other tools (like the copy/paste buttons, and snapping type).
Các Thao Tác Thanh Lọc (Filters)
- Duy Hiển Thị cái đã Được Chọn (Only Show Selected)
Only include keyframes related to the selected item this item could be sequencer strips, nodes, objects, or any other type of data.
- Hiển Thị cái Ẩn Giấu (Show Hidden)
Include keyframes from objects or bones that are not visible.
- Duy Hiển Thị các Lỗi Lầm (Only Show Errors)
Only include curves and drivers that are disabled or have errors. Useful for debugging.
- F-Curve Name Filter
Fuzzy/Multi-Word name filtering matches word snippets/partial words, instead of having to match everything. It breaks down the search text based on whitespace placement. e.g. "lo ro" will filter all location and rotation, while "lc rt" will not work.
- Thanh Lọc theo Thể Loại (Filter by Type)
Thanh lọc các đường cong theo thể loại Tính Chất.
- Thanh Lọc Bộ Sưu Tập (Filtering Collection)
Select a collection to only show keyframes from objects contained in that collection.
- Sắp Tuần Tự các Khối Dữ Liệu (Sort Data-Blocks)
Objects data-blocks appear in alphabetical order, so that it is easier to find where they occur (as well as helping to keep the animation of related objects together in the NLA editor for instance).
If you find that your playback speed suffers from this being enabled (it should only really be an issue when working with lots of objects in the scene), you can turn this off.
- Tóm Tắt (Summary)
Toggles the "Dope Sheet Summary" channel at the top of the Channels Region. This is used to give an overview of all the channels by combining all the actions into one channel.


