视图区域
视图裁剪区域
参考
- 模式
所有模式
- 菜单
- 快捷键
Alt-B
用于自定义剪裁框以将3D视图显示限制为3D空间的一部分。可以帮助处理复杂的模型和场景。
Once activated, you have to draw a rectangle with the mouse, in the wanted 3D Viewport. It becomes a clipping volume of four planes:
如果是正交视图(译者注:额外四面垂直于裁剪时的视图所在平面),就是一个直角的 平行六面体 (无限长)。
如果是透视视图(译者注:额外四面交于裁剪时的视角位置),则是一个底面是矩形的锥体(无限高度)。
Once clipping is used, you will only see what's inside the volume you have defined. Tools such as paint, sculpt, selection, transform snapping, etc. will also ignore geometry outside the clipping bounds.
要删除裁剪,再次按 Alt-B 。
例子
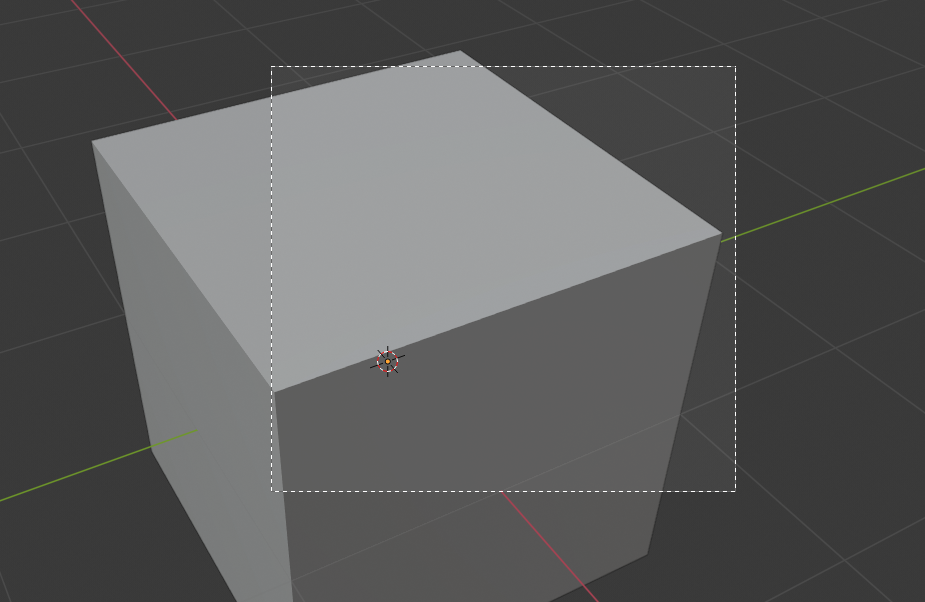
选中一个区域。¶ |
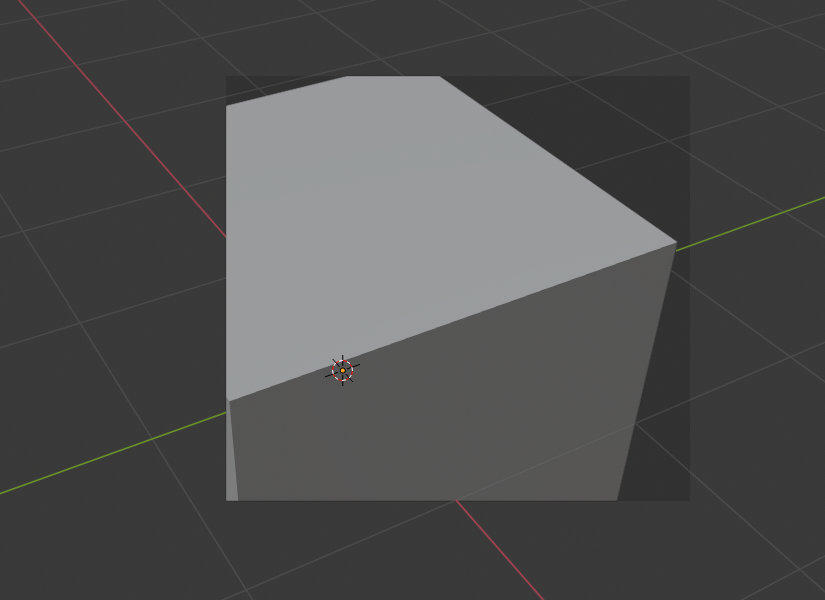
区域选择。¶ |
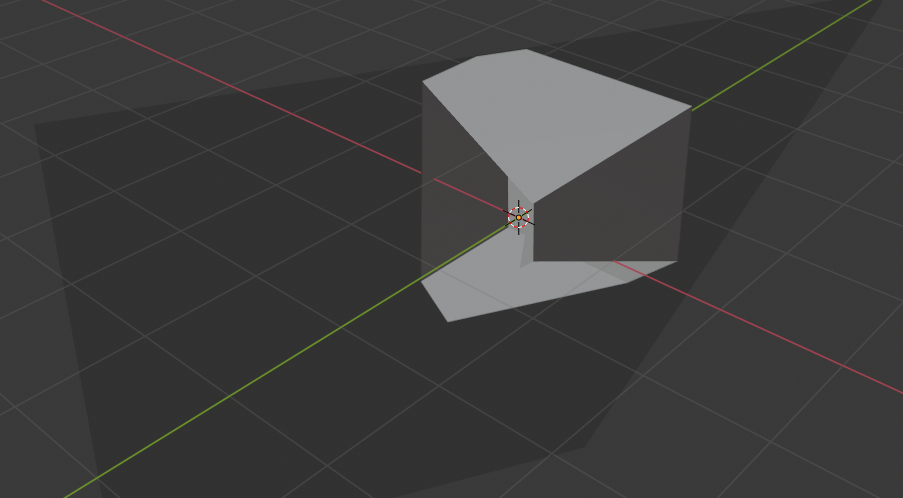
旋转视图后。¶ |
The Region/Volume clipping image shows an example of using the clipping tool with a cube. Start by activating the tool with Alt-B (upper left of the image). This will generate a dashed cross-hair cursor. Click with the LMB and drag out a rectangular region shown in the upper right. Now a region is defined and clipping is applied against that region in 3D space. Notice that part of the cube is now invisible or clipped. Use the MMB to rotate the view and you will see that only what is inside the pyramidal volume is visible. All the editing tools still function as normal but only within the pyramidal clipping volume.
深灰色区域是剪裁空间本身。 一旦再次使用 Alt-B 将取消激活裁剪,所有3D空间将再次可见。
渲染区域
参考
- 模式
所有模式
- 菜单
- 快捷键
标记: Ctrl-B 清除: Ctrl-Alt-B
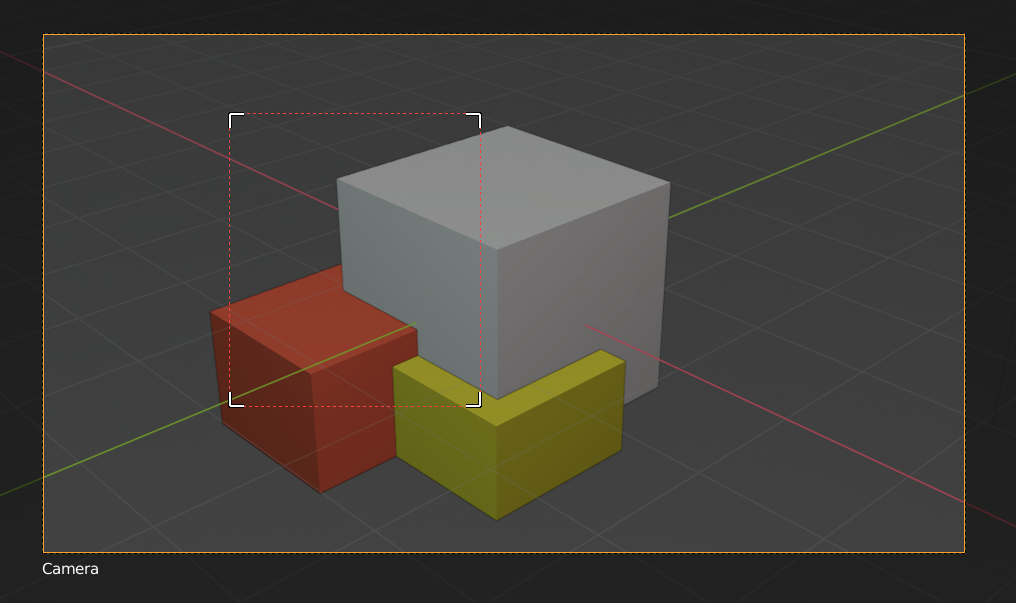
When using rendered shading mode, it can be quite slow to render the entire 3D Viewport. To fix this, you can define a subregion to render just a portion of the viewport instead of the entire viewport. This can be very useful for reducing render times for quick previews on an area of interest.
|
|
Tip
You can also use this region in a final render by setting a render region from within the Camera View and enabling region in the Dimensions panel.
See also
框选放大.