Vista de Cámara
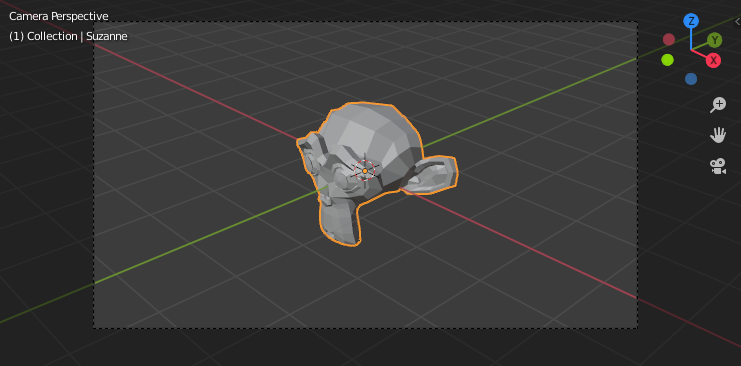
The Camera view shows the current scene as seen from the currently active camera’s view point.
The Camera view can be used to virtually compose shots and preview how the scene will look when rendered.
The rendered image will contain everything within the dashed line.
Ver también
Camera Settings for details how camera settings are used for display & rendering.
Consejo
The active camera can be selected while in camera view using the camera frame
(assuming the object isn’t hidden).
Viendo la Cámara Activa
Referencia
- Modo
Todos los Modos
- Menú
-
- Atajo
Numpad0
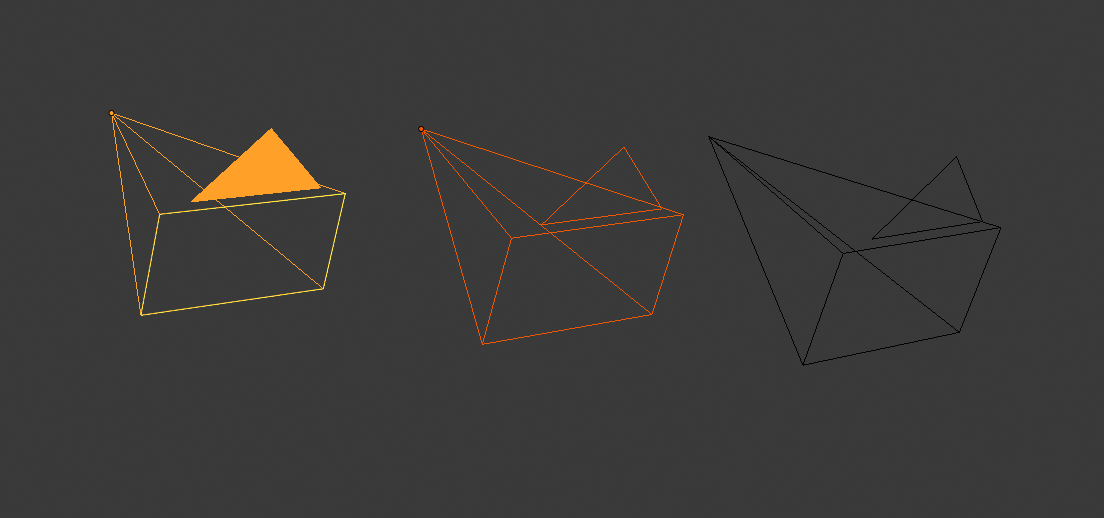
This switches the view to the active camera.
The triangle above the camera will become shaded when active.
Configurando la Cámara Activa
Referencia
- Modo
Modo Objeto
- Menú
-
- Atajo
Ctrl-Numpad0
This sets the current active object as the active camera & switches to the camera view.
The active camera can also be set in the Scene tab of the Properties.
Nota
The active camera, as well as the layers, can be specific to a given view,
or global (locked) to the whole scene.
See Local Camera.
Cambiando a Cámara animada
By default a scene contains one camera. However, a scene can contain more than one camera,
but only one of them will be used at a time.
So you will only need to add a new camera if you are making cuts between them.
See Animating Cameras.
Ajustar a Límites de Cámara
Referencia
- Modo
Todos los Modos
- Menú
-
- Atajo
Inicio
Centra la vista de Cámara dentro del área de la ventana de Vista 3D y redimensiona la vista para que se ajuste a los límites del área.
Navegación de Cámara
There are several different ways to navigate and position the camera in your scene,
some of them are explained below.
Zooming in and out is possible in this view, but to change the viewpoint,
you have to move or rotate the camera.
Consejo
The active «camera» might be any kind of object.
So these actions can be used, for example, to position and aim a light.
Move Active Camera to View
Referencia
- Modo
Modo Objeto
- Atajo
Ctrl-Alt-Numpad0
This matches the active camera to a regular (non camera) view,
for a convenient method of placing the camera without having to move the object directly.
Camera View Positioning
By enabling Lock Camera to View in the View panel of the Sidebar region,
while in camera view, you can navigate the 3D Viewport as usual,
while remaining in camera view. Controls are exactly the same as when normally moving in 3D.
Girar, Desplazar, Avance y Rastrear
To perform these camera moves, the camera must first be selected so transform operations apply to it.
The following actions also assume that you are in camera view.
Having done so, you can now manipulate the camera using the same tools that are used to transform any object:
- Girar
Press R to enter object rotation mode. The default will be to rotate the camera in its local Z axis
(the axis orthogonal to the camera view), which is the definition of a camera «roll».
- Desplazamiento Vertical o Lanzado
This is just a rotation along the local X axis. Press R to enter object rotation mode,
then X twice (the first press selects the global axis,
pressing the same letter a second time selects the local axis – this works with any axis;
see the axis locking page).
- Desplazamiento Horizontal o Lateral
This corresponds to a rotation around the camera’s local Y axis.
Press R, and then Y twice.
- Avance
Para el acercar la cámara, presione G y después MMB (o Z dos veces).
- Rastreo Lateral
Press G and move the mouse (you can use X twice or Y
to get pure-horizontal or pure-vertical sideways tracking).