Настройки кисти
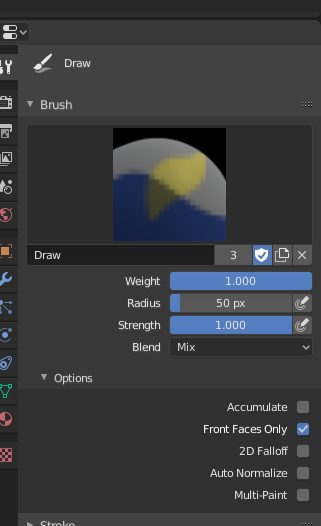
Brush panel.
Painting needs paint brushes and Blender provides a Brush Panel within the Toolbar when it operates in Weight Paint Mode.
- Weight W
The weight (color) to be used by the brush. However, the weight value is applied to the vertex group in different ways depending on the selected Brush Blending mode (see below).
Use Ctrl-LMB to sample the weight value of clicked vertex. Shift-LMB lets you select the group from which to sample from.
- Радиус (radius)
This option controls the radius of the brush, measured in pixels. F allows you to change the brush size interactively by dragging the mouse and then LMB (the texture of the brush should be visible inside the circle). Typing a number then enter while using F allows you to enter the size numerically.
- Size Pressure
Brush size can be affected by enabling the pressure sensitivity icon, if you are using a Graphics Tablet.
- Use Unified Radius
Использовать один и тот же радиус кисти для всех кистей.
- Сила (strength)
How powerful the brush is when applied.
- Size Pressure
Brush Strength can be affected by enabling the pressure sensitivity icon, if you are using a Graphics Tablet.
- Use Unified Radius
Используйте одну и ту же силу кисти для всех кистей.
Дополнительно (advanced)
- Накапливать
This will allow a stroke to accumulate on itself, just like an airbrush would do.
- Только лицевая сторона
Only paint on the front side of faces.
Мазок
See the global brush settings for Stroke settings.
Спад (falloff)
See the global brush settings for Falloff settings.
Курсор (сursor)
See the global brush settings for Cursor settings.