Introduction#
Grease Pencil is a Blender object. It accepts the drawing information from a mouse or pressure-sensitive stylus and places it in 3D space as a collection of points, which are defined as a stroke.
The Grease Pencil object can be used to make traditional 2D animation, cut-out animation, motion graphics or used it as storyboard tool among other things.

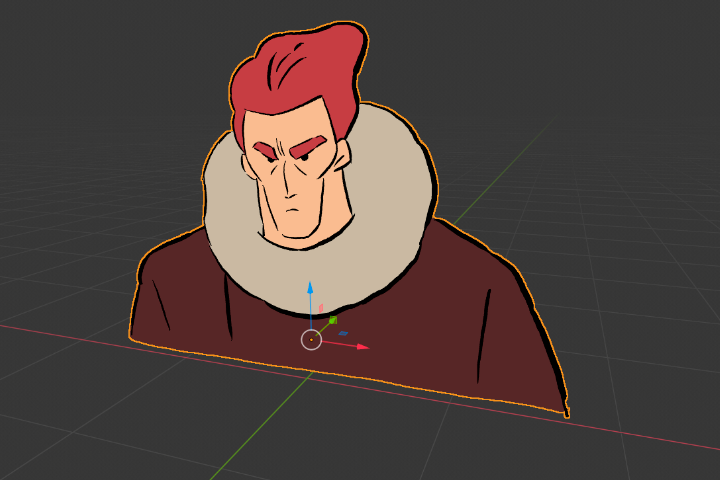
An illustration in 3D space using the Grease Pencil object.#
Strokes are created in Draw Mode, which requires a new keyframe in the animation timeline for the Grease Pencil object. Existing strokes can then be adjusted in Edit Mode and Sculpt Mode. Finally, artists can apply materials, modifiers, lighting, and visual effects to strokes.
Quick Start#
Artists can add Grease Pencil to any existing Blender scene, or start with a 2D Animation template. The template offers some pre-configured options that are helpful for animation and storyboarding.
Create and Use Grease Pencil#
From Object Mode, .
Create a new keyframe or turn on Auto Key. (See Keyframe Editing)
Switch to Draw Mode.
Click and drag across the viewport to add strokes to the Grease Pencil object.
2D Animation Template#
To create a new Blender file using the "2D Animation" project template use: .
Note the following pre-configured setup for the 2D Animation template:
2D Animation is the default active workspace.
is set to white.
is set to Standard.
The drawing plane is set to Front (X-Z).
Line and Fill layers, along with some stroke materials, are configured for Grease Pencil.
The animation timeline will automatically create a new keyframe when Grease Pencil is used on empty frames.
Tip
Grease Pencil can read pressure-sensitivity information from a Graphics Tablet or stylus.