Lasso Trim#
Reference
- Mode:
Sculpt Mode
- Tool:
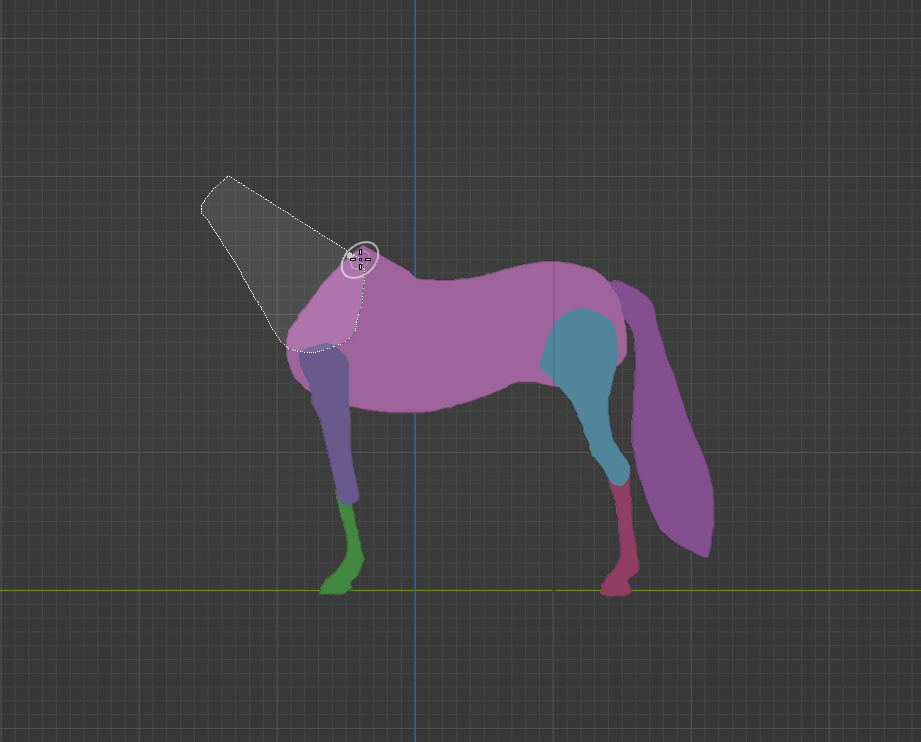
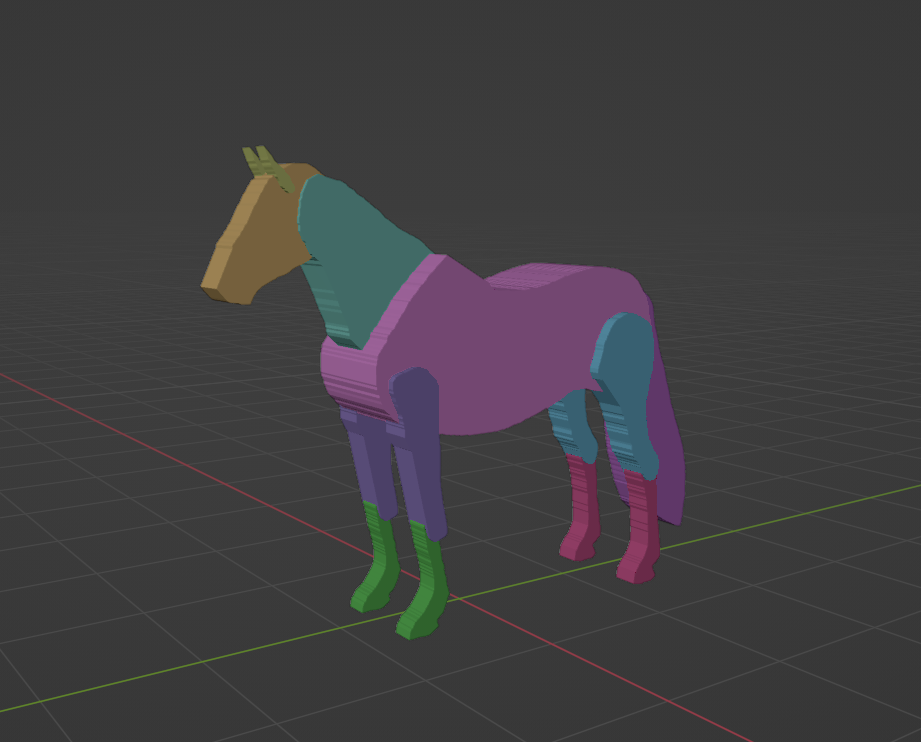
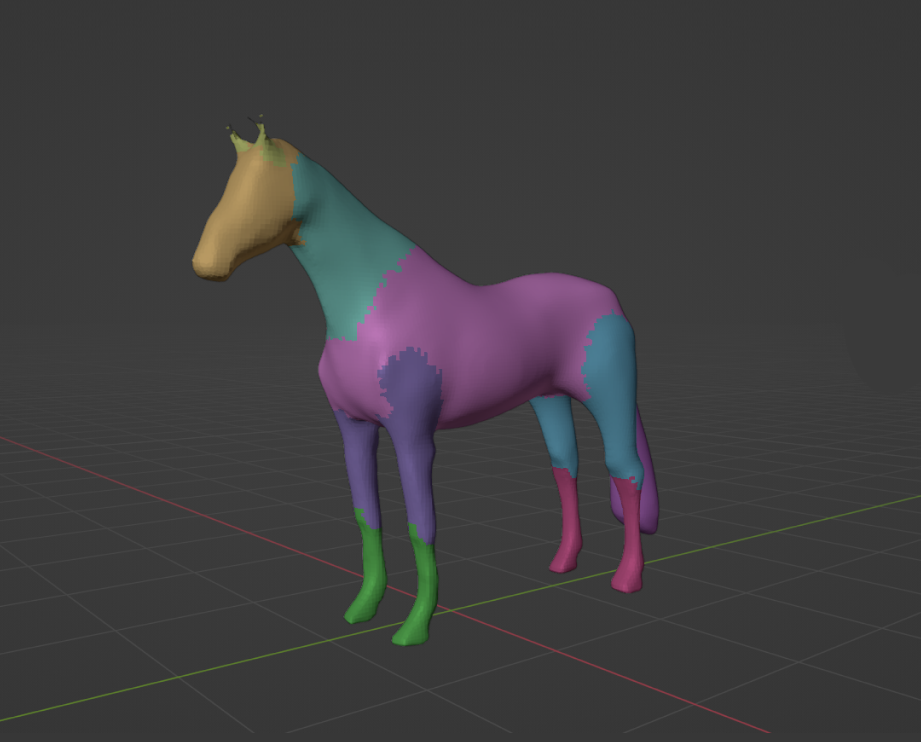
Adds or removes geometry based on a lasso selection. This tool is especially useful for sketching an early base mesh for further sculpting with the voxel remesher.
New geometry is assigned to a new Face Set. When removing geometry, the new interior geometry along the selection will be assigned a new face set instead.
Catatan
It is not recommended to use this tool on a mesh above 100k vertices when using Difference or Union as the Trim Mode. This tool is using a Boolean operation so it might take a long time to process. For higher resolution meshes it is recommended to instead use the Line Project tool or the Fair Positions mode of the Edit Face Set tool to trim geometry.
Tool Settings#
- Trim Mode
Geometry can be either added or removed by choosing one of these modes.
- Difference:
Removes geometry, filling any holes that are created.
- Union:
Creates a geometry and joins any intersections with existing geometry.
- Join:
Similar to Union but joins the mesh as separate geometry, without performing any Boolean operations with existing geometry.
- Shape Orientation
The method used to orientate the trimming shape.
- View:
Use the view to orientate the trimming shape.
- Surface:
Use the surface normal to orientate the trimming shape.
- Extrude Mode
- Fixed:
Aligns new geometry orthogonally for 90 degree angles in depth.
- Project:
Aligns new geometry with the perspective of the current view for a tapered result.
- Use Cursor for Depth
Use cursor location and radius for the dimensions and position of the trimming shape. If not set, the tool uses the full depth of the object from the camera view.


