Fill Tool
Reference
- Mode:
Draw Mode
- Tool:
The Fill tool is used to automatically fill closed strokes areas.
The Fill tool uses any of the Grease Pencil Fill draw mode brushes. Activating a brush from an asset shelf or brush selector will also activate this tool for convenience.
Tool Settings
Brush Asset
The asset selector can be used to open a pop-up asset browser to select the active brush asset for the tool.
See Asset Operators for more information.
Brush Settings
You can also configure the brush main settings exposed on the Tool Settings for convenience.
- Direction Ctrl
The portion of area to fill.
- Normal:
Fills the area inside the shape under the cursor.
- Inverted:
Fills the area outside the shape under the cursor.
- Precision
Multiplier for fill boundary accuracy. Higher values are more accurate but slower.
- Dilate/Contract
Size in pixels to expand or shrink the fill area from the strokes boundary.
- Thickness
The thickness radius of the boundary stroke in pixels.
Advanced
- Boundary
Sets the type of fill boundary limits calculation to perform.
- All:
Use the thickness of the strokes and the editing lines together.
- Strokes:
Use only the thickness of the strokes (ignore edit lines).
- Edit Lines:
Use only the edit lines (ignore strokes).
- Show Lines (eye icon)
Toggle show auxiliary lines to see the fill boundary.
- Layers
Determines which Layers are used for boundary strokes.
- Visible:
Calculates boundaries based on all visible layers.
- Aktiv:
Calculates boundaries based on the active layer.
- Layer Above:
Calculates boundaries based on the layer above the active layer.
- Layer Below:
Calculates boundaries based on the layer below the active layer.
- All Above:
Calculates boundaries based on all layers above the active layer.
- All Below:
Calculates boundaries based on all layers below the active layer.
- Simplify
Number of simplify steps to apply to the boundary line. Higher values reduce the accuracy of the final filled area.
- Ignore Transparent
When enabled, strokes with transparency does not take into account on fill boundary calculations.
The value slider controls the threshold to consider a material transparent.
- Limit to Viewport
When enabled, fill only visible areas in the viewport.
Gap Closure
Gap closure lines are automatic temporarily lines that help to close gaps on the strokes.
- Size
Control the Size of the line extension or the circumference to use to calculate the lines that will close the gaps.
- Mode S
Sets the type of Gap closure method to use.
- Radius:
Uses the Radius of circumference of opened nearest points to calculate a line that close the gap.
- Extend:
Extends the opened strokes to close gaps.
- Visual Aids
Toggle show closure lines helper.
- Strokes Collision D
Check if extend lines collide with strokes, stopping the extension if a collision is detected.
- Only Collide Lines
Use for closing gaps only if the extend strokes collide.
Usage
Selecting a Brush and Material
In the Tool Settings select the brush, material and color type to use with the tool. The Fill tool uses Fill Brush types. See Brush Settings for more information.
Filling Areas
Click LMB in a closed stroke area. The tool will automatically calculate the boundary and create a new closed stroke filled with the material selected.
Boundary Strokes
If you have a large gap in an area that you want fill, you can add boundary strokes manually, a temporary auxiliary lines for closing open shapes. To create a boundary stroke use Alt-LMB and draw a line to close the desired area.
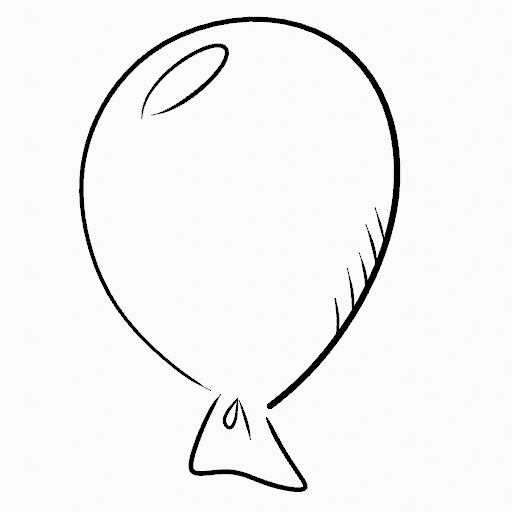
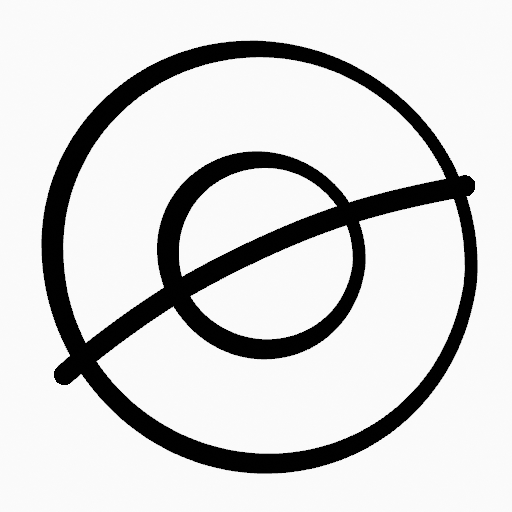
Original drawing.¶ |
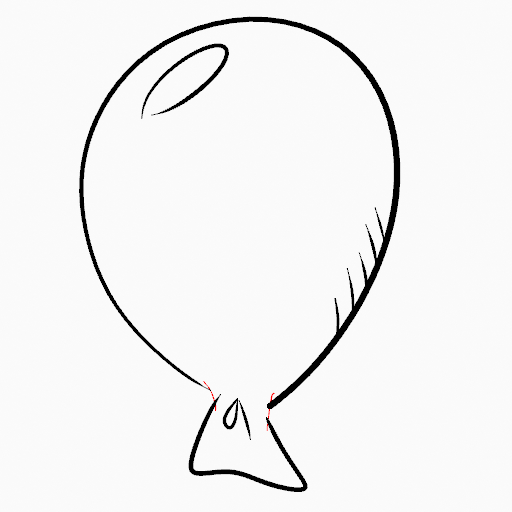
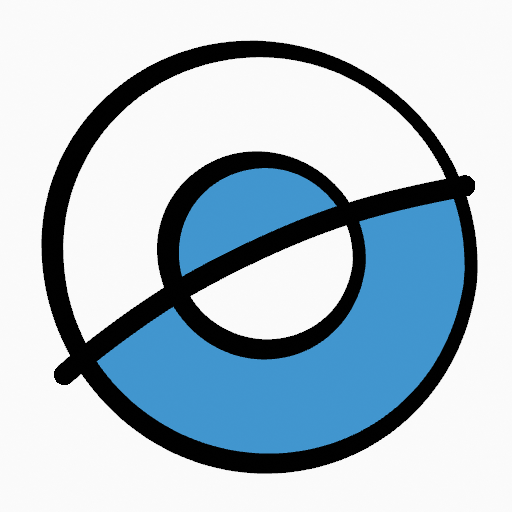
Add boundary strokes to close open areas (red lines).¶ |
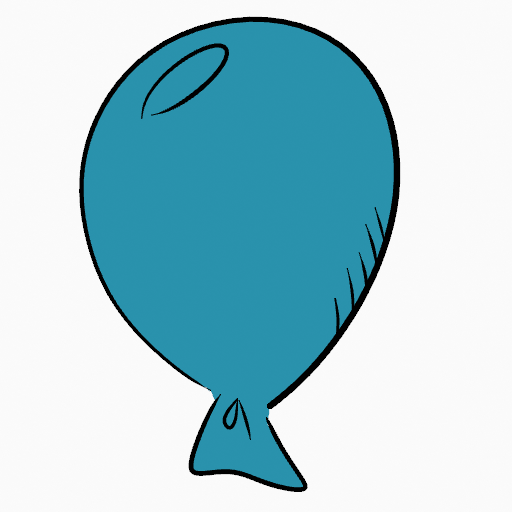
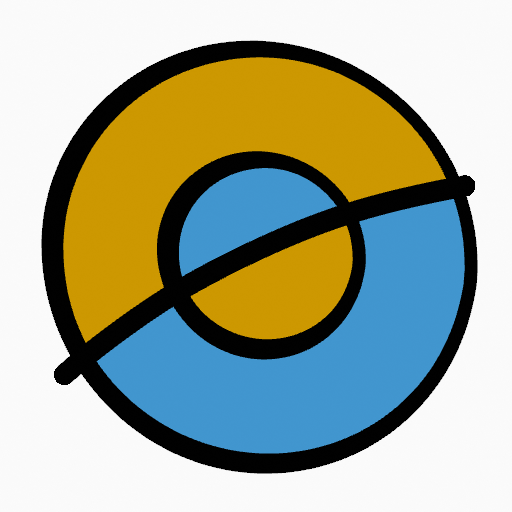
Use the Fill tool to leak material on the new closed area.¶ |
When you are satisfied with the fill result you can delete the boundary strokes using the Clean Up tool in the Grease Pencil Menu in Edit Mode.
Automatic Gap Closure
A more automatic way to close gaps in an area that you want fill is using temporarily helper lines. There are two method to use «Radius» or «Extend»
Radius use temporary auxiliary lines calculated from the radius of nearby open points to close open shapes. Set the size more than zero to control the circle size over opened points (the circle will disappear when the line close the gap). Click over the area you want to be filled and change the length of the strokes using PageUp PageDown or Wheel. When you are satisfied with the length and you are sure the temporarily strokes cross each other, click again to fill the area.

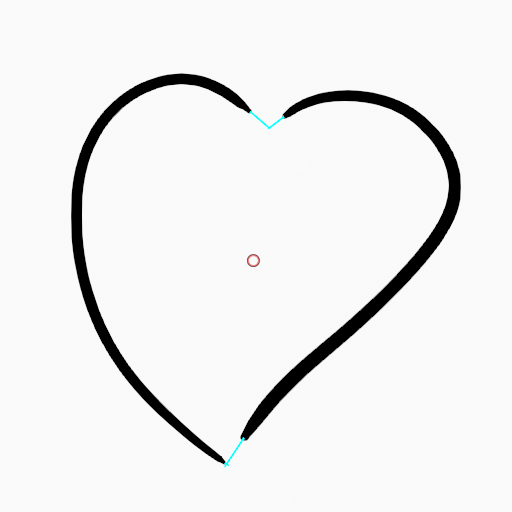
Original Drawing.¶ |
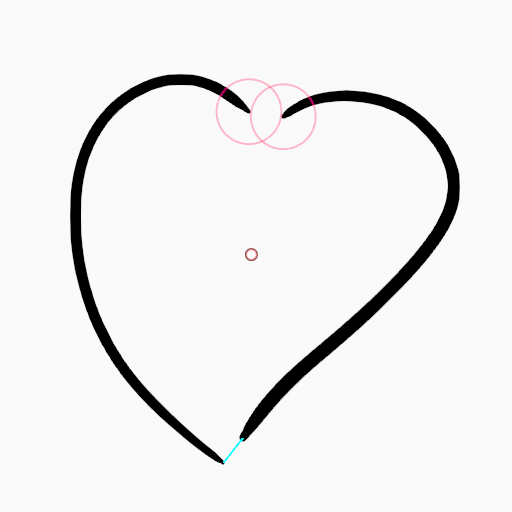
Use Radius mode to close open areas (Red circles and cyan lines).¶ |

Use Fill Tool to leak material on the new closed area.¶ |
Extend use temporary auxiliary lines extending the actual strokes ends for closing open shapes. Set the size more than zero to use the extended lines, click over the area you want to be filled and change the length of the strokes using PageUp/PageDown, Wheel or a pen’s MMB. When you are satisfied with the length and you are sure the temporarily strokes cross each other, click again to fill the area.
