Скорочення Шуму – Reducing Noise
При здійсненні фінального рендера важливо, наскільки це можливо, скоротити шум. Тут ми обговоримо ряд хитрощів, які, порушуючи закони фізики, особливо важливі при рендерингу, зображуванні анімацій у межах розумного часу. Клацайте для розгортання зображень прикладів, щоб бачити різницю у шумі.
Простеження Шляху – Path Tracing
Cycles використовує простеження шляху з наступною оцінкою подій, яка не є доцільною при рендерингу усіх типів ефектів освітлення, таких як каустика, але має перевагу у тому, що здатна рендерити більш деталізовані та великі сцени, порівняно з іншими алгоритмами рендерингу. Це тому, що нам не потрібно зберігати, наприклад, карту фотонів у пам’яті, і тому, що ми можемо тримати промені відносно послідовними, щоб використовувати кеш зображення на вимогу, у порівняні з, наприклад, двонапрямним простеженням шляху.
We do the inverse of what reality does, tracing light rays from the camera into the scene and onto lights, rather than from the light sources into the scene and then into the camera. This has the advantage that we do not waste light rays that will not end up in the camera, but also means that it is difficult to find some light paths that may contribute a lot. Light rays will be sent either according to the surface BRDF, or in the direction of known light sources.
Дивись також
For more details, see the Light Paths and Sampling documentation.
Звідки Береться Шум – Where Noise Comes From
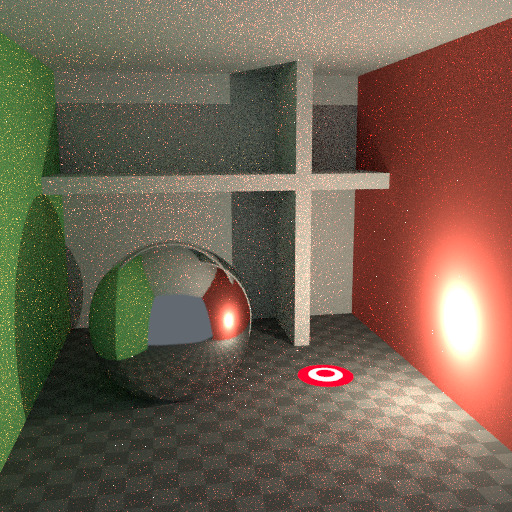
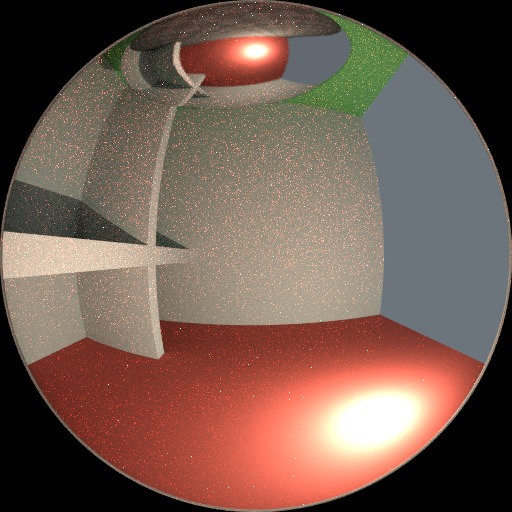
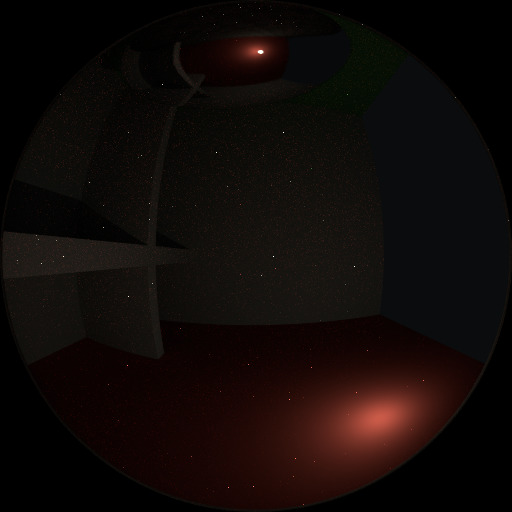
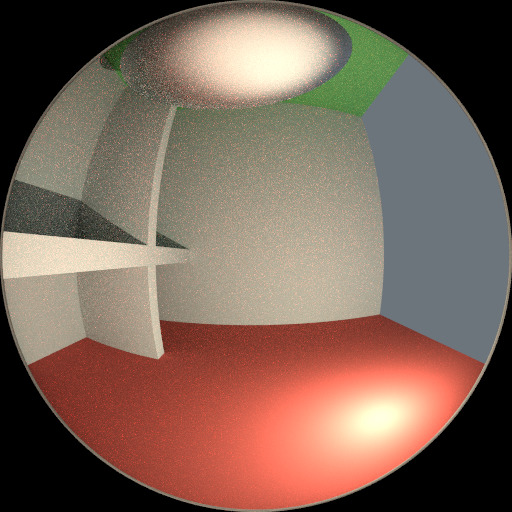
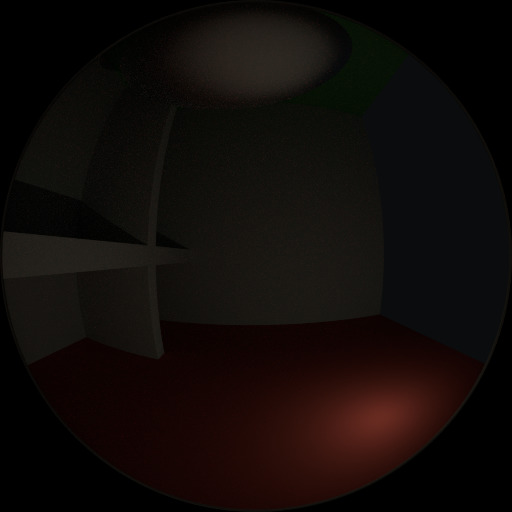
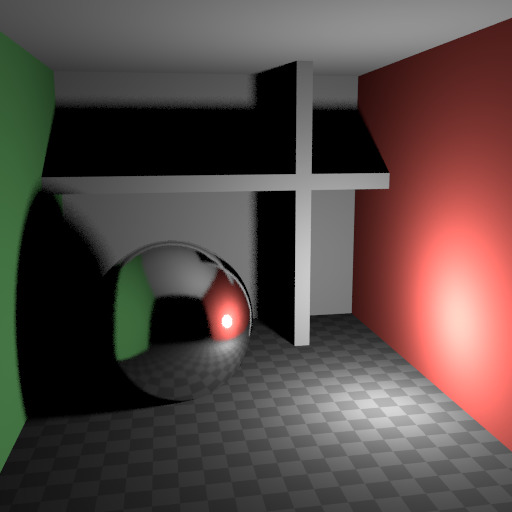
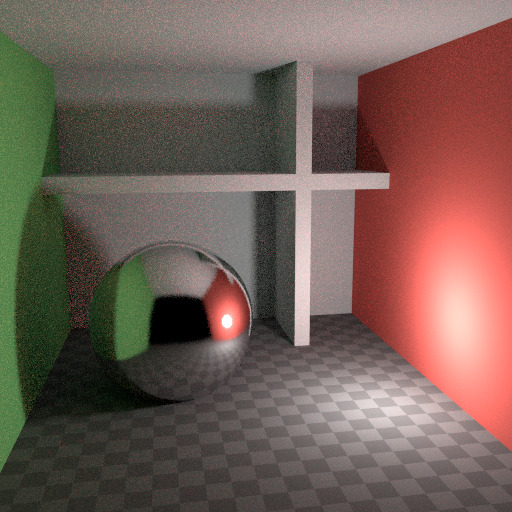
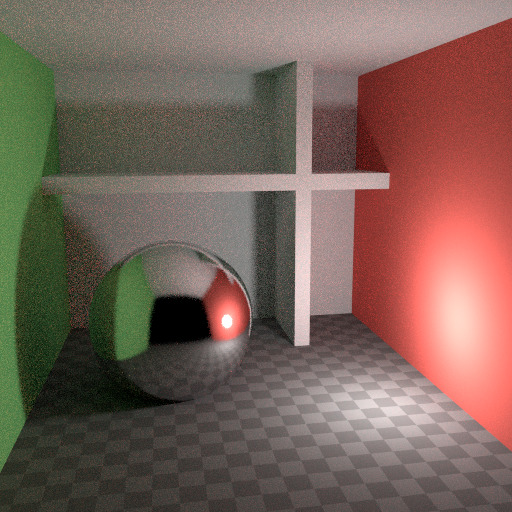
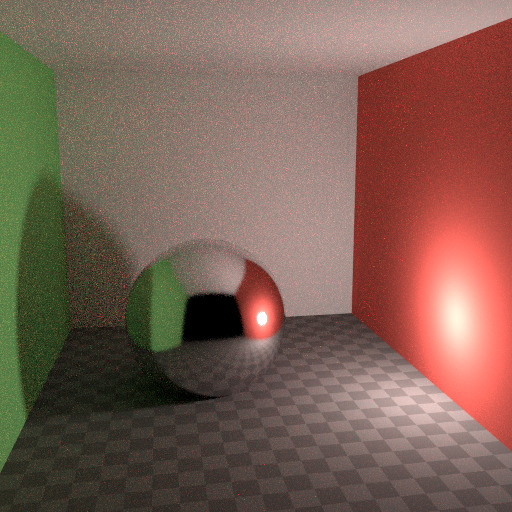
Для розуміння, звідки береться шум, візьмемо, наприклад, сцену нижче. Коли ми простежуємо промінь світла у локації, позначеній білим кругом на червоній точці, то друге зображення дає бачення того, що «бачить» відтінювач дифузії, розсіяння.
To find the light that is reflected from this surface, we need to find the average color from all these pixels. Note the glossy highlight on the sphere, and the bright spot the light casts on the nearby wall. These hotspots are 100x brighter than other parts of the image and will contribute significantly to the lighting of this pixel.
The light is a known light source, so its location is already known, but the glossy highlight(s) that it causes are a different matter. The best we can do with path tracing is to distribute light rays randomly over the hemisphere, hoping to find all the important bright spots. If for some pixels we miss some bright spot, but we do find it for another, that results in noise. The more samples we take, the higher the probability that we cover all the important sources of light.
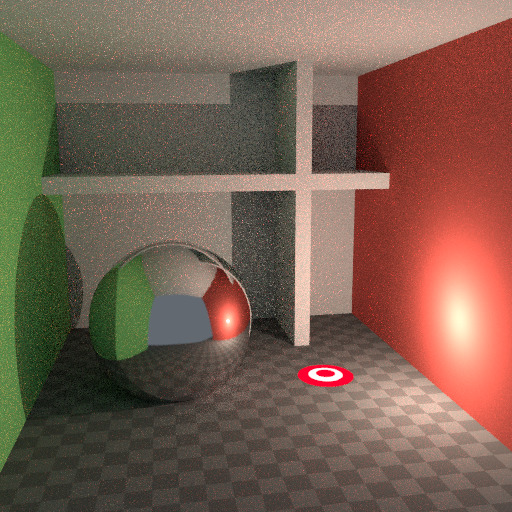
With some tricks we can reduce this noise. If we blur the bright spots, they become bigger and less intense, making them easier to find and less noisy. This will not give the same exact result, but often it’s close enough when viewed through a diffuse or soft glossy reflection. Below is an example of using Glossy Filter and Light Falloff.
Відскоки – Bounces
У реальності світло відскакує величезну кількість разів у зв’язку з тим, що швидкість світла є дуже високою. На практиці більше відскоків привнесе більше шуму і може бути доцільно вжити щось на кшталт передустави Limited Global Illumination на панелі Light Paths, яка використовує лише по кілька відскоків для різних типів відтінювачів. Розсіяні, дифузні поверхні типово можуть потребувати меншої кількості відскоків, тоді як глянцеві поверхні потребують їх дещо більше, а відтінювачі пропускання, такі як скло, зазвичай, вимагають найбільше відскоків.
Також важливим є використання кольорів для відтінювача, що не мають значень 1.0 або близько цього для компонент; намагайтеся зберігати максимальне значення 0.8 або менше для колірних компонент та робіть ваші освітлювачі яскравішими. У реальності, поверхні рідко ідеально відбивають усе світло, але, звичайно, є винятки; зазвичай, скло буде пропускати більше світла крізь себе, тому нам потрібно для нього більше відскоків. Вищі значення для колірних компонент тяжіють уводити шум, оскільки інтенсивність світла далі значно не зменшується при відскакуванні його від кожної поверхні.
Каустика та Фільтр Глянцю – Caustics and Filter Glossy
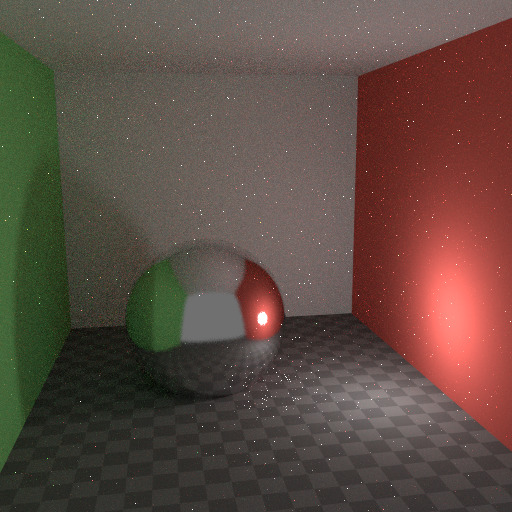
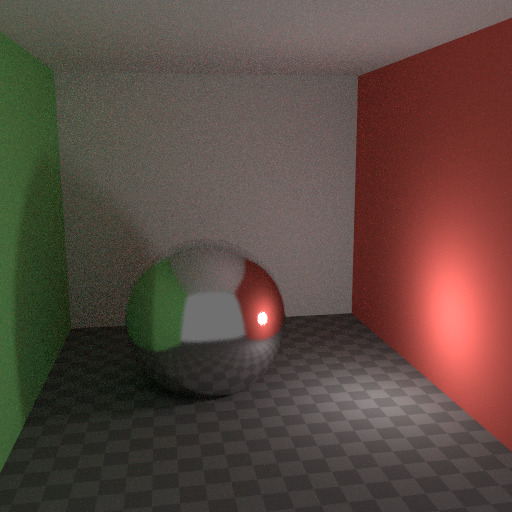
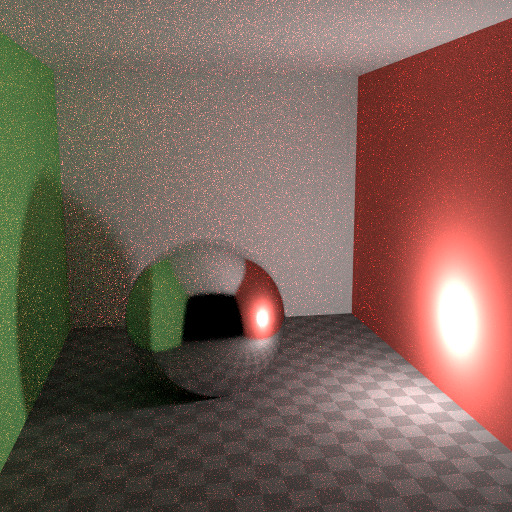
Caustics are a well-known source of noise, causing fireflies. They happen because the renderer has difficulty finding specular highlights viewed through a soft glossy or diffuse reflection. There is a No Caustics option to disable glossy behind a diffuse reflection entirely. Many renderers will typically disable caustics by default.
Однак, використання варіанту без каустик буде призводити до пропущення освітлення і він всеще не охоплює випадок, коли різке глянцеве відбиття переглядається через м’яке глянцеве відбиття. Існує опція Filter Glossy для скорочення шуму у таких випадках, але ціною точності. Це буде розмивати різке глянцеве відбиття для полегшення його знаходження, збільшуючи шорсткість – Roughness для відтінювача.
Вище наведені зображення показують випадки зі стандартними уставами, без каустик та фільтром глянцю, заданим у значення 1.0.
Спад Світла – Light Falloff
У реальності світло у вакуумі завжди спадає зі швидкістю – 1/(distance^2). Однак, при зменшенні відстані до нуля це значення зростає до безкінечності й ми можемо отримати дуже яскраві плями на зображенні. Це, здебільшого, проблема для побічного, непрямого освітлення, де ймовірність потрапляння на таку малу, але надзвичайно яскраву пляму, є низькою, і це трапляється дуже рідко. Це типовий рецепт для світлячків.
To reduce this problem, the Light Falloff node has a Smooth factor, that can be used to reduce the maximum intensity a light can contribute to nearby surfaces. The images above show default falloff and smooth value 1.0.
Багатовибірка за Значністю – Multiple Importance Sampling
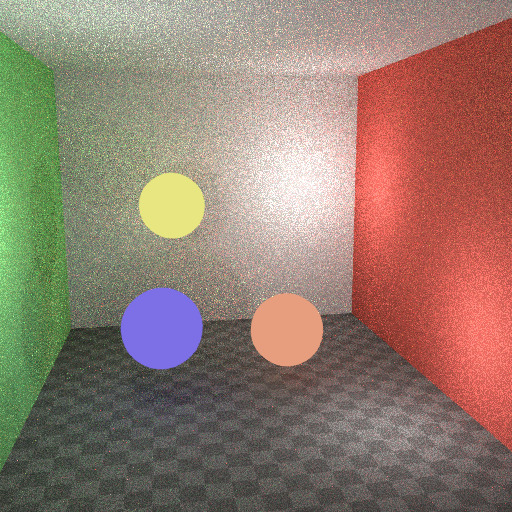
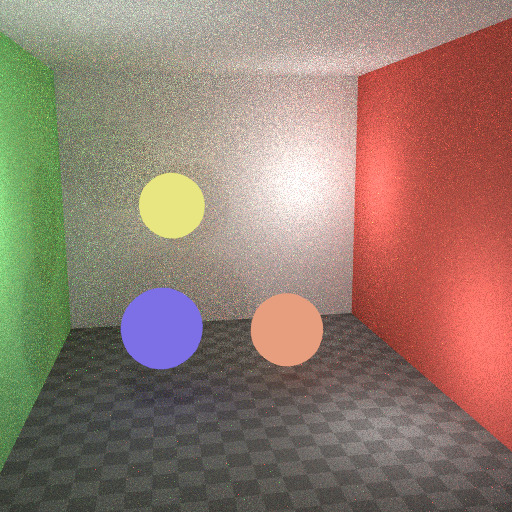
Materials with emission shaders can be configured to use Multiple Importance Sampling (Устави Матеріалу – Material Settings). This means that they will get rays sent directly towards them, rather than ending up there based on rays randomly bouncing around. For very bright mesh light sources, this can reduce noise significantly. However, when the emission is not particularly bright, this will take samples away from other brighter light sources for which it is important to find them this way.
The optimal setting here is difficult to guess; it may be a matter of trial and error, but often it is clear that a somewhat glowing object may be only contributing light locally, while a mesh light used as a light would need this option enabled. Here is an example where the emissive spheres contribute little to the lighting, and the image renders with slightly less noise by disabling Multiple Importance on them.
Фон світу також має опцію Multiple Importance (Settings). Це здебільшого корисно для карт середовища, що мають малі яскраві плями в них, а не є плавними. Ця опція потім буде, при попередній обробці, визначати ці яскраві плями та посилати промені світла прямо на них. Знову ж, вмикання цієї опції може відбирати вибірки з більш важливих джерел світла, з яких не потрібно брати.
Скло і Прозорі Тіні – Glass and Transparent Shadows
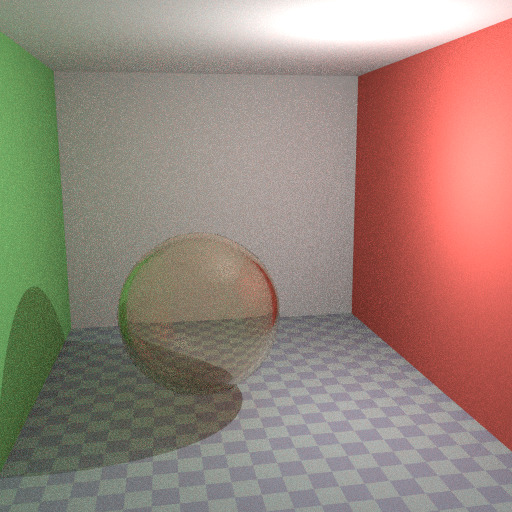
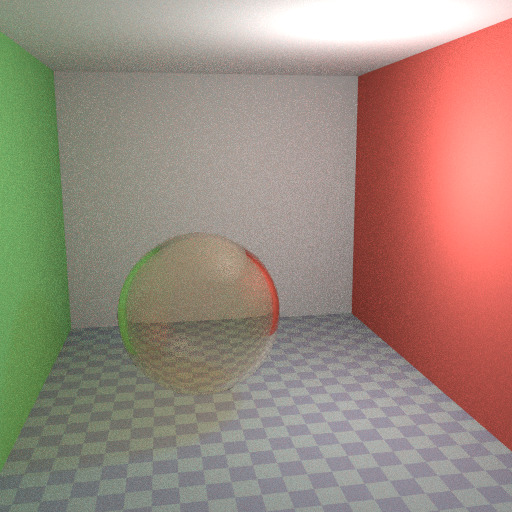
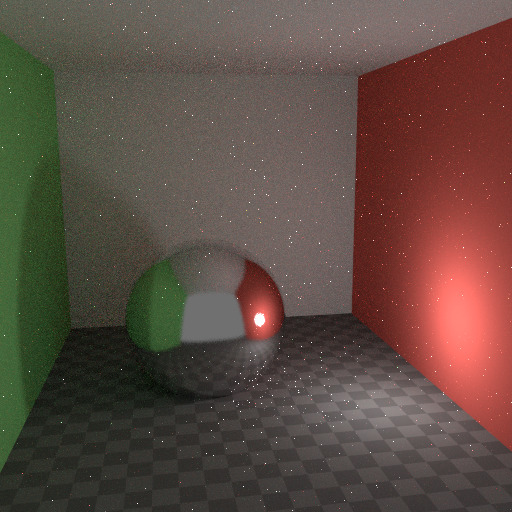
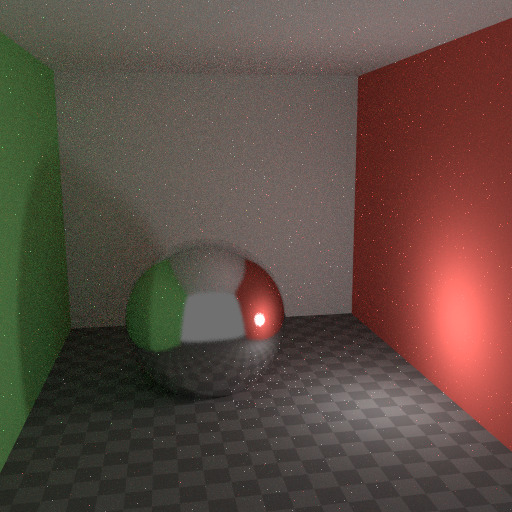
При вимкненні каустик скло буде пропускати тіні й з фільтром глянцю вони можуть бути надто м’якими. Ми можемо зробити скляний відтінювач, що буде використовувати Glass BSDF при перегляді прямо та Transparent BSDF при перегляді непрямо. Transparent BSDF може використовуватися для прозорих тіней для знаходження джерел світла прямо крізь поверхні та буде давати належно забарвлені тіні, але без каустик. Вузол Light Path використовується для визначення того, коли використовувати який з цих двох відтінювачів.
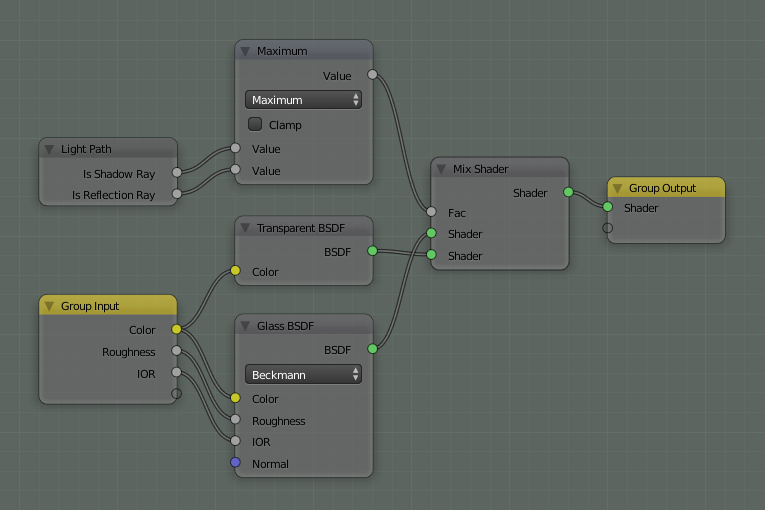
Оптимізований відтінювач скла.
Above we can see the node setup used for the glass transparency trick; on the left the render has too much shadow due to missing caustics, and on the right the render with the trick.
Портали Світла – Light Portals
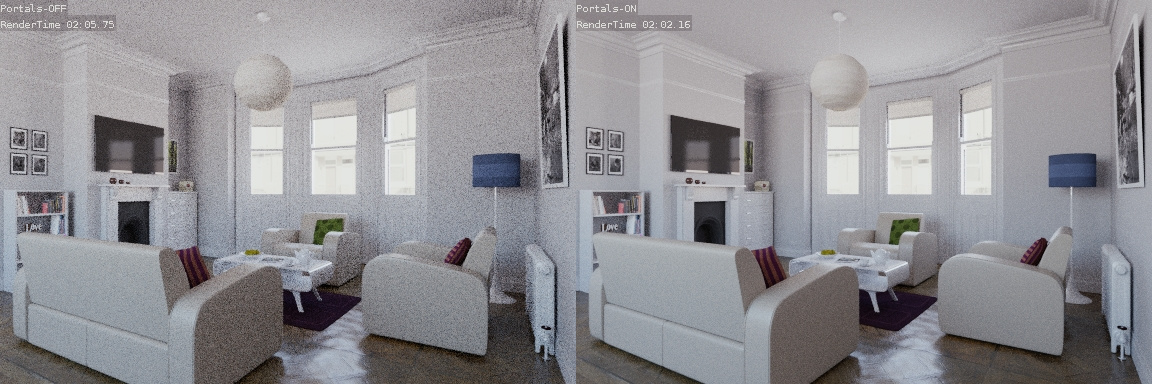
When rendering a daylight indoor scene where most of the light is coming in through a window or door opening, it is difficult for the integrator to find its way to them. To fix this, use Light Portals. You then will need to modify its shape to match that of the opening that you are trying to fill.

Знешумлення – Denoising
Even with all the settings described above there will always end up being some render noise no matter how many samples you use. To fix this there is a post-processing technique to cleanup the final bit of noise. To use this enable Denoising in the Render Layers tab of the Properties editor.
Нижче наведено приклад рендера від The Pixelary.
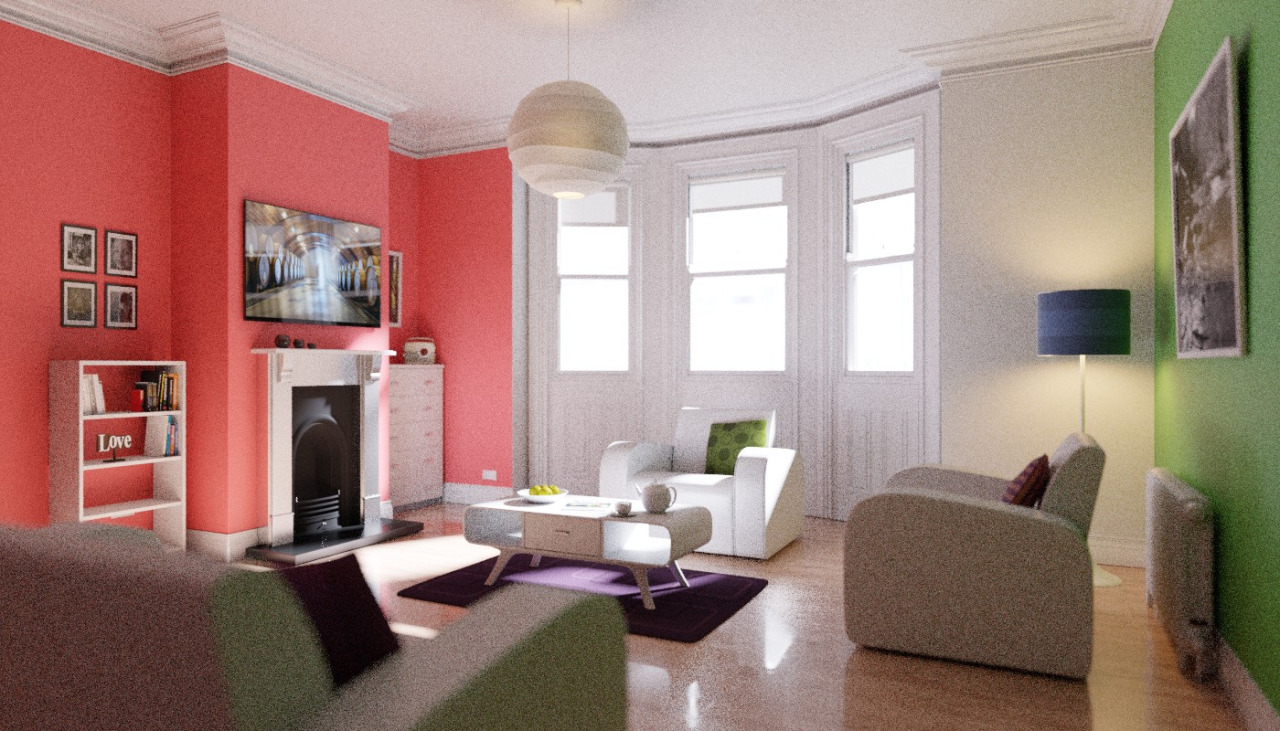
Приклад рендера перед знешумленням. |
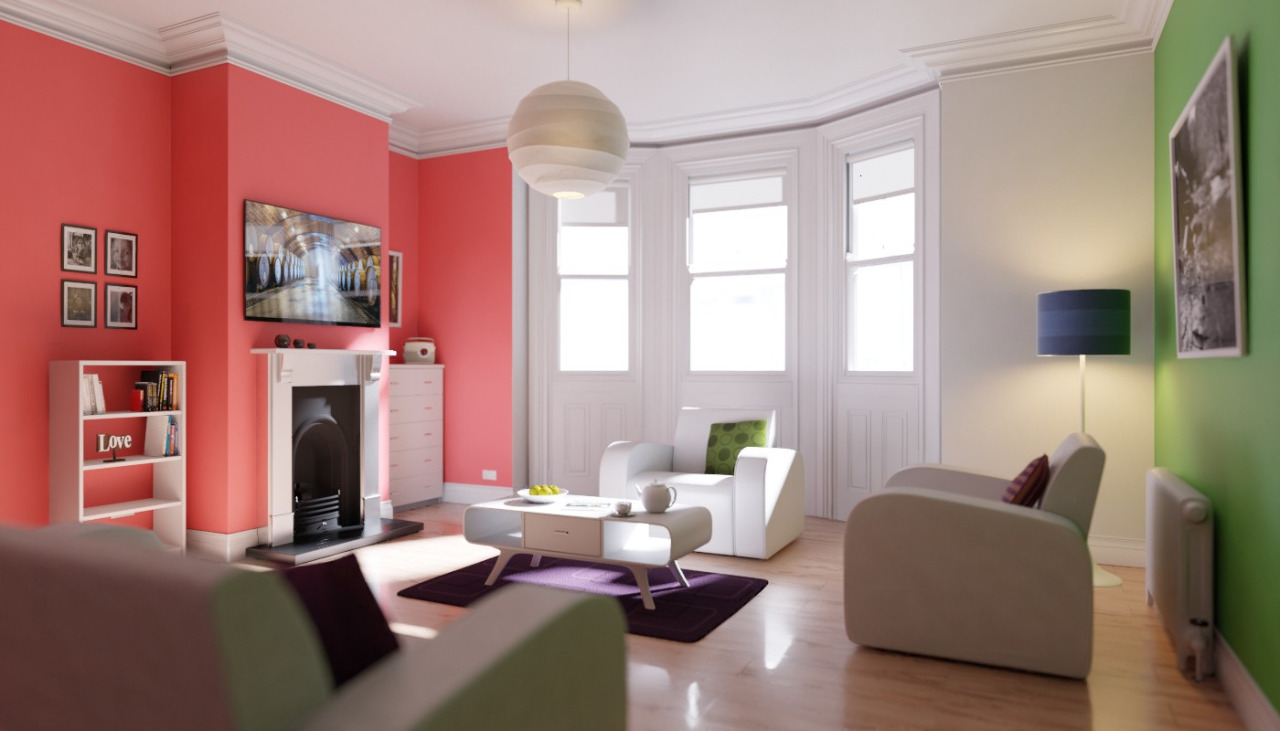
Приклад рендера після знешумлення. |
Затиск Світлячків – Clamp Fireflies
Ідеально за допомогою усіх наведених вище хитрощів світлячки можуть бути усунені, але вони все ще можуть траплятися. Для цього, інтенсивність, яку будь-яка вибірка індивідуального променя світла буде привносити у піксель, може бути затиснута максимальним значенням за допомогою устави «Затиск» – Clamp setting для інтегратора.
Якщо ця устава буде задана надто низькою, це може спричинити пропуск підсвіток на зображенні, що може бути корисно для збереження ефектів камери, таких як свічення та відблиск. Для послаблення цієї загадки часто корисно затискати тільки побічні – indirect відскоки, залишаючи підсвітки, що прямо (directly) видимі для камери, неторканими.
