Pivot Point#
The PDT Pivot Point, hereafter PP, is intended to provide a location for rotating and scaling geometry in Edit Mode Only. It works as an independent location to the 3D Cursor. It can, however, be placed relative to Object Geometry.
The Menu For Pivot Point
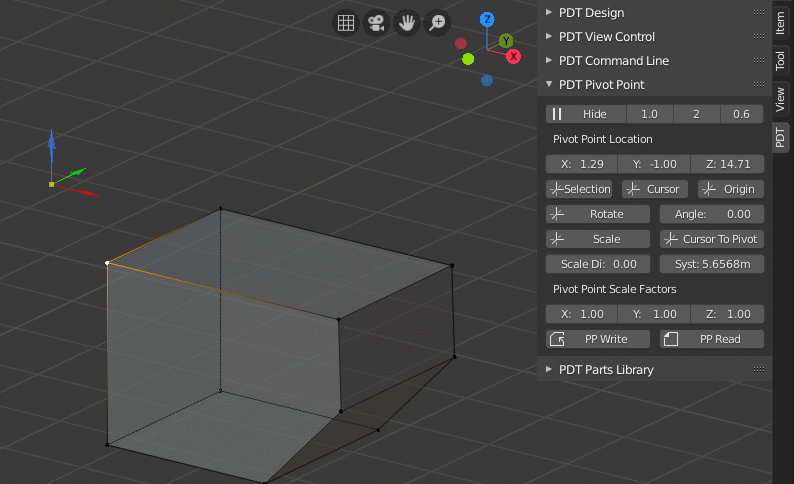
Here the pivot point has been placed relative to the selected vertex.
Operations:#
Most operations only work in Edit Mode, so these are greyed out if you are in any other mode.
Starting from the top, the first row is the Show Pivot button with three inputs alongside.
To show the PP, click the Show button, to remove it press Hide button,
Show will change to Hide when PP is displayed.
You can still use the PP location, whether you can see it, or not.
The three inputs are; Size Factor ranging from 0.2 to 2 and will adjust the relative size
of the PP, the PP is drawn relative to the 3D View scale. The next is the Width and this
determines how bold the PP arms are ranging from 1 to 5. The last is the Alpha
and determines the translucency (Color Alpha) of the PP, values range from 0.2 to 1.
The next row shows the Pivot Location, values can be entered here,
or the boxes may be “scrubbed” and the PP will move as you do so.
On the next row is To Selected, which locates the PP on a selected set of geometry.
The middle button is To Cursor, which locates the PP at the 3D Cursor location.
The right button is To Origin, which locates the PP on the selected Object’s Origin,
you must have a selected Object.
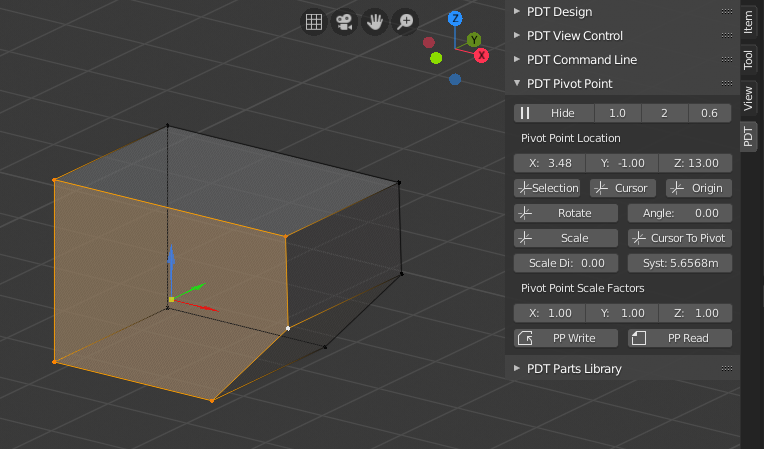
Here the PP has been located on the weighted center of the selected face.
The next row has Rotate and Angle, To rotate selected geometry about the PP,
first set the Angle and click Rotate. Geometry is rotated about the View Plane
(an axis normal to your screen).
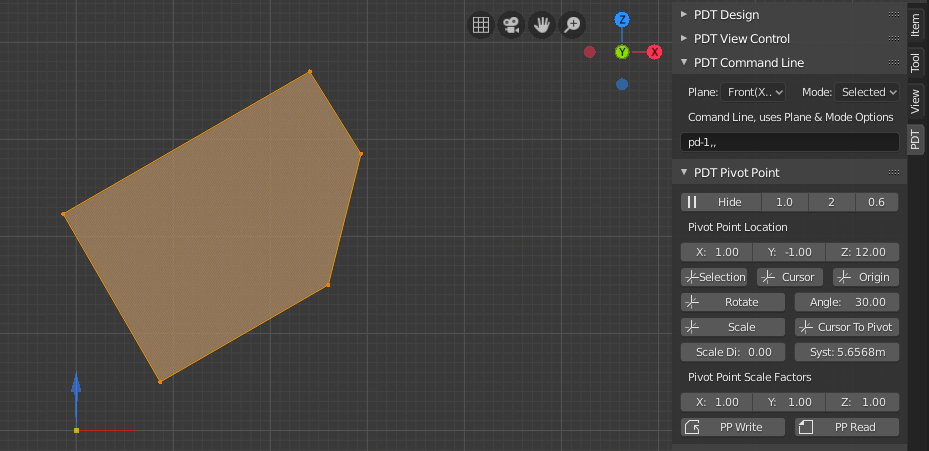
Here the selected geometry has been rotated 30 degrees about the PP.
The next row has Scale on the left, this button is used to scale the selected geometry
about the PP. this uses factors as set in the last row showing X, Y and Z values.
the scaling is performed about the Global Axes. There are many ways in Blender
to Scale about different axes, so it was decided not to replicate all this,
this is the function I use the most for scaling.
The button on the right is Cursor To Pivot, it will locate the 3D Cursor to the PP,
this is useful if you want to use other Blender techniques for rotating, scaling, etc.
but want to use the PP location.
The PP cannot be used to move geometry, it was decided that there are already sufficient methods of doing this in Blender.
Setting Scales by Two Measures:#
Underneath you will see the Scale Distance & System Distance Inputs,
System Distance is merely a copy of Distance from the PDT Design Section.
This can be set by a variety of methods, one of which is to select two vertices
and then use the Set A/D 2D Tool, found in PDT Design, or you can just type a value in.
There are circumstances where you know that a dimension in the model,
lets say two vertices measure 14.3 units and that is wrong.
You know that either a section, or the whole mesh needs scaling
so this dimension becomes 16.2. Instead of you having to work out
the scale factor yourself, you can merely type 16.2 into Scale Distance,
having set System Distance to 14.3 and the system will calculate the scales for you,
in this case; 1.14085. Should you only want to scale in one axis, set the other two to 1.
You would then select the required geometry, set the position of the PP
and use the PP Scale button.
Read & Write PP to Object:#
You can write the PP location to the Object using the PP Write button,
these are stored in the form a Custom Property, you will be required to confirm this,
clicking OK on the popup accepts this operation, moving your cursor off the confirm dialogue
cancels the operation. This facility allows you to store a PP location, easily readable,
against each object, this could be, for example, the rotational center of a hydraulic cylinder for example,
where you do not want this location to also be the object origin point.
You can then read back this information to place the PP using the PP Read button.
If the custom property are not there, either because it hasn’t been written,
or because you have deleted it, an error is displayed.
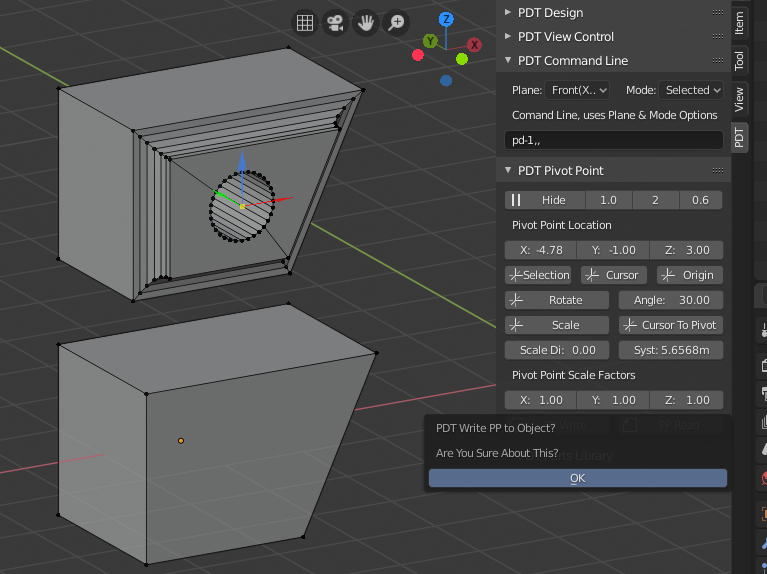
Confirmation is Required for the Write Operation.
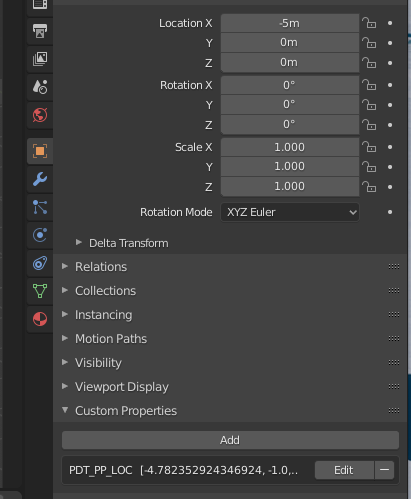
This is the custom property stored against the Object.