Smooth Modifier
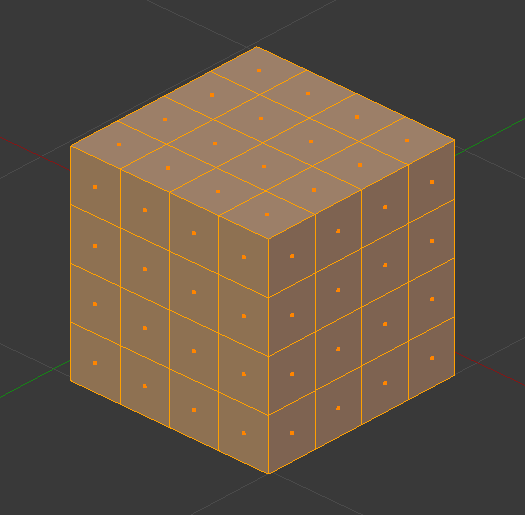
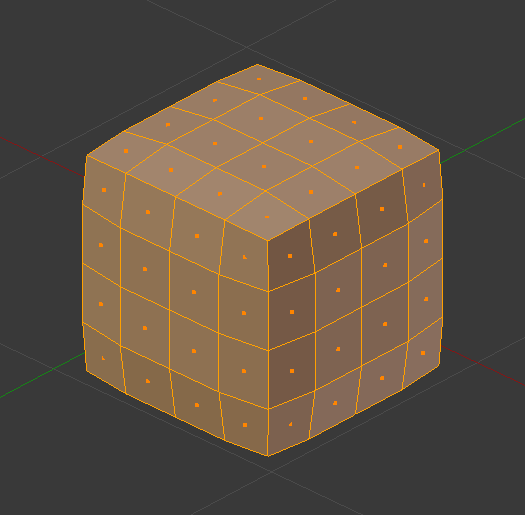
The Smooth modifier smooths a mesh by flattening the angles between adjacent faces in it, just like the Smooth tool in Edit Mode. It smooths without subdividing the mesh, the number of vertices remains the same.
This modifier is not limited to smoothing, though. Its control factor can be configured outside the (0.0 to 1.0) range (including negative values), which can result in interesting deformations.
Options
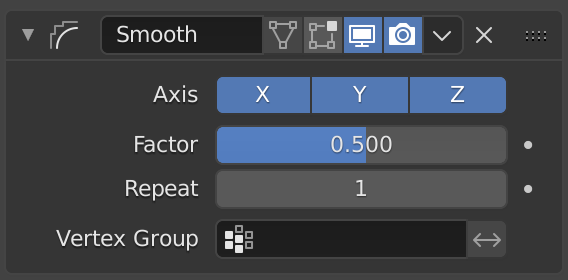
The Smooth modifier.
- Axis
Enable/disable the modifier in the X, Y and/or Z axes directions.
- Factor
Controls the smoothing amount. Higher values will increase the effect.
Values outside expected range (above 1.0 or below 0.0) will distort the mesh.
- Repeat
The number of smoothing iterations, equivalent to executing the Smooth tool multiple times.
- Vertex Group
If set, restrict the effect to only the vertices in that vertex group. This allows for selective, real-time smoothing, by painting vertex weights.
- Invert
Inverts the influence of the selected vertex group, meaning that the group now represents vertices that will not be deformed by the modifier.
The setting reverses the weight values of the group.
Algorithm
The calculation done by the Smooth modifier is a simple and logical one, and can be thought of as the geometric equivalent of blurring images.
Each new vertex position is simply moved towards the average position of all its neighbor vertices (topologically speaking, i.e. the vertices directly connected to it by an edge).