Wave Modifier
The Wave modifier adds a ripple-like motion to an object’s geometry.
This modifier is available for meshes, lattices, curves, surfaces and texts.
Options
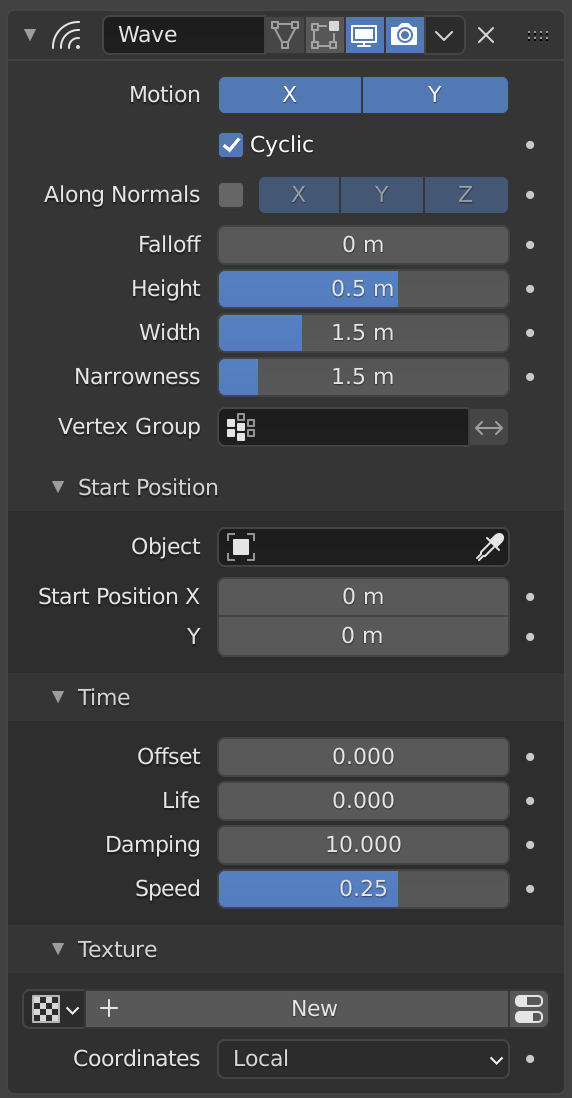
The Wave modifier.
- Motion
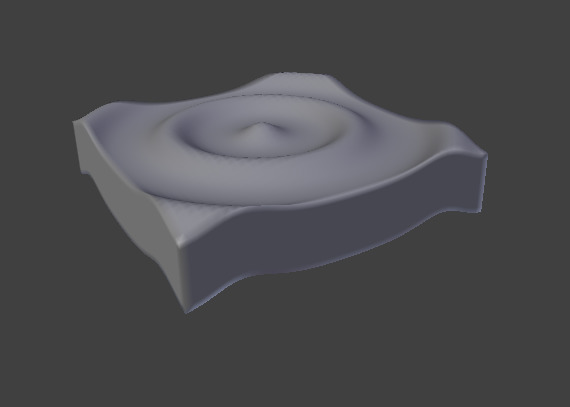
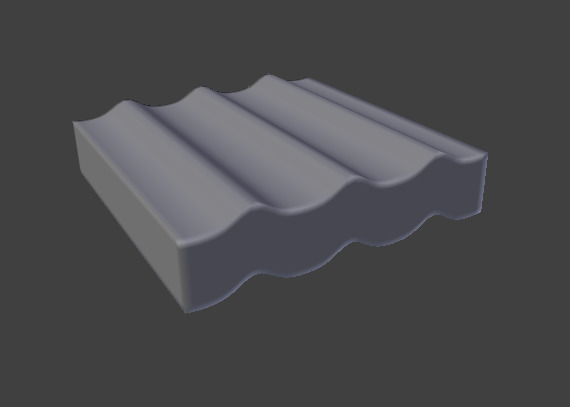
The wave effect deforms vertices/control points in the Z direction, originating from the given starting point and propagating along the object with circular wave fronts (if both X and Y are enabled), or with rectilinear wave fronts (if only one axis is enabled), then parallel to the axis corresponding to the X or Y button activated.
- Cyclic
Repeats the waves cyclically, rather than a single pulse.
- Along Normals
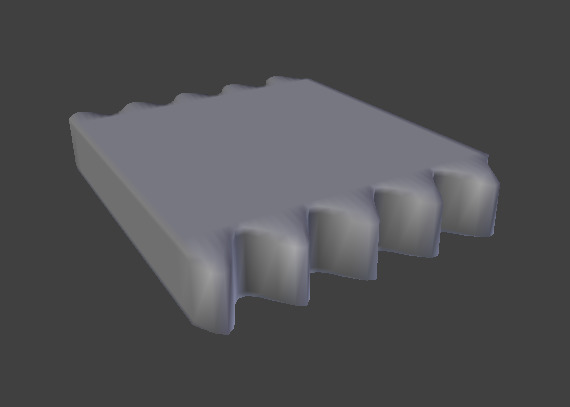
For meshes only. Displaces the mesh along the surface normals (instead of the object’s Z axis).
- X/Y/Z
Restrict displacement along normals to the selected local axes.
- Falloff
Controls how fast the waves fade out as they travel away from the coordinates above (or those of the Start Position Object).
- Height
The height or amplitude of the ripple.
- Width
Half of the width between the tops of two subsequent ripples (if Cyclic is enabled). This has an indirect effect on the ripple amplitude. If the pulses are too near to each other, the wave may not reach the zero Z position, so in this case Blender actually lowers the whole wave so that the minimum is zero and, consequently, the maximum is lower than the expected amplitude. See Technical Details and Hints for more information.
- Narrowness
The actual width of each pulse: the higher the value the narrower the pulse. The actual width of the area in which the single pulse is apparent is given by
4 / Narrowness. That is, if Narrowness is 1 the pulse is 4 units wide, and if Narrowness is 4 the pulse is 1 unit wide.- 버텍스 그룹
The name of a vertex group which is used to control the influence of the modifier. If left empty, the modifier affects all vertices equally.
- Invert
<-> Inverts the influence of the selected vertex group, meaning that the group now represents vertices that will not be deformed by the modifier.
The setting reverses the weight values of the group.
- Invert
중요
All the values described above are in local object space, i.e. they must be multiplied with the corresponding Scale values of the object to get the real dimensions.
Start Position
- 오브젝트
Use another object as the reference for the starting position of the wave. Note that you then can animate this object’s position, to change the wave’s origin across time.
- Start Position X/Y
Coordinates of the center of the waves, in the object’s local space.
Time
Settings to control the animation.
- Offset
Time offset in frames. The frame at which the wave begins (if Speed is positive), or ends (if Speed is negative). Use a negative frame number to prime and pre-start the waves.
- Life
Duration of animation in frames. When set to zero, loops the animation forever.
- Damping
An additional number of frames in which the wave slowly damps from the Height value to zero after Life is reached. The dampening occurs for all the ripples and begins in the first frame after the Life is over. Ripples disappear over Damping frames.
- Speed
The speed per frame, of the ripple.
Texture
You can finely control which vertices are affected by the wave, and to what extent, using a texture.
See common masking options for a complete reference.
Technical Details and Hints
The relationship of the above values is described here:
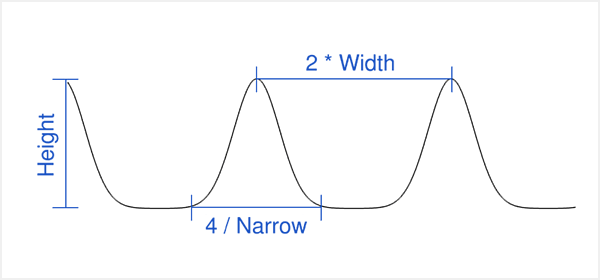
Wave front characteristics.
To obtain a nice wave effect similar to sea waves and close to a sinusoidal wave,
make the distance between following ripples and the ripple width equal. That is,
the Narrowness value must be equal to 2 / Width.
E.g. for Width to be 1, set Narrow to 2.
