Grease Pencil Material Properties
Material Slots
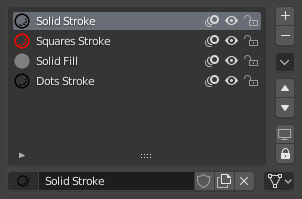
Grease Pencil material slots panel.
Next to the material name there are three icons buttons that control common properties of the material:
- / (Show/Hide in Ghosts)
Toggle the use of the material for Onion Skinning.
- / (Hide/Show Material)
Toggle whether the active material is the only one that can be edited and is visible.
- / (Lock/Unlock Material)
Toggle whether the active material is the only one that can be edited.
Specials
- Show All
Turns on the visibility of every material in the list.
- Hide Others
Turns off the visibility of every material in the list except the active one.
- Lock All
Locks edition of all the materials in the list.
- Unlock All
Unlocks edition of all the materials in the list.
- Lock Unselected
Locks all materials not used in the selected strokes.
- Lock Unused
Locks and hides all unused materials.
- Copy Material to Selected
Copy the active material to the selected Grease Pencil object.
- Copy All Materials to Selected
Copy all materials to the selected Grease Pencil object.
- Remove Unused Slots
Remove all unused materials.
Lock & Visibility Controls
- (Isolate Material)
Toggle whether the active material is the only one that can be edited.
- (Isolate Material)
Toggle whether the active material is the only one that can be edited and is visible.
Surface
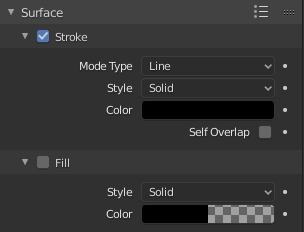
Shader panel with only Stroke component activated.
Stroke
When enabled, the shader use the stroke component. The Stroke component controls how to render the edit lines.
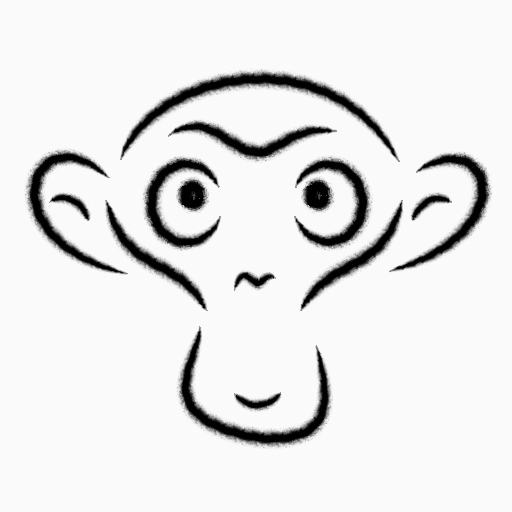
- Line Type
Defines how to display or distribute the output material over the stroke.
- Line:
Connects every points in the strokes showing a continuous line.
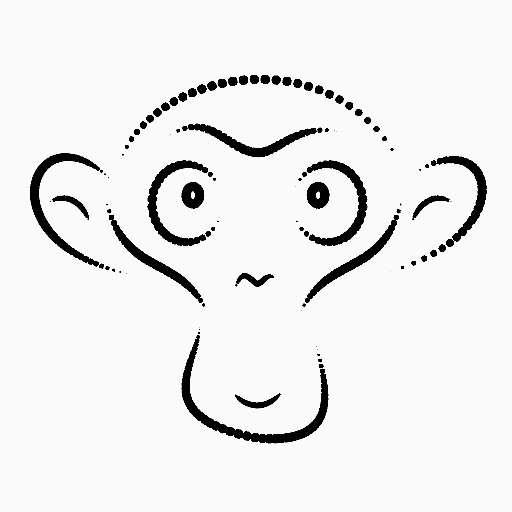
- Dots:
Use a disk shape at each point in the stroke. The dots are not connected.
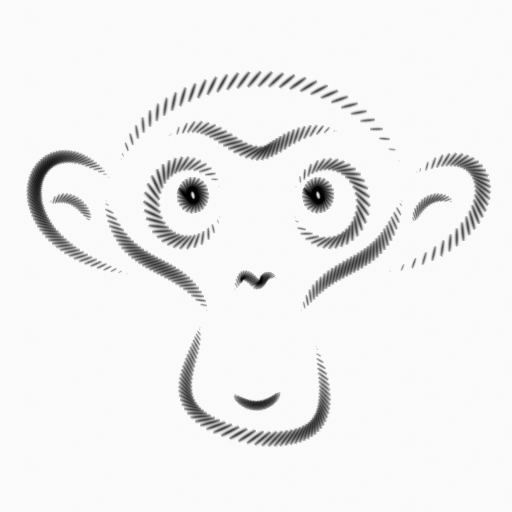
- Squares:
Use a square shape at each point in the stroke. The squares are not connected.
- Style
The type of the material.
- Solid:
Use a solid color.
- Texture:
Use an image texture.
- 이미지
The image data-block used as an image source.
- Blend
Texture and Base Color mixing amount.
- UV Factor
The image size along the stroke.
- Base Color
The base color of the stroke.
- Holdout
Removes the color from strokes underneath the current by using it as a mask.
- 나열
Defines how to align the Dots and Squares along the drawing path and with the object’s rotation.
- 경로(Path):
Aligns to the drawing path and the object’s rotation.
- 오브젝트:
Aligns to the object’s rotation; ignoring the drawing path.
- Fixed:
Aligns to the screen space; ignoring the drawing path and the object’s rotation.
- Rotation
Rotates the points of Dot and Square strokes.
참고
The Rotation option is limited to a range of -90 to 90 degrees.
- Self Overlap
Disables stencil and overlap self-intersections with alpha materials.
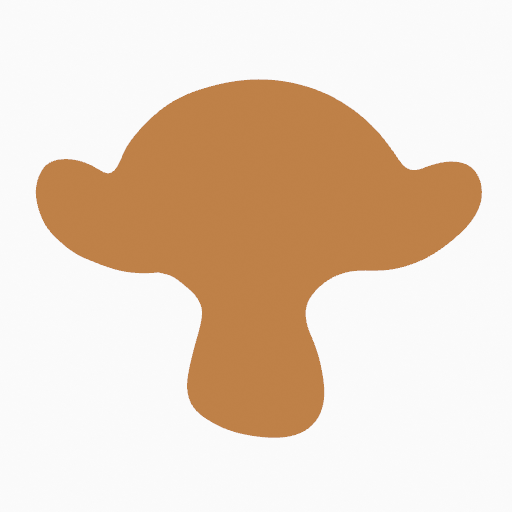
Fill
When enabled, the shader use the fill component. The Fill component control how to render the filled areas determined by closed edit lines.
- Style
The type of material.
- Solid:
Use solid color.
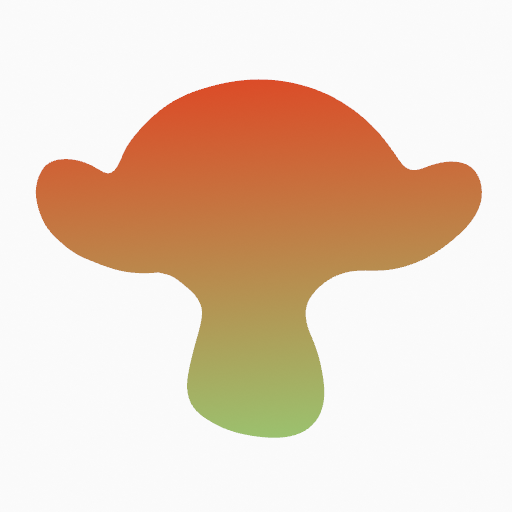
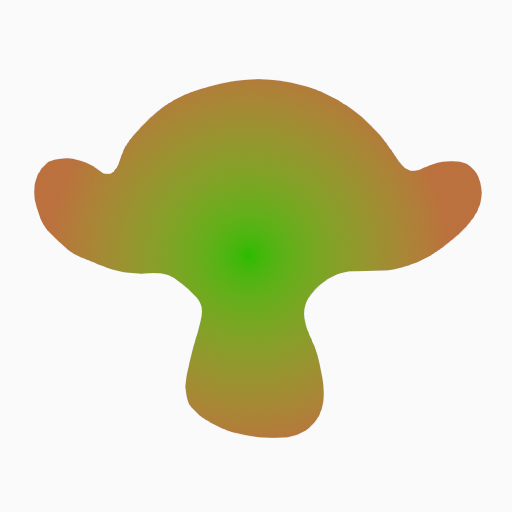
- Gradient:
Use a color gradient.
- Gradient Type
- Linear:
Mix the colors along a single axis.
- Radial:
Mix the colors radiating from a center point.
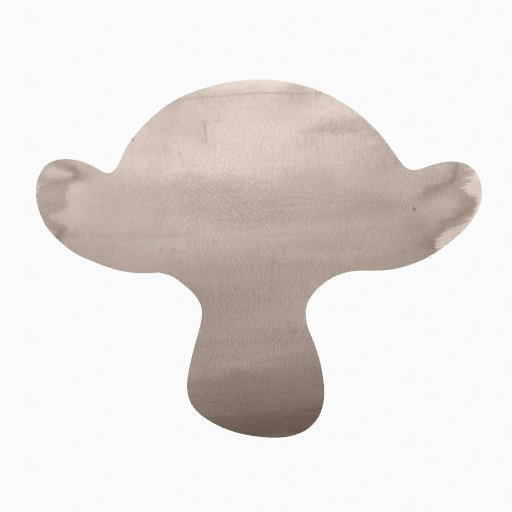
- Texture:
Use an image texture.
- 이미지
The image data-block used as an image source.
- Base Color
The base color of the fill.
- Secondary Color Gradient
The secondary color.
- Holdout
Removes the color from strokes underneath the current by using it as a mask.
- Blend Gradient / Texture
The amount that the Secondary Color (for Gradient Style) or image texture (for Texture Style) Mixxes with the Base Color.
- Flip Colors Gradient
Flips the gradient, inverting the Base Color and Secondary Color.
- Location X, Y Gradient / Texture
Shifts the position of gradient or image texture.
- Rotation Gradient / Texture
Rotates the gradient or image texture.
- Scale X, Y Gradient / Texture
Scales the gradient or image texture.
- Clip Image Texture
When enabled, show one image instance only (do not repeat).
Settings
- Pass Index
This index can be used with some modifiers to restrict changes to only a certain material. See Modifiers for more information.

