Editing Strips
Transform
Referenz
- Editor:
Nonlinear Animation
- Menü:
- Move G
Move the selected strips in time or to a different track.
- Extend E
Lets you quickly move the selected strips that are on a certain side of the Playhead. This is handy if you need to, say, move all the strips after a certain time point to the right to make space for new ones.
To use this operator, first select some or all strips and place your mouse cursor to the left or right of the Playhead. Then, press E, move the mouse to move (only) the strips on that side of the Playhead, and press LMB to confirm (or RMB to cancel).
If a strip straddles the Playhead, only its starting/ending point will be moved (again depending on the position of the mouse cursor).
- Scale S
Scales the selected strips, using the Playhead as the pivot point.
Swap
Referenz
- Editor:
Nonlinear Animation
- Menü:
- Tastenkürzel:
Alt-F
Swap the order of the selected strips in their track.
Move Up
Referenz
- Editor:
Nonlinear Animation
- Menü:
- Tastenkürzel:
PageUp
Move selected strips up a track if there is room.
Move Down
Referenz
- Editor:
Nonlinear Animation
- Menü:
- Tastenkürzel:
PageDown
Move selected strips down a track if there is room.
Snap
Referenz
- Editor:
Nonlinear Animation
- Menü:
- Selection to Current Frame
Move the start of the selected strips to the current frame.
- Selection to Nearest Frame
Move the start of the selected strips to the nearest full frame.
- Selection to Nearest Second
Move the start of the selected strips to the nearest second.
- Selection to Nearest Marker
Move the start of the selected strips to the nearest marker.
Split
Referenz
- Editor:
Nonlinear Animation
- Menü:
- Tastenkürzel:
Y
Split the selected strips in two at the current frame.
Duplizieren
Referenz
- Editor:
Nonlinear Animation
- Menü:
- Tastenkürzel:
Alt-D
Creates copies of the selected strips, duplicating any actions they reference. Editing the keyframes in a copied strip therefore doesn’t affect the original.
Linked Duplicate
Referenz
- Editor:
Nonlinear Animation
- Menü:
- Tastenkürzel:
Shift-D
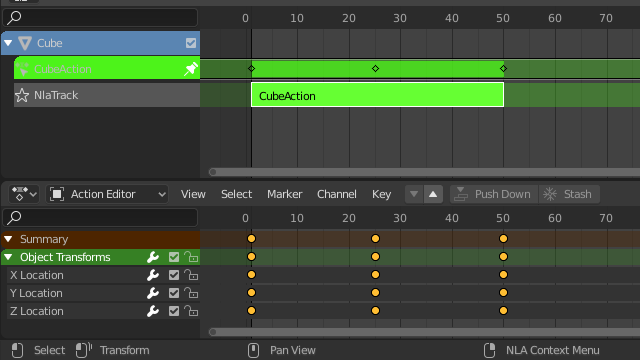
Creates copies of the selected strips, reusing any actions they reference. Editing the keyframes in a copied strip therefore also affects the original (and vice versa). Blender warns you about this by highlighting the other strip in red.
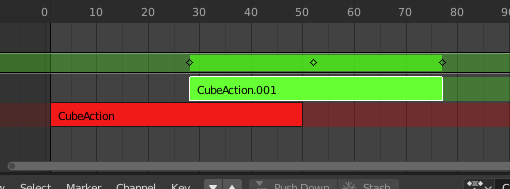
Linked duplicated strip being edited.
Löschen
Referenz
- Editor:
Nonlinear Animation
- Menü:
- Tastenkürzel:
Delete, X
Deletes the selected NLA-Strips.
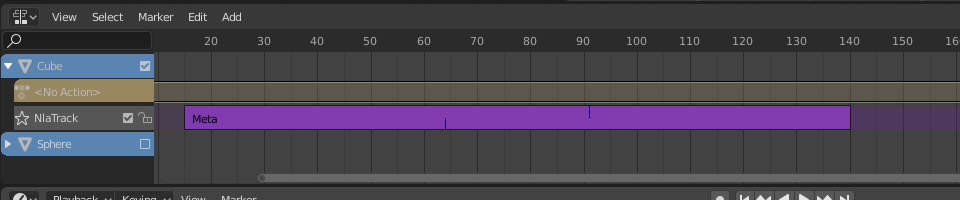
Make Meta
Referenz
- Editor:
Nonlinear Animation
- Menü:
- Tastenkürzel:
Ctrl-G
Groups the selected NLA-strips into a meta strip.
Remove Meta
Referenz
- Editor:
Nonlinear Animation
- Menü:
- Tastenkürzel:
Ctrl-Alt-G
Ungroups the selected meta strips, replacing them by their contents.
Toggle Muting
Referenz
- Editor:
Nonlinear Animation
- Menü:
- Tastenkürzel:
H
Mutes or unmutes the selected strips. Muted strips have a dotted border and don’t influence the animation.
Bake Action
Referenz
- Editor:
Nonlinear Animation
- Menü:
Referenz
- Editor:
3D Viewport
- Modus:
Object and Pose Modes
- Menü:
The final motion of objects and bones depends not only on the keyframed animation, but also on F-Curve modifiers, drivers, and constraints. The Bake Action operator computes this final motion and creates a corresponding keyframe on every scene frame.
This can be useful for adding deviation to a cyclic action like a Walk Cycle, or to create a keyframe animation from drivers or constraints.
- Start Frame
Start frame for baking.
- End Frame
End frame for baking.
- Frame Step
Number of frames to skip forward while baking each frame.
- Only Selected Bones
Only key selected bones (Pose baking only).
- Visual Keying
Keyframe from the final transformations (with constraints applied).
- Clear Constraints
Remove all constraints from keyed object/bones, and do ‚visual‘ keying.
- Clear Parents
Bake animation onto the object then clear parents (objects only).
- Overwrite Current Action
Bake animation into the current action instead of creating a new one (useful for baking only part of bones in an armature).
- Clean Curves
After baking curves, remove redundant keys.
- Bake Data
Which data transformations to bake.
- Pose:
Bake bone transformations.
- Object:
Bake object transformations.
- Kanäle
Which channels to bake.
- Ort:
Bake location channels.
- Rotation:
Bake rotation channels.
- Scale:
Bake scale channels.
- B-Bone:
Bake B-Bone channels.
- Custom Properties:
Bake custom properties.
Apply Scale
Referenz
- Editor:
Nonlinear Animation
- Menü:
- Tastenkürzel:
Ctrl-A
Applies the scale of the selected strips to their referenced actions.
Clear Scale
Referenz
- Editor:
Nonlinear Animation
- Menü:
- Tastenkürzel:
Alt-S
Resets the scale of the selected strips.
Sync Action Length
Referenz
- Editor:
Nonlinear Animation
- Menü:
Resets the strip’s length to that of its underlying action, ensuring that it (only) plays from the action’s first keyframe to its last.
Siehe auch
The Sync Length Now button in the Sidebar, which does the same thing.
Make Single User
Referenz
- Editor:
Nonlinear Animation
- Menü:
- Tastenkürzel:
U
Duplicates actions where necessary so that each selected strip has its own action that’s not used by any others. This way, you can edit the keyframes in the selected strips knowing that you won’t affect any other part of the animation.
Bemerkung
This does not recursively go inside meta strips.
Start Editing Stashed Action
Referenz
- Editor:
Nonlinear Animation
- Menü:
- Tastenkürzel:
Shift-Tab
Enters Tweak Mode for the selected strip’s action, making its keyframes available for editing in e.g. the Graph Editor. In addition, marks the strip’s track as Solo, muting all the other tracks – this way, they no longer influence the animation and you can focus exclusively on the action you’re editing.
While the menu item refers to stashed (muted) actions, this only reflects the typical use case. It works on unmuted actions as well.
When you’re done editing, click or press Shift-Tab again.
Start Tweaking Strips Actions (Full Stack)
Referenz
- Editor:
Nonlinear Animation
- Menü:
- Tastenkürzel:
Tab
Enters Tweak Mode for the selected strip’s action, making its keyframes available for editing. Leaves all the other tracks enabled so that you can still see their effects while making changes.
When you’re done, click or press Tab again.
Bemerkung
For transitions above the tweaked strip, keyframe remapping will fail for channel values that are affected by the transition. A workaround is to tweak the active strip without evaluating the upper NLA stack.
Start Tweaking Strips Actions (Lower Stack)
Referenz
- Editor:
Nonlinear Animation
- Menü:
Enters Tweak Mode for the selected strip’s action, making its keyframes available for editing. Mutes any tracks above the current one so that they don’t influence the animation while making changes.
When you’re done, click or press Tab.