Curve Properties
Hair Curves have different properties than regular Curve objects; these properties are documented below.
Attributes
The Attributes panel contains different hair characteristics such as the position and color of hair strands.
Use the List View to manage attributes.
Siehe auch
See the Attribute Reference for details on attributes.
Surface
- Surface
The curve surface is an optional mesh that is used to anchor the curves, and behave as a scalp for hair grooming. When adding a new Curves object via the Add Menu the active object is automatically set as the surface.
- active spline
To set a new surface press Ctrl-P and select Object (Attach Curves to Surface) in the Set Parent To pop-up menu. This option can be seen as part of the Curves settings in the Properties Editor.
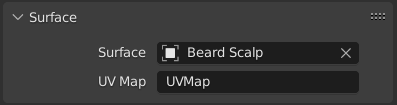
- Surface UV Map
The name of the attribute on the surface mesh used to define the attachment of each curve.
Bemerkung
If the UV from the surface changed, run Snap to Nearest Surfaces to re-attach the curves.
Curve Data
Referenz
- Editor:
3D Viewport
- Modus:
Edit Mode
- Menü:
The Curve Data panel in Edit Mode provides settings that affect the currently active spline. These options control how the spline is evaluated, displayed, and mathematically constructed.
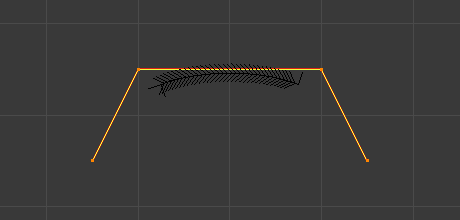
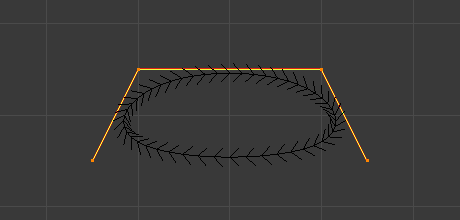
- Cyclic
Closes the active spline by connecting the last control point back to the first.
When enabled, the curve forms a continuous loop. When disabled, the spline remains open.
- Knot Mode NURBS
Controls how knots are generated along the NURBS spline, which affects parametrization and shape behavior.
- Normal:
Uses evenly spaced knots. Produces a smooth curve influenced uniformly by control points.
- Endpoint:
Clamps the curve so it passes through the first and last control points.
- Bezier:
Makes the NURBS curve behave similarly to a Bézier curve. The NURBS control points act like Free Bézier handles.
- Endpoint Bezier:
Combines endpoint clamping with Bézier-like behavior.
- Custom:
Allows manual control of knot values.
- Order NURBS
Defines the mathematical order of the NURBS curve. The order determines how many control points influence each evaluated segment of the curve.
Higher values mean that each control point influences a larger portion of the curve, resulting in smoother transitions. Lower values reduce influence and create sharper transitions.
The valid range for Order is typically 2-6, depending on the number of control points present.
- Resolution NURBS Bézier Catmull Rom
Adjusts the resolution of each segment by changing the number of subdivisions used when evaluating the spline.
Higher resolution values produce smoother curves but increase computational cost. Lower values reduce detail but improve performance.