Areas
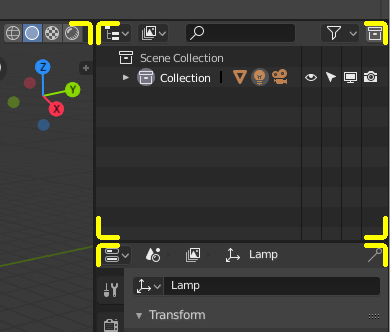
Area boundaries are indicated by rounded corners (yellow highlights).
The Blender window is divided into a number of rectangles called Areas. Areas reserve screen space for Editors, such as the 3D Viewport or the Outliner. Each editor offers a specific piece of functionality.
Areas are grouped into Workspaces, which are geared towards particular tasks (modeling, animating and so on).
Note
While some keyboard shortcuts in Blender are global (such as Ctrl-S for saving), many depend on which editor the mouse cursor is hovering over.
As an example, say you just selected two objects in the Outliner and want to join them. If you pressed the shortcut for this (Ctrl-J) while the cursor is still in the Outliner, nothing would happen as the shortcut isn’t valid there; you first need to move your cursor to the 3D Viewport.
Tip
The size of the border around areas can be adjusted in the user preferences with Border Width.
Handles can be enabled to always remain visible, which can help with area management on touch-enabled devices. See Show – Corner Handles:.
Resizing
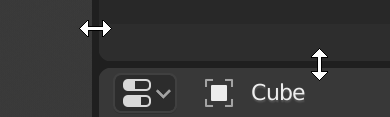
Areas can be resized by dragging their borders with LMB. Move the cursor over the border between two areas so that the cursor changes to a double-headed arrow, then click and drag.
Hold Ctrl to snap the size of areas to convenient sizes.
Hold Shift to move nearby aligned borders together while resizing.
Docking
Docking describes several ways an area a user can interactively manipulate the size and location of areas along with splitting an area into new areas.
To start the interactive process, placing the mouse cursor in an area corner will change the cursor to a cross (+). Once the cursor is a cross, press and hold LMB to perform any of the following actions:
If you press Esc or RMB before releasing the mouse, the operation will be canceled.
Joining
Properties is being joined to the Outliner.
Dragging from an area corner into the space of a second area will join two areas. The areas that will be joined will be displayed brighter.
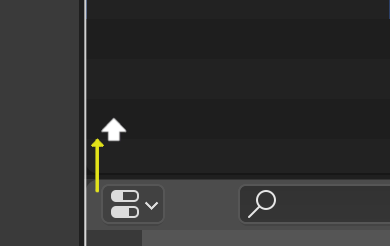
Splitting

Splitting an area will create a new area. Dragging from an area corner left/right will split the area vertically, to split the area horizontally drag up/down.
You can split and join areas at once by dragging a split operation into a separate area.
Dragging an area into the middle of a second area will replace the second area with the first area.
Area Options
RMB on the border opens the Area Options.
- Vertical/Horizontal Split
Shows an indicator line that lets you select the area and position where to split. Tab switches between vertical/horizontal.
- Join Up/Down/Left/Right
Shows the join direction overlay.
- Swap Areas
Swaps this area with the adjacent one.
Swapping Contents
You can swap the contents of two areas by pressing Ctrl-LMB on one of the corners of the initial area, dragging towards the target area, and releasing the mouse there. The two areas do not need to be side-by-side, though they must be inside the same window.
Maximize Area
Reference
- Menu:
- Shortcut:
Ctrl-Spacebar
Expands the editor area so it fills the whole window, while keeping the Topbar and Status Bar visible. This is useful for focusing on a single editor (e.g. 3D Viewport, Shader Editor) without changing your workspace layout.
In the 3D Viewport, maximizing the area temporarily hides:
Text Info overlay
Statistics overlay
To return to normal size, use the shortcut again or click the Back to Previous button in the Topbar.
Restore Area
Reference
- Menu:
- Shortcut:
Ctrl-Spacebar
Returns the maximized area back to its original size and restores the previous screen layout.
Focus Mode
Reference
- Menu:
- Shortcut:
Ctrl-Alt-Spacebar
Expands the editor area so it fills the entire window, hiding:
The Topbar
The Status Bar
Secondary regions (such as toolbars, sidebars, headers, etc.) of the editor itself.
This mode gives the maximum possible screen space for the active editor.
To return to normal size, use the shortcut again or click the icon in the top-right corner of the editor (visible only when hovering over the area).
Duplicate Area into New Window
Reference
- Menu:
Creates a new floating window containing a duplicate of the current editor area. The new window is fully functional and part of the same Blender instance.
This is especially useful when working with multiple monitors.
Tip
You can also create a new window by holding Shift-LMB on an area corner and dragging outward slightly.