Examples
To start with cloth, the first thing you need, of course, is some fabric. So, let us delete the default cube and add a plane. In order to get some good floppy and flexible fabric, you will need to subdivide it several times, about eight is a good number. So Tab into Edit Mode and subdivide the mesh a couple of times.
Now, we will make this cloth by going to the Physics tab. Scroll down until you see the Cloth panel, and press the Cloth button. Now, a lot of settings will appear, most of which we will ignore for now.
That is all you need to do to set your cloth up for animating, but if you playback the animation, the drop of your newly created fabric will be quite unspectacular. That is what we will cover in the next two sections about pinning and colliding.
Using Simulation to Shape/Sculpt a Mesh
You can Apply the Cloth Modifier at any point to freeze the mesh in position at that frame. You can then re-enable the cloth, setting the start and end frames from which to run the simulation forward.
Another example of aging is a flag. Define the flag as a simple grid shape and pin the edge against the flagpole. Simulate for 50 frames or so, and the flag will drop to its “rest” position. Apply the Cloth Modifier. If you want the flag to flap or otherwise move in the scene, re-enable it for the frame range when it is in camera view.
Smoothing of Cloth
Now, if you followed this from the previous section, your cloth is probably looking a little blocky. In order to make it look nice and smooth like the picture you need to apply a Smooth and/or Subdivision Surface Modifier in the Modifiers tab. Then, in the Toolbar, find the Edit panel and Press Smooth.
Cloth on Armature
Clothing can be simulated and pinned to an armature. For example, a character could have a baggy tunic pinned to the character’s waist with a belt.
The typical workflow for pinning:
Set the armature to its bind pose.
Model clothing that encloses but does not penetrate the character’s mesh.
Parent the clothing objects to the armature. The armature will now have several child meshes bound to it.
Create a new vertex group on each cloth object for its pinned vertices.
Add vertices to be pinned to this vertex group and give these vertices nonzero weights (you probably want weight = 1). For example the belt area of the tunic would be in the vertex group and have weight one.
Designate the clothing objects as “cloth” in the Physics tab of the Properties. Make sure the Cloth Modifier is below the Armature Modifier in the modifier stack.
In the cloth Shape panel select the vertex group.
Add collision physics to the character’s mesh.
The clothing is now ready; non-pinned vertices will be under control of the Cloth modifier. Pinned vertices will be under control of the Armature modifier.
Note
When animating or posing the character you must begin from the bind pose. Move the character to its initial pose over several frames so the physics engine can simulate the clothing moving. Very fast movements and teleport jumps can break the physics simulation.
Cloth with Animated Vertex Groups
Cloth with animated pinned vertices: Regression blend-file. Unsupported: Starting with a goal of 0 and increasing it, but still having the vertex not pinned will not work (e.g. from goal = 0 to goal = 0.5).
Cloth with Dynamic Paint
Cloth with Dynamic Paint using animated vertex groups: Regression blend-file. Unsupported: Starting with a goal of 0 and increasing it, but still having the vertex not pinned will not work (e.g. from goal = 0 to goal = 0.5) because the necessary “goal springs” cannot be generated on-the-fly.
Using Cloth for Soft Bodies
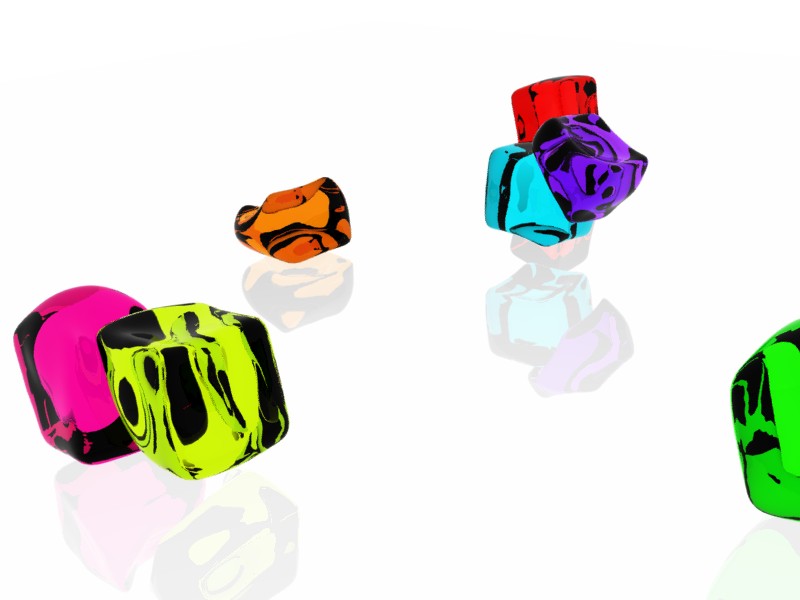
Using cloth for soft bodies.
Cloth can also be used to simulate soft bodies. It is for sure not its main purpose but it works nonetheless. The example image uses standard Rubber material, no fancy settings, just Alt-A.
Blend-file for the example image: Using Cloth for soft bodies.
Cloth with Wind
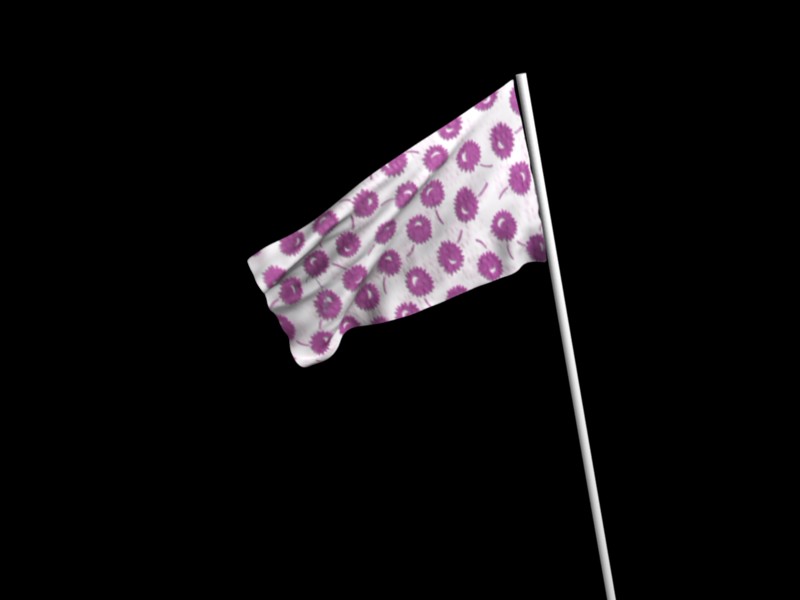
Flag with wind applied.
Regression blend-file for Cloth with wind and self-collisions (also the blend for the image above): Cloth flag with wind and self-collisions.