Organizzazione dei Nodi
Snapping
Snapping aligns the position and size of nodes to the background grid. This feature allows nodes to snap to a grid, ensuring that node layouts remain clean and visually aligned. Snapping can be toggling the snap icon (/) in the editor’s headers or toggled temporarily while transforming nodes by holding Ctrl.
Auto-Offset
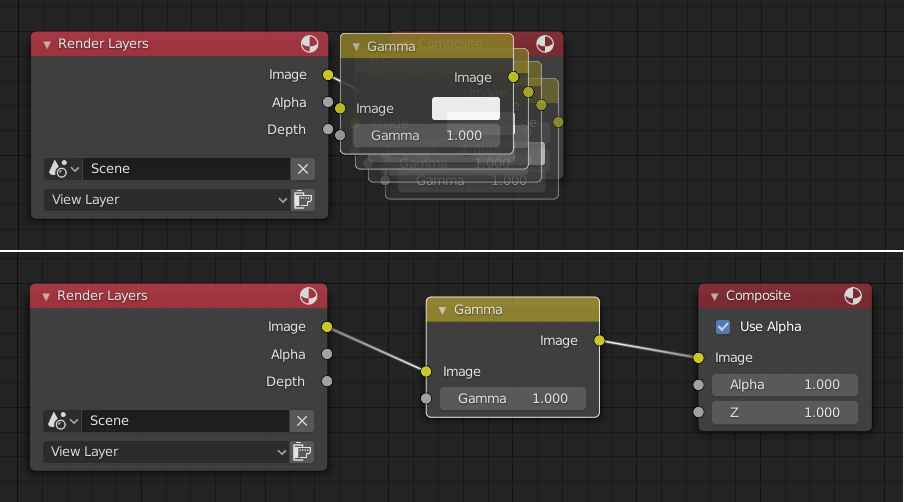
Quando si rilascia un nodo con almeno un connettore d’ingresso e uscita su una connessione esistente tra due nodi, Auto-offset, a seconda dell’impostazione della direzione, sposta automaticamente il nodo sinistro o destro per fare spazio al nuovo nodo . Offset automatico è una funzione che consente di organizzare in modo interattivo i layout dei nodi senza interrompere il flusso di lavoro dell’utente.

Auto-offset is enabled by default, but it can be disabled in the Preferences.
Puoi cambiare la direzione dell’offset mentre sposti il nodo premendo T.
The offset margin can be changed using the Auto-offset Margin setting in the Editing section of the Preferences.