UV Layout
Referência
- Categoria:
Import-Export
- Menu:
Activando Adição
This add-on is enabled by default. In case it is not:
Abra o Blender e vá para a seção Complementos do Preferencias.
Search «UV Layout» and check the Enable Add-on checkbox.
Uso
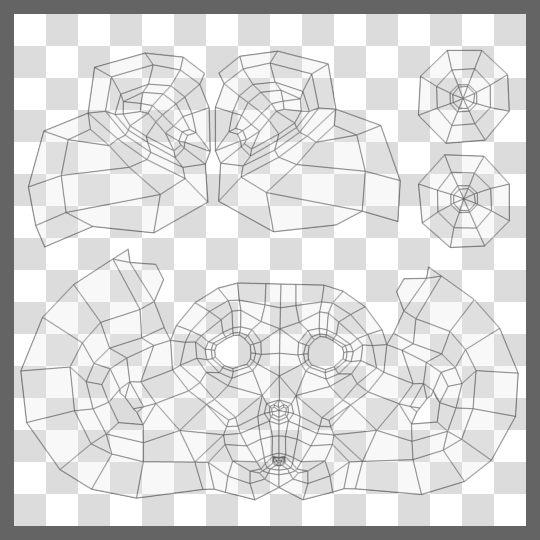
This add-on allows you to export a UV map as an image:
()
It allows you to export to PNG, EPS, or SVG format.
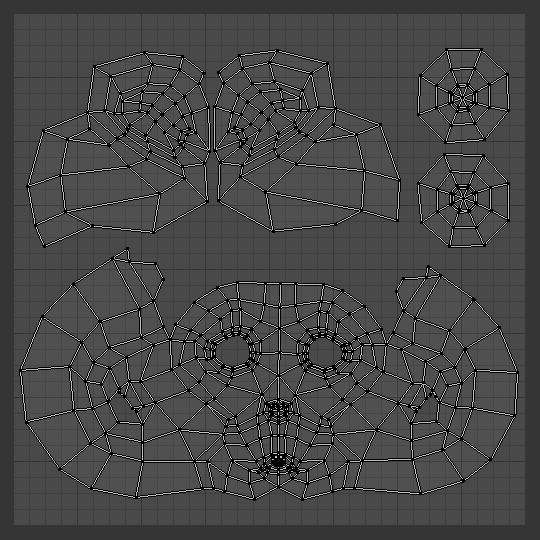
The desired UV faces must be selected in the 3D View, not the UV Editor.
The image will be lines defining the UV edges that are within the default grid of the UV Editor. Edges outside this boundary, even if selected, will not be shown in the saved graphic.
You can then bring this image into your favorite painting program, and use it as a transparent reference guide to create a texture. Then export that image and load it back into Blender as part of a material set-up. For using images as textures, see the page on Image Textures.
Propriedades
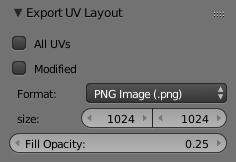
Opções de exportação.
- Todas as UVs
Export all UVs rather than only what is selected in the 3D View.
- Export Tiles
Choose whether to export only the [0,1] range, or all UV tiles
- Modificado
Export UVs from the mesh with all its modifiers evaluated.
- Formato
Image file format to save to (
.png,.eps,.svg).- Tamanho
The size of the exported image in pixels.
- Opacidade de preenchimento
Define a opacidade do preenchimento.