Curve Widget

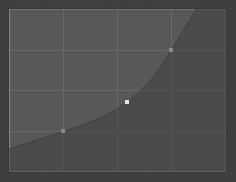
Curve widget.
This widget is used to edit two types of curves:
Profile curves that simply describe a two-dimensional shape.
Mapping curves that map an input value on the X axis to an output value on the Y axis.
The available options are slightly different depending on this type. Also, unlike profile curves, mapping curves can’t have overhang: each X value must correspond to exactly one Y value.
Control Points
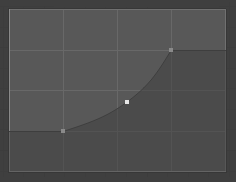
Like all curves in Blender, the curve in this widget is defined using control points.
- Add
Click LMB anywhere on the curve where there is not already a control point.
- 이동
Drag the point with LMB.
- Remove
Select the point and click the button at the bottom right. Alternatively, press X.
조작
- Zoom In
Zoom in to show more details and provide more accurate control. To navigate around the curve while zoomed in, click and drag with LMB in an empty area.
- Zoom Out
Zoom out to show fewer details and view the curve as a whole. You cannot zoom out further than the clipping region (see Clipping below).
- Reverse Path Profile Curves
Mirror the curve around the diagonal.
- Clipping Options Mapping Curves
- Use Clipping
Force curve points to stay between the specified values.
- Min X/Y and Max X/Y
Set the minimum and maximum bounds of the curve points.
- Specials
- Reset View
Zoom the view all the way out.
- Extend Options Mapping Curves
Controls how the curve is extended before the first point and after the last point.
- Extend Horizontal
Causes the curve to “go flat.”
- Extend Extrapolated
Causes the curve to maintain its direction.
- Reset Curve
Resets the curve to the default (removes all added points).
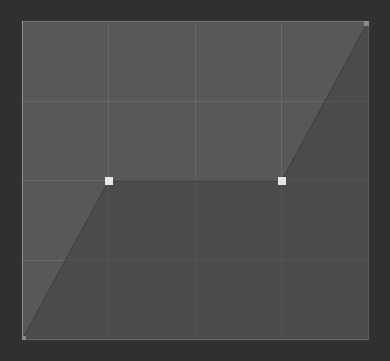
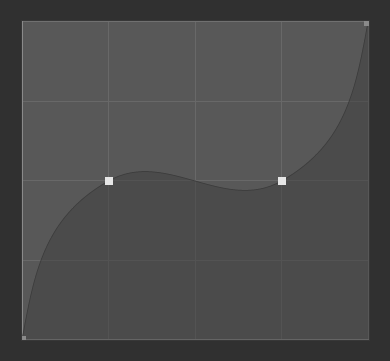
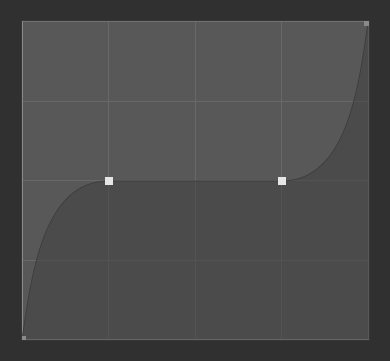
- Handle Type
The handle type of the selected control point. This determines the shape of the curve segments around it.
- Auto Handle
Results in a smooth curve without the need to manually set up handles.
- Vector Handle
Results in straight lines and a sharp corner.
- Free Handle Profile Curves
Shows freely movable Bézier handles that are independent of each other. This can result in a sharp corner at the control point.
- Aligned Free Handles Profile Curves
Shows freely movable Bézier handles that are locked together to always point in opposite directions. This ensures the curve is always smooth at the control point.
- Auto Clamped Handle Mapping Curves
Like Auto Handle, but also prevents overshoot.
- X, Y
The coordinates of the selected control point.
- Delete X
Remove the selected control point. The first and last points cannot be deleted.
- Copy/Paste Ctrl-C, Ctrl-V
The whole curve can be copied from one Curve Widget to another by hovering over it and pressing Ctrl-C, Ctrl-V.
- Presets Brush Curve Widgets Only
A number of preset curves that the curve can be set to. The exact shape depends on whether the default curve for the property has a positive or negative slope.