Line Project
Reference
- Mode:
Sculpt Mode
- Tool:
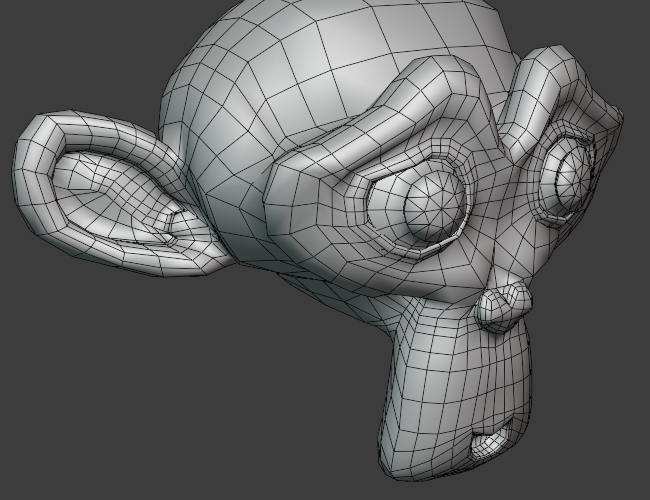
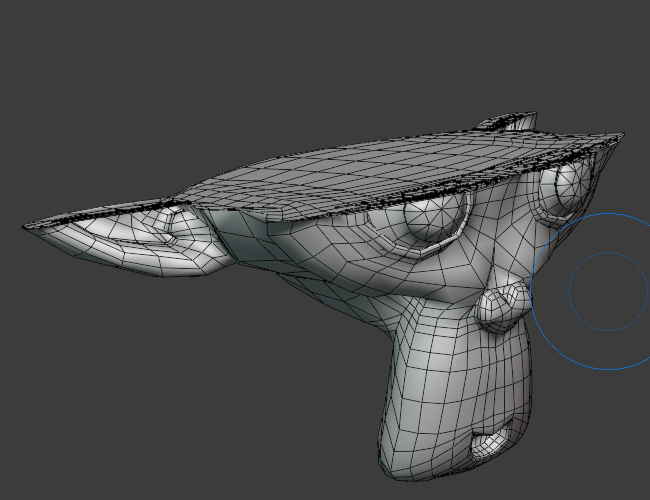
This tool flattens the geometry along a plane determined by the camera view and a drawn line. The region of the mesh being flattened is visualized by the side of the line that is shaded.
사용법
Use the tool by:
Orient the 3D Viewport to define the direction in depth.
LMB and hold while moving the cursor to define direction of the line projection.
Adjust the operation with extra Controls shortcuts.
Release LMB to confirm.
조작
- Flip F
Changes the side of the line that the tool projects geometry.
- Snap Ctrl
Constrains the rotation of the line to 15 degree intervals.
- Move Ctrl-Spacebar
Reposition the line.
Tool Settings
- Limit to Segment
The affected area will not extend the length of the drawn line. This helps defining a smaller area instead of extending the line infinitely long

