Get Extensions
The Get Extensions section lets you install and manage extensions preferences.
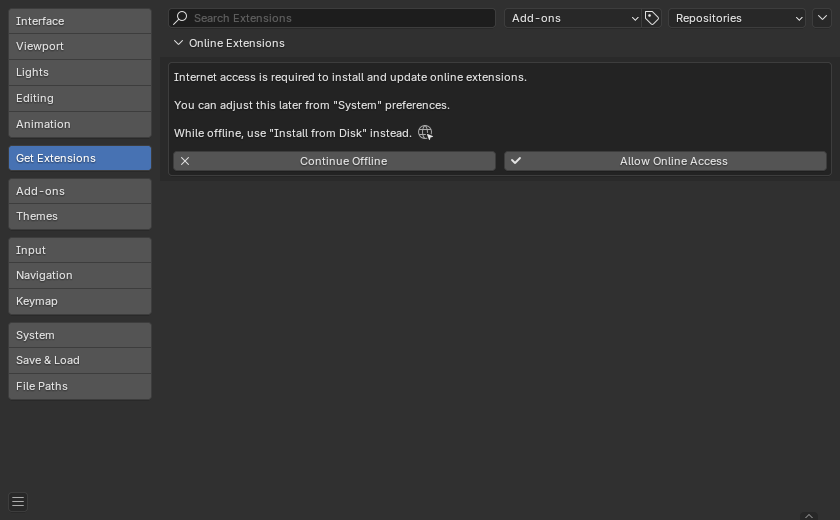
Blender Preferences Extensions section.
Veja também
To learn about extensions and how to create them, refer to the Extensions page.
Installing Extensions
There are different ways to install an extension:
- Install from the Website
Drag the installation URL into Blender.
- Install from Blender
Search for the extension name and click on Install.
- Install from Disk
Use the drop-down menu in the top right, or drag-and-drop an extension
.zippackage into Blender.
Nota
Any installed extension can be removed. This is a permanent change, though. To stop an extension temporarily, it is better to Disable it instead.
Dica
See network troubleshooting for issues connecting to remote repositories.
Updating Extensions
You need to manually check for available updates. Once an update is found, Blender will let you update any of the available extensions. If updates are available an Update All button will be available to install all available updates.
The current available version of an extension on the repository will always be considered the latest version.
Enable/Disable
Once an extension is installed it can be disabled (or re-enabled) as part of the user preferences. Some extension types do not support this, and will always be shown as enabled.
Dica
If the Add-on does not activate when enabled, check the Console window for any errors that may have occurred.
Extension Settings
- Visit Extensions Platform
Opens extensions.blender.org in a web browser.
- Refresh Remote
Manually check the online repositories for available updates.
- Refresh Local
Scan extension & legacy add-ons for changes to modules & meta-data (similar to restarting). Any issues are reported as warnings.
- Install Available Updates
Update all the extensions that have an update available.
- Install from Disk
Install an extension from a
.zippackage. This is installed to a Local Repository and no updates will be available.This can also be used to install legacy Add-ons, for more information see: Installing Legacy Add-ons.
Filter by Type
Or show only extensions of a single type:
- Todos:
Show all extensions.
- Complementos:
Only show add-ons.
- Temas:
Only show themes.
Repositories
By default Blender has a Remote Repository pointing towards the Official Blender Extensions Platform and two Local Repositories.
In the cases where more repositories are needed (e.g., to access third party extension platforms), new repositories can be added.

Repositories.
To add new repositories click on the icon:
- Add Remote Repository
Add a repository from a URL.
- Add Local Repository
Add a repository which will be managed by the user (to be used with Install from Disk).
To remove repositories click on the icon:
- Remove Repository
Remove an extension repository.
- Remove Repository & Files
Remove a repository and delete all associated files when removing.
These changes are permanent and cannot be reversed.
Remote Repository
Remote repository with support for listing and updating extensions.
Options:
- Check for Updates on Startup
Allows Blender to check for updates upon launch. When updates are available a notification will be visible on the status bar.
- Access Token
Personal access token, may be required by some repositories.
Local Repository
A repository managed manually by the users.
There are two types of local repositories. By default new local repositories are added as User repositories. This is what you want most of the time.
After creating a repository they can be changed in the Advanced options to have a source System. These repositories are intended to bundle extensions with Blender, to make it portable.