Fill Tool
Referência
- Mode:
Draw Mode
- Tool:
The Fill tool creates filled Grease Pencil strokes by detecting enclosed regions formed by existing strokes.
Depending on the selected Fill Solver, the boundary can be computed from the stroke geometry or from a pixel-based representation, allowing fills to work with both clean line art and more complex drawings.
The Fill tool uses any of the Grease Pencil Fill draw mode brushes. Activating a brush from an asset shelf or brush selector also activates this tool for convenience.
Tool Settings
Brush Asset
The asset selector can be used to open a pop-up asset browser to select the active brush asset for the tool.
See Asset Operators for more information.
Brush Settings
You can also configure the brush’s main settings exposed in the Tool Settings for convenience.
- Direction Ctrl
Determines which side of the detected boundary is filled.
- Normal:
Fill the enclosed region under the cursor.
- Inverted:
Fill the region outside the detected boundary. This is useful for filling the background around a drawing.
- Size Delaunay
Maximum distance used to search for an enclosed region around the cursor.
- Precision Pixel
Controls the accuracy of the pixel-based boundary detection.
Higher values produce more accurate fills at the cost of increase computation time.
- Dilate/Contract Pixel
Expand or shrink the detected fill region relative to the boundary strokes.
- Thickness Pixel
Thickness of the boundary strokes used by the Pixel fill solver.
Avançado
- Fill Solver
Method used to detect the fill region.
- Delaunay:
Uses the stroke geometry directly to compute enclosed regions. Produces accurate fills that are independent of viewport resolution.
- Pixel:
Rasterizes the strokes and performs a flood fill. Useful for sketches or drawings where geometric boundaries are less reliable.
- Size Unit Delaunay
Controls how the brush Size is measured.
- Visualização:
Measure the brush Size in screen space.
- Cena:
Measure the brush Size in scene units.
The brush size remains constant regardless of the viewport zoom level. The unit system is configured in the Scene Units.
- Boundary
Determines which strokes are considered when detecting fill boundaries.
- Todos:
Use both strokes and fill guide strokes.
- Strokes:
Use only strokes.
- Edit Lines:
Use only fill guide strokes.
- / Show Lines
Display the auxiliary lines used to compute the fill boundary.
- Camadas
Determines which Layers contribute to the fill boundary.
- Visíveis:
Calculate boundaries using all visible layers.
- Ativo(a):
Calculate boundaries using only the active layer.
- Layer Above:
Calculate boundaries using the layer above the active layer.
- Layer Below:
Calculate boundaries using the layer below the active layer.
- All Above:
Calculate boundaries using all layers above the active layer.
- All Below:
Calculate boundaries using all layers below the active layer.
- Simplify Pixel
Reduce the complexity of the detected boundary before filling.
Higher values improve performance but may reduce the accuracy of the filled region.
- Ignore Transparent
Ignore strokes whose material opacity falls below the specified threshold when calculating fill boundaries.
The slider controls the opacity threshold used to consider a material transparent.
- Limit to Viewport Pixel
Fill only regions visible in the viewport.
- Auto-Remove Fill Guides
Automatically remove manually created fill guide strokes after creating a fill.
Gap Closure
Gap closure generates temporary helper lines to automatically close small gaps between strokes, allowing open regions to be filled.
- Internal Gaps
Stop helper lines at internal gaps.
- Detection Factor
Controls the sensitivity of gap detection.
Higher values detect more gaps, which can result in smaller fill regions.
- Size Pixel
Maximum distance used by the selected gap closure method when creating temporary helper lines.
- Mode S Pixel
Method used to generate temporary helper lines.
- Raio:
Connect nearby open stroke endpoints that fall within the specified radius.
- Extend:
Extend open stroke ends until they intersect another stroke or reach the specified distance.
- Visual Aids Pixel
Display the temporary helper lines used for gap closure.
- Strokes Collision D Pixel
Stop extending helper lines when they intersect an existing stroke.
Uso
Selecionando um Brush e Material
Nas Tool Settings selecione o pincel, material e tipo de cor para usar com a ferramenta. A ferramenta Fill usa tipos Fill Brush. Veja Brush Settings para mais informações.
Filling Areas
Clique LMB em uma área fechada por strokes. A ferramenta irá calcular automaticamente o limite e criar um novo stroke fechado preenchido com o material selecionado.

Fill Guides
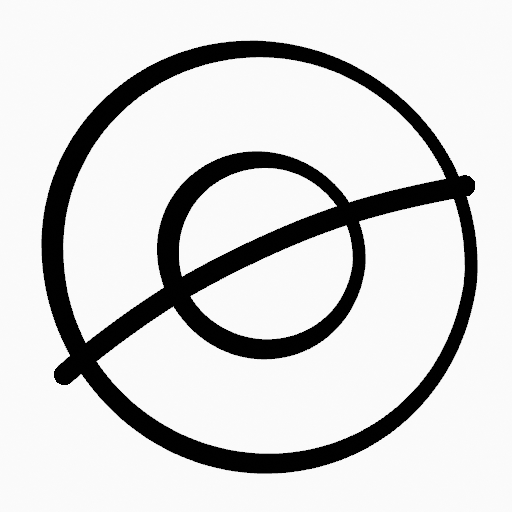
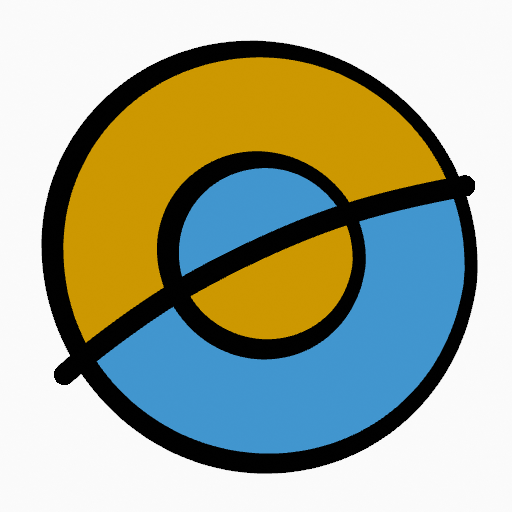
If you have a large gap in an area that you want fill, you can add fill guides manually, a temporary auxiliary lines for closing open shapes. To create a fill guide stroke use Alt-LMB and draw a line to close the desired area.
Desenho original.¶ |
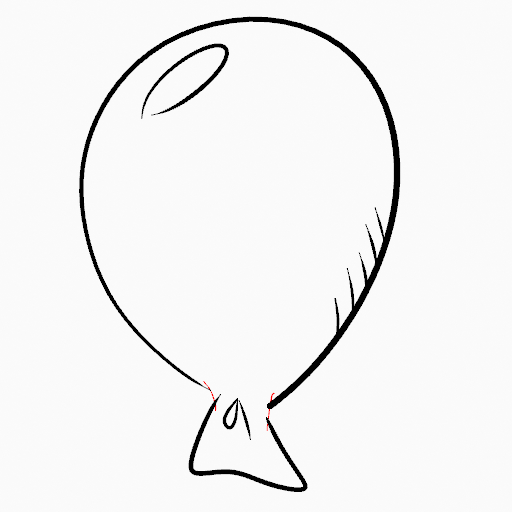
Add fill guide to close open areas (red lines).¶ |

Use a ferramenta Fill para vazar material na nova área fechada.¶ |
When you are satisfied with the fill result you can delete the fill guide using the Clean Up tool in the Grease Pencil Menu in Edit Mode.
Automatic Gap Closure
A more automatic way to close gaps in an area that you want fill is using temporarily helper lines. There are two method to use «Radius» or «Extend»
Radius use temporary auxiliary lines calculated from the radius of nearby open points to close open shapes. Set the size more than zero to control the circle size over opened points (the circle will disappear when the line close the gap). Click over the area you want to be filled and change the length of the strokes using PageUp PageDown or Wheel. When you are satisfied with the length and you are sure the temporarily strokes cross each other, click again to fill the area.

Desenho Original.¶ |
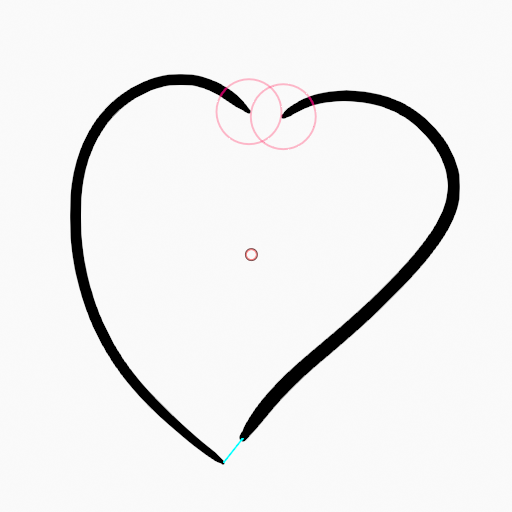
Use Radius mode to close open areas (Red circles and cyan lines).¶ |

Use a ferramenta Fill para vazar material na nova área fechada.¶ |
Extend use temporary auxiliary lines extending the actual strokes ends for closing open shapes. Set the size more than zero to use the extended lines, click over the area you want to be filled and change the length of the strokes using PageUp/PageDown, Wheel or a pen’s MMB. When you are satisfied with the length and you are sure the temporarily strokes cross each other, click again to fill the area.