使用顶点组
骨骼顶点组
This is one of the main uses of weight painting. While you can have Blender generate the weights automatically (see the skinning section), you may want to tweak them or even create them from scratch, especially around joints.
The process is as follows:
Select the armature and bring it into Pose Mode by pressing Ctrl-Tab.
确保位于顶栏的 未勾选。
选择网格对象然后进入 权重绘制模式。
Make sure that Bone Selection is checked in the 3D Viewport's header.
Select a bone using Alt-LMB (or Shift-Ctrl-LMB). This will activate the bone's vertex group and display its current weights on the mesh.
Paint weights for the bone using LMB.
Note
You can only select one bone at a time in this mode.
Tip
The bones are likely embedded inside the mesh, making them invisible and unselectable. To get around this, you can enable In Front for the armature.
If a bone doesn't have a vertex group yet when you start painting, Blender will create one automatically.
If you have a symmetrical mesh and a symmetrical armature, you can use Mirror Vertex Groups to automatically create vertex groups and weights for the other side.
粒子顶点组
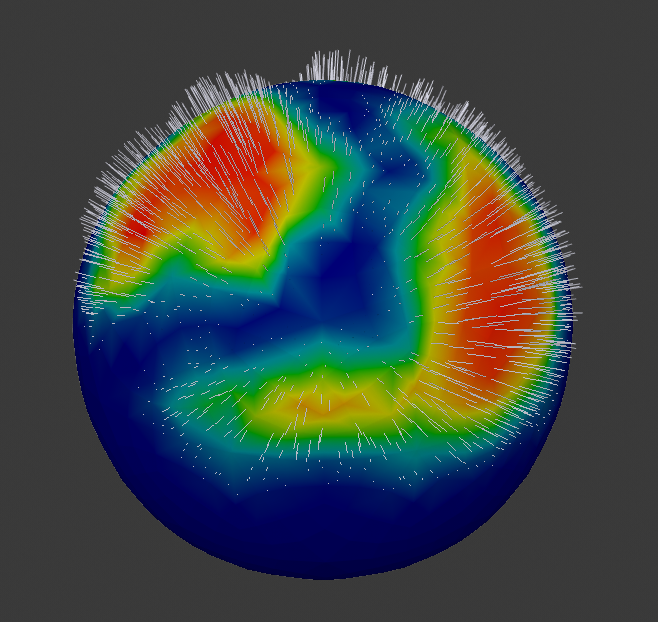
粒子散射的权重绘制。
By selecting vertex groups in the Vertex Groups panel of a particle system's properties, you can have different particle densities, hair lengths etc. across different areas of the mesh.