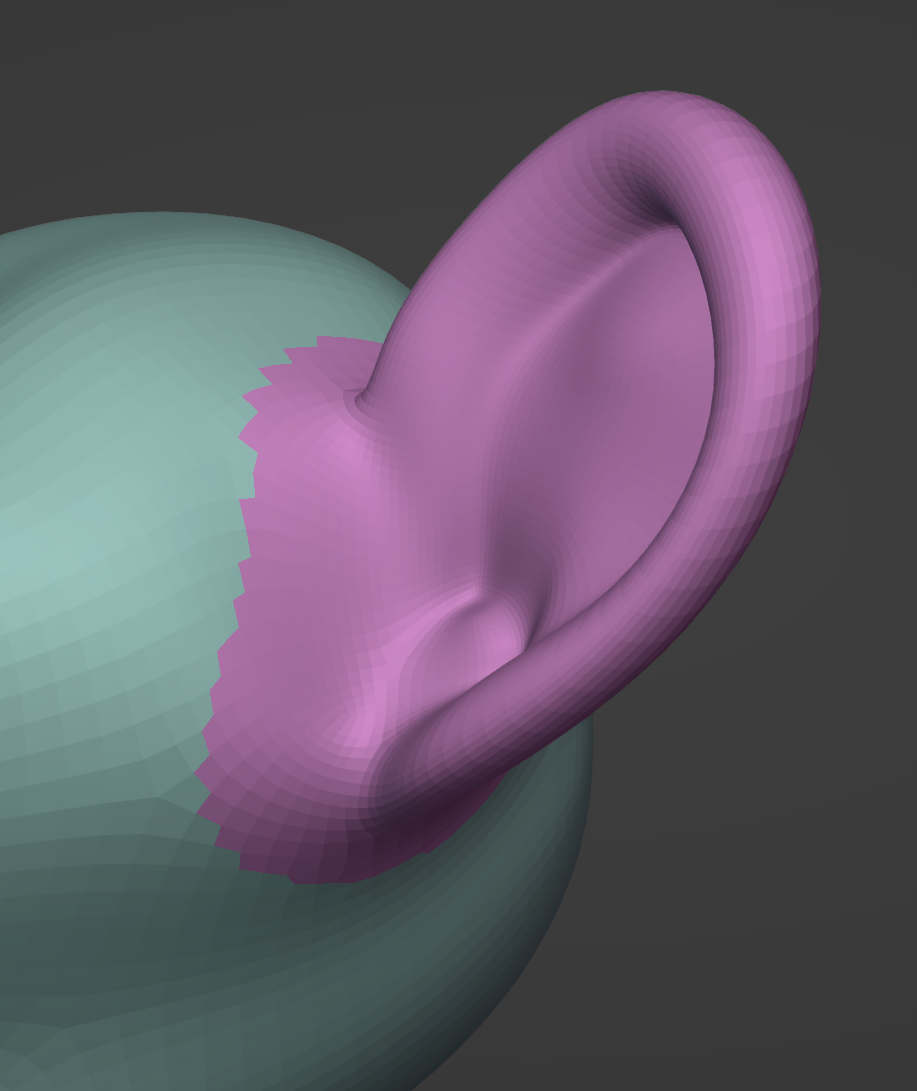
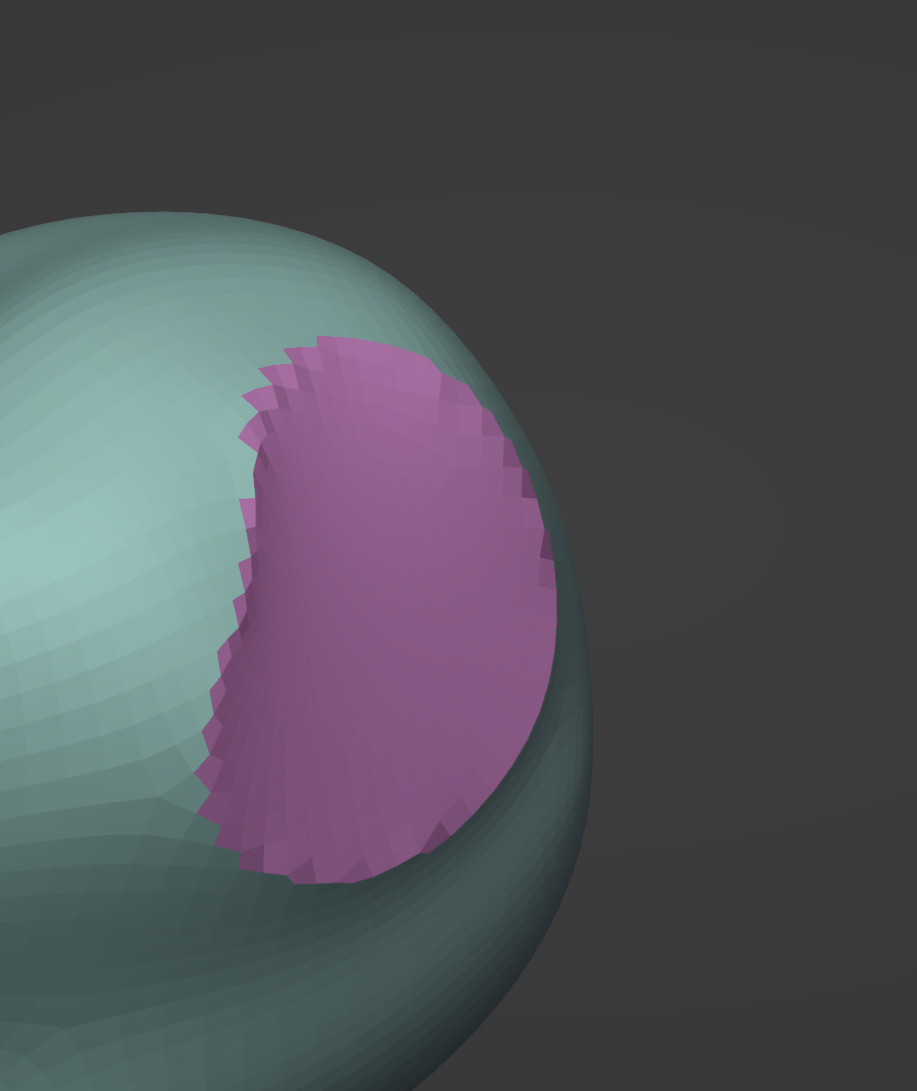
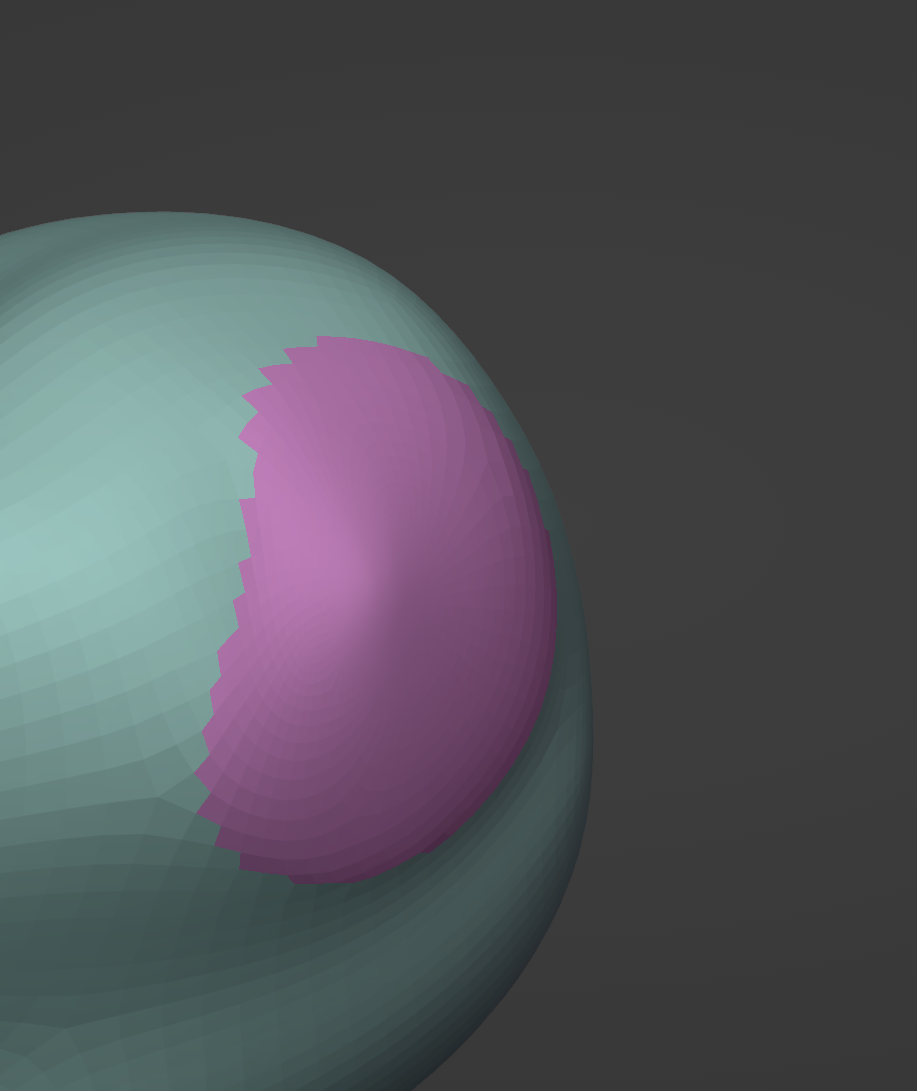
编辑面组
参考
- 模式:
雕刻模式
- 工具:
- 操作项:
编辑光标下的 面组。
工具设置
- 模式
要应用于面集的操作。
- 扩展面组:
Grows the face sets boundary by one face based on mesh topology. This is also available as a shortcut operator via Ctrl-W.
- 收缩面组:
Shrinks the face sets boundary by one face based on mesh topology. This is also available as a shortcut operator via Ctrl-Alt-W.
- 删除几何体:
删除指定给面组的面。
- 平顺位置:
Creates a perfectly flat and smooth geometry patch from the face set. This is the ideal way to trim parts of your mesh if the vertex count is too high for other operations, or the vertex IDs must not be altered (Like when using Multires sculpting).
- 平顺切向:
通过最小化顶点 切向 的变化,从面组创建一个尽可能平滑的几何补丁。这对于在复杂拓扑结构上创建平滑的曲面非常理想,在这种情况下,仅使用平滑笔刷不会产生预期的结果
- 强度
The amount of effect the filter has on the mesh. This setting is only available for the fairing operations.
- 修改隐藏
将编辑操作应用于隐藏的面集。