Các Sắp Đặt Thế Giới (World Settings)
Lượt về Sương Mù (Mist Pass)
Tham Chiếu [Reference]
- Panel (Bảng):
Ghi chú
The mist pass must be enabled in the View Layer tab of the Properties Editor before the settings below are available in the World tab.
Mist can greatly enhance the illusion of depth in your rendering. To create mist, Blender generates a render layer with a depth map ranging between 0.0 and 1.0 that can be used in the Compositor to generate a mist effect.
- Khởi/Đầu (Start)
The distance from the camera at which the mist starts to fade in.
- Chiều/Độ Sâu (Depth)
The distance from Start of the mist, that it fades in over. Objects further from the camera than Start + Depth are completely hidden by the mist.
- Suy Giảm Dần [Falloff]
The curve function that controls the rate of change of the mist's strength further and further into the distance.
- Bình Phương (Quadratic):
Uses the same calculation as light falloff (\(1\over{x^2}\)) and provides the smoothest transition from transparent (0.0) to opaque (1.0).
- Tuyến Tính (Linear):
Has a steeper start than quadratic (\(1\over{x}\)).
- Đảo Nghịch Bậc Hai (Inverse Quadratic):
Has the steepest start (\(1\over{\sqrt{x}}\)) and approaches 1.0 faster than the other two functions.
Mẹo
A visualization can be activated in the panel.
Sương Mù ví dụ (tập tin blend (blend-file)).
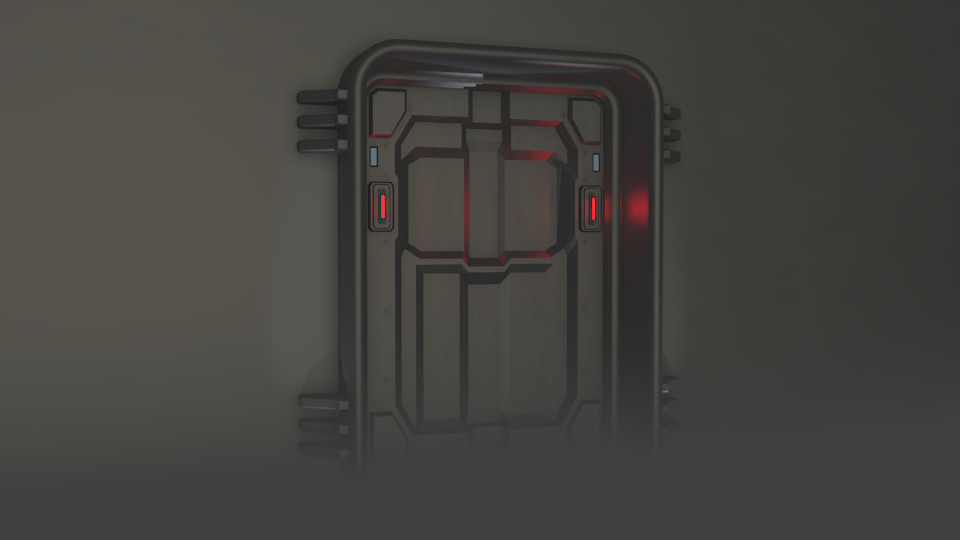
Tầm Nhìn của Tia Xạ (Ray Visibility)
Tham Chiếu [Reference]
- Panel (Bảng):
As with other objects, Ray Visibility allows you to control which other shaders can "see" the environment.
Một Số Mẹo (Tricks)
Sometimes it may be useful to have a different background that is directly visible versus one that is indirectly lighting the objects. A simple solution to this is to add a Mix node, with the Blend Factor set to Is Camera Ray. The first input color is then the indirect color, and the second the directly visible color. This is useful when using a high-res image for the background and a low-res image for the actual lighting.
Similarly, adding the Is Camera and Is Glossy rays will mean that the high-res image will also be visible in reflections.
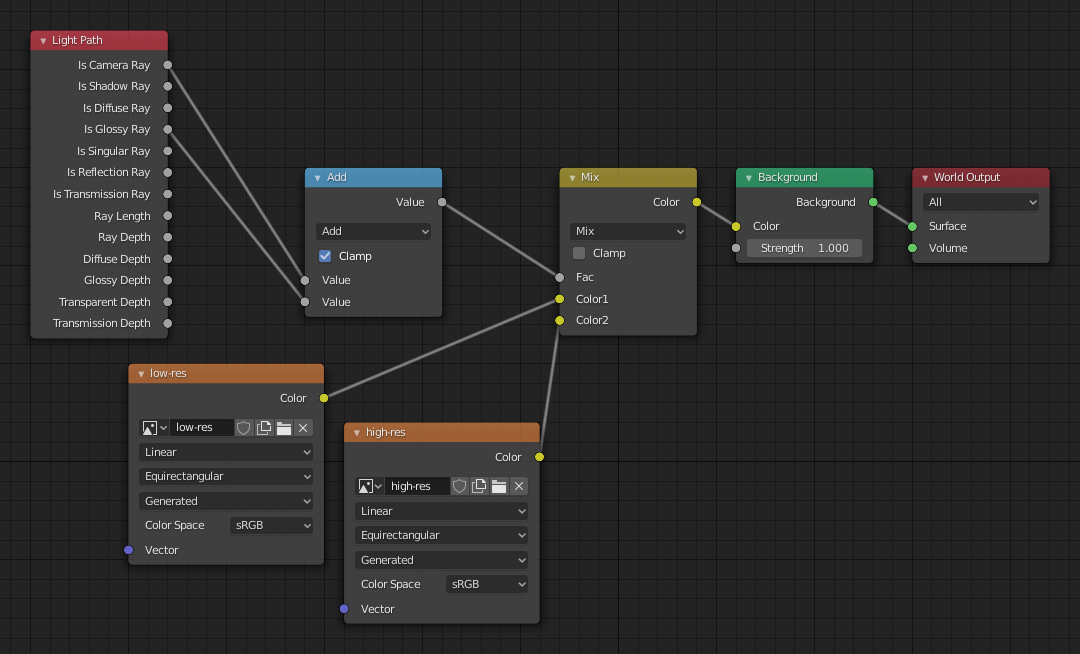
Nodes for the trick above.
Các Sắp Đặt (Settings)
Tham Chiếu [Reference]
- Panel (Bảng):
Bề Mặt (Surface)
- Lấy Mẫu Vật (Sampling)
Controls the sampling method for the world material. Selecting Auto or Manual enables Multiple Importance Sampling while None disables it. Multiple Importance Sampling is a method to sample the background texture such that lighter parts are favored, creating an importance map. It will produce less noise in the render in trade of artifacts (Fireflies). Enable this when using an image texture with small area lights (like the sun), otherwise noise can take a long time to converge.
Below is a comparison between Multiple Importance Sample off and on. Both images are rendered for 25 seconds (Off: 1,500 samples, On: 1,000 samples).

- Độ Phân Giải của Bản Đồ (Map Resolution)
Sets the resolution of the importance map. A higher resolution will better detect small features in the map and give more accurate sampling but conversely will take up more memory and render slightly slower. Higher values also may produce less noise when using high-res images.
- Số Lần Bật Nẩy Tối Đa (Max Bounces)
Maximal number of bounces the background light will contribute to the render.
Xem thêm
See Reducing Noise for more information on how to reduce noise.
- Tụ Quang Bóng Tối (Shadow Caustics)
Mark the World Shader as a refractive caustic caster. This setting can be used in conjunction with the Cast and Receive caustics object settings to selectively speed up refractive caustic rendering of select objects.
- Bóng Tối Ngả Xuống (Cast Shadow)
Allows the world background to cast shadows in the scene.
When enabled, objects can block light coming from the world environment. Disabling this prevents the world from contributing shadowing, which can be useful for artistic control or reducing overly dark indirect lighting.
Volume [Thể Tích]
- Phương Pháp Lấy Mẫu Vật (Sampling Method)
- Khoảng Cách (Distance):
For dense volumes lit from far away Distance sampling is more efficient in most cases. Usually this shouldn't be used for World volumes.
- Góc Đều (Equiangular):
If you have got a light inside or near the volume then equiangular sampling is better.
- Đa Cân Trọng [Multiple Importance]:
If you have a combination of both, then the multiple importance sampling will be better.
- Interpolation (Nội Suy)
Interpolation method to use for the volume.
- Tuyến Tính (Linear):
Simple interpolation which gives good results for thin volumes.
- Lập Phương/Bậc Ba (Cubic):
Smoothed high-quality interpolation needed for more dense volumes, but slower.
- Step Size Biased
Distance between volume shader samples for world volume shaders. Only enabled when is enabled. See Volume Render Settings for more information.
Nhóm Ánh Sáng (Light Group)
- Nhóm Ánh Sáng (Light Group) Duy Cycles (Cycles Only)
Select the Nhóm Ánh Sáng (Light Group) to add the current "Bộ Tô Bóng Bề Mặt Thế Giới" too.
- Thêm Nhóm Ánh Sáng (Add Light Group)
If the name input into the Light Group field does not align with an existing Light Group, then pressing this button will create a Light Group with that name and assign this World Shader to it.