Cortar bucle y deslizar
Referencia
- Modo:
Modo Edición
- Menú:
- Atajo:
Ctrl-R
Loop Cut and Slide splits a loop of faces into two or more parallel loops. The new edges are created in the middle by default, but you can also slide them closer to a side.
Uso
La herramienta es interactiva y consta de dos pasos:
Elegir el bucle de caras a ser cortado
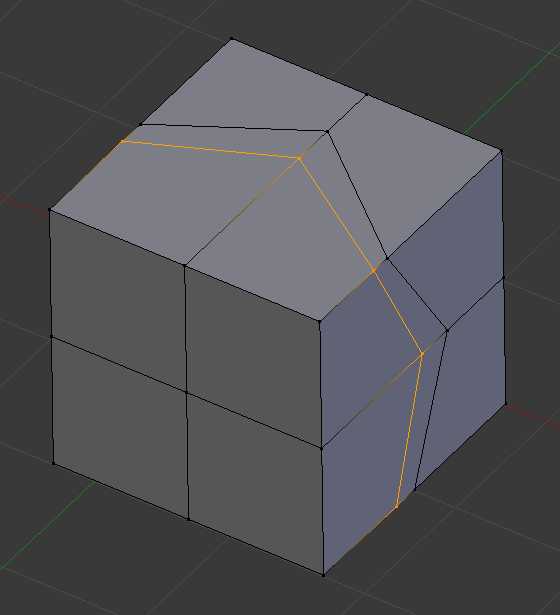
After activating the tool, move the cursor over an edge through which the cut should pass (that is, an edge that’s perpendicular to the cutting direction). Blender shows a yellow line previewing the cut that will be made. Click LMB to confirm and move to the next step, or RMB to abort.
Desplazar los nuevos bucles de bordes
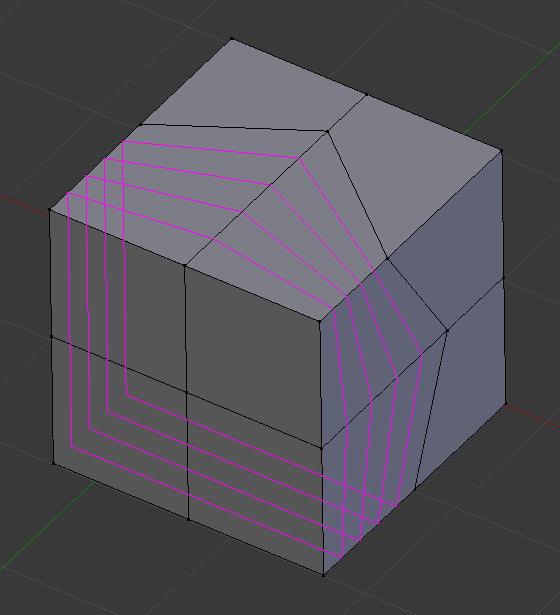
You can now move the mouse to change the position of the new edge loop. Click LMB to create the cut at the chosen location, or RMB to create it at the center.
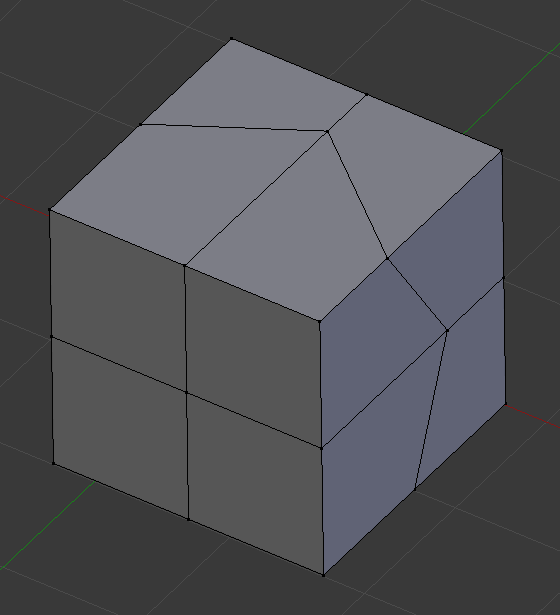
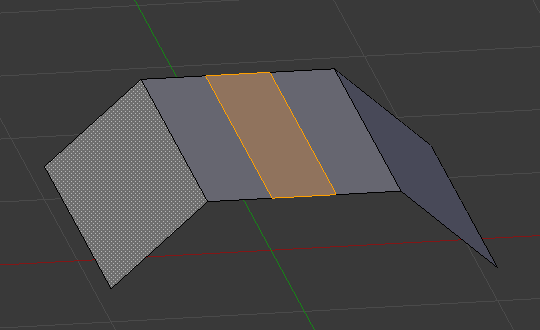
Malla antes de insertar el bucle de bordes.¶ |

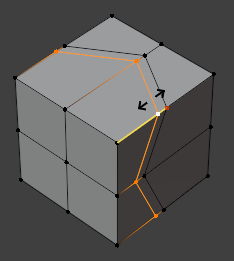
Escoger el bucle de bordes.¶ |
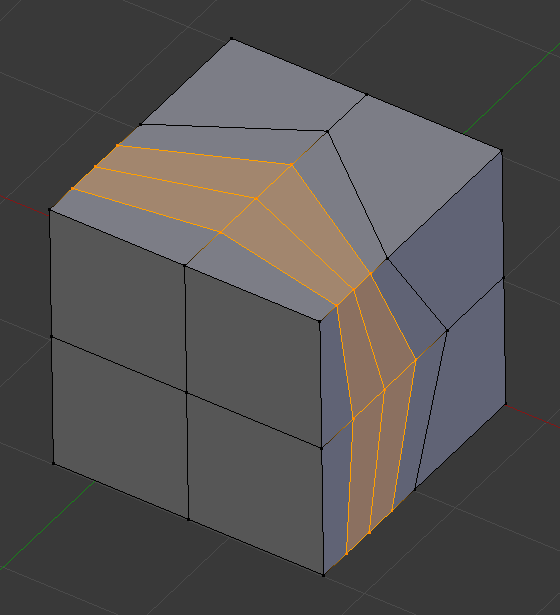
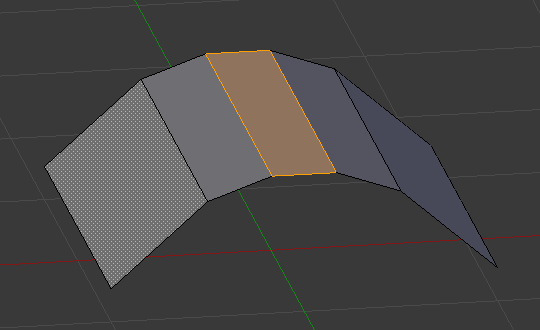
Deslizar el nuevo bucle de bordes.¶ |
Ver también
La herramienta Deslizar bordes para deslizar bucles de bordes ya existentes.
Opciones
Estas opciones están disponibles mientras la herramienta está en uso y más adelante en el panel Ajustar última operación.
- Cantidad de cortes Wheel
Durante el primer paso, será posible cambiar la cantidad de cortes, desplazando la Rueda, introduciendo un número o pulsando las teclas RePág o :kbd :AvPág.
- Suavizado
How much to offset the newly created edges along their normals to maintain surface curvature. You can change this in the first step using Alt-Wheel, but because the smoothness isn’t previewed at that stage, it’s typically better to change it afterwards in the Adjust Last Operation panel.
- Decaimiento
El tipo de decaimiento para Suavizado. Permitirá cambiar la forma del perfil.
- Factor
Posición del bucle de bordes en relación con los circundantes.
- Uniforme E
Makes the new edge loop have an even distance to an existing adjacent one (instead of a distance that’s proportional to the length of each perpendicular edge it crosses). You can press E during the second step to toggle it.
- Opuesto F
Keep an Even distance to the other adjacent edge. You can press F during the second step to toggle it.
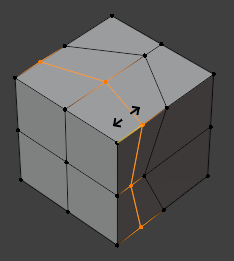
Corte con la opción Uniforme inactiva.¶ |
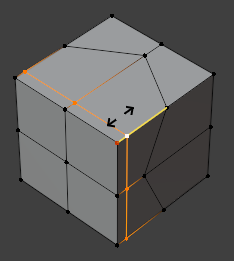
Corte con la opción Uniforme activa. El punto rojo indicará el lado con respecto al cual se mantendrá una distancia uniforme.¶ |
Corte con las opciones Uniforme y Opuesto activas.¶ |
- Limitar C
When unchecked, the new edge loop can go outside the face loop’s boundary edges. You can press C or hold Alt during the second step to toggle it.
- Edición simétrica
When checked, sliding the newly created edges will also slide any existing edges on the other side of the mesh. Mesh Symmetry needs to be enabled for this to work.
- Corregir UV
When unchecked, the faces in the UV map will be split uniformly even if the cut was placed off-center on the 3D mesh.