ノードの配置
Snapping(スナップ)
Snapping aligns the position and size of nodes to the background grid. This feature allows nodes to snap to a grid, ensuring that node layouts remain clean and visually aligned. Snapping can be toggling the snap icon (/) in the editor's headers or toggled temporarily while transforming nodes by holding Ctrl.
Auto-Offset(自動オフセット)
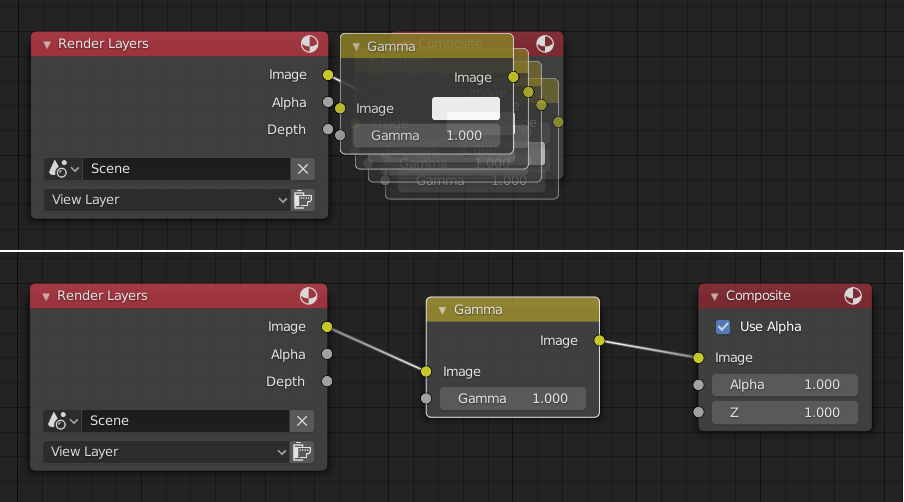
入力と出力のソケットをそれぞれ 1 つ以上持つノードを、 2 つのノード間の既存の接続線にドロップします。すると Auto-Offset(自動オフセット) により、方向設定に応じて左または右のノードが自動的に動き、新しいノード用のスペースが設けられます。Auto-Offset(自動オフセット) は、ユーザーのワークフローを中断することなく、対話的にノードレイアウトを整理するのに役立つ機能です。
Auto-offset is enabled by default, but it can be disabled in the Preferences.
ノードを移動させている間に T を押すことで、オフセットの方向を切り替えることができます。
The offset margin can be changed using the Auto-offset Margin setting in the Editing section of the Preferences.