Warp(湾曲)
参照
- Mode(モード):
Edit Mode(編集モード)
- Menu(メニュー):
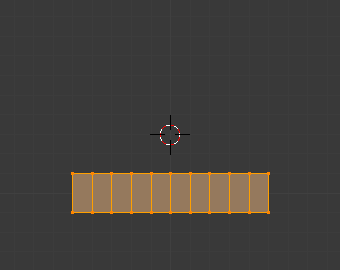
This transformation bends part of the selection into a circle segment. It's similar to Bend(曲げ), except that here, the 3D Cursor is at the center instead of on the circle.
使用方法
Align the 3D Viewport's viewpoint to the plane in which the warp should happen.
Place the 3D Cursor(3Dカーソル) at the center point for the warp.
Click Warp in the menu.
Adjust the options in the Adjust Last Operation(最後の操作を調整) panel.

注釈
Unlike most other transform tools, Warp does not take into account the transform orientation or the pivot point, instead always using the view plane and the 3D Cursor.
Options(オプション)
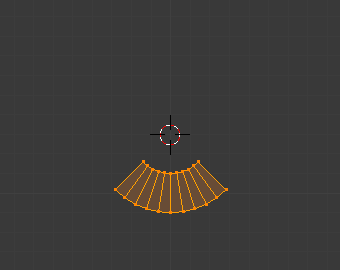
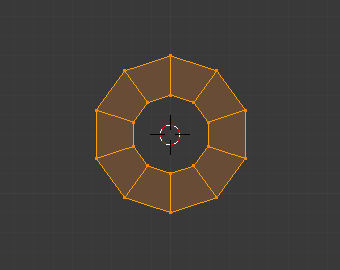
- Warp Angle
The size of the circle segment along which to bend the selection.
- Offset Angle(オフセット角度)
Direction angle for the line going from the 3D Cursor to the center of the selection. A value of 0° means straight up, and higher values go clockwise.
- Min/Max
Distance from the above centerline to the leftmost/rightmost part of geometry that will be included in the circle segment. The geometry that "sticks out of" these limits will be rotated but not bent.

Warping with an Offset Angle of 45°, a Min and Max of -0.5 and 0.5, and a Warp Angle of 90°.
例

ロゴのまわりを Warp(湾曲) するテキスト
This was made by creating the Blender logo and text as separate objects. The text was converted to a mesh and then warped around the logo.