Túm Nắm (Grab)
Tham Chiếu [Reference]
- Chế Độ [Mode]:
Chế Độ Điêu Khắc (Sculpt Mode)
- Đầu Bút (Brush):
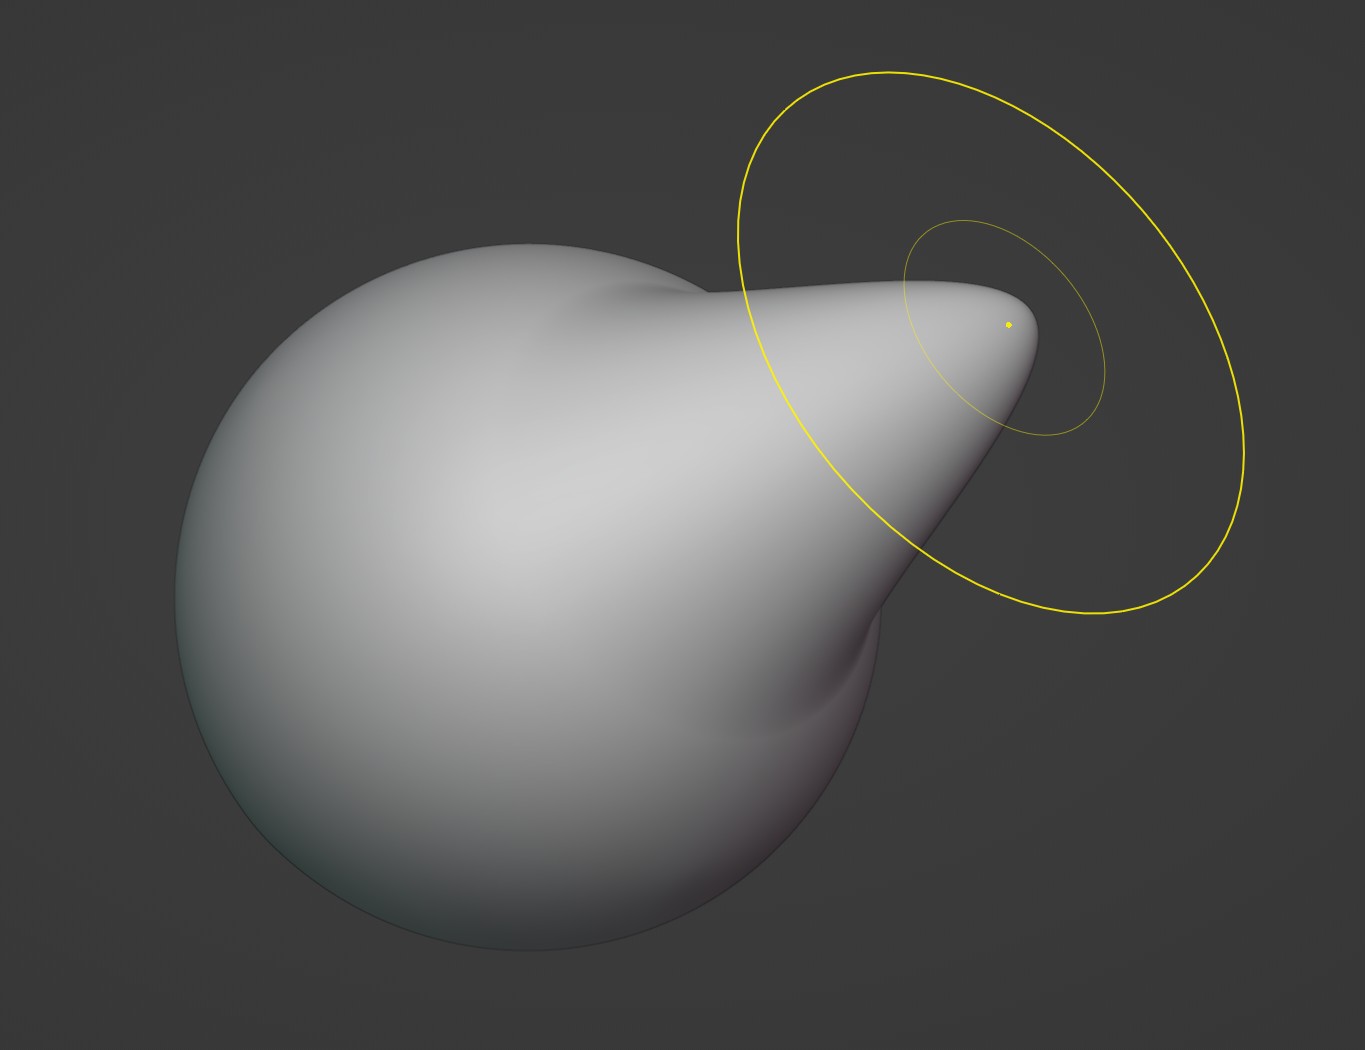
Drag geometry across the screen, following the cursor. Grab only moves the vertices that are under the brush radius at the start of the stroke. This is an essential sculpting brush to be used frequently to build shapes and adjust proportions.
Ghi chú
The effect is similar to moving geometry in Edit Mode with Proportional Editing enabled, except that Grab can make use of other Sculpt Mode options and brush settings.
Các Cài Đặt của Đầu Bút
Chung Chung (General)
- Kích Thước (Size)
Pressure Sensitivity is not supported for this brush type. More info at Size.
- Độ Đậm/Sức Mạnh/Cường Độ (Strength)
Pressure Sensitivity is not supported for this brush type. More info at Strength.
- Bán Kính Pháp Tuyến (Normal Radius)
For this brush, this setting is a purely visual change. It does not alter the brush behavior. More info at Normal Radius.
- Tự Động Làm Mịn (Auto-Smooth)
This setting is not supported. More info at Auto-Smooth.
Ghi chú
More info at Chung Chung (General) brush settings and on Cao Cấp [Advanced] brush settings.
Đặc Tính Cá Biệt (Unique)
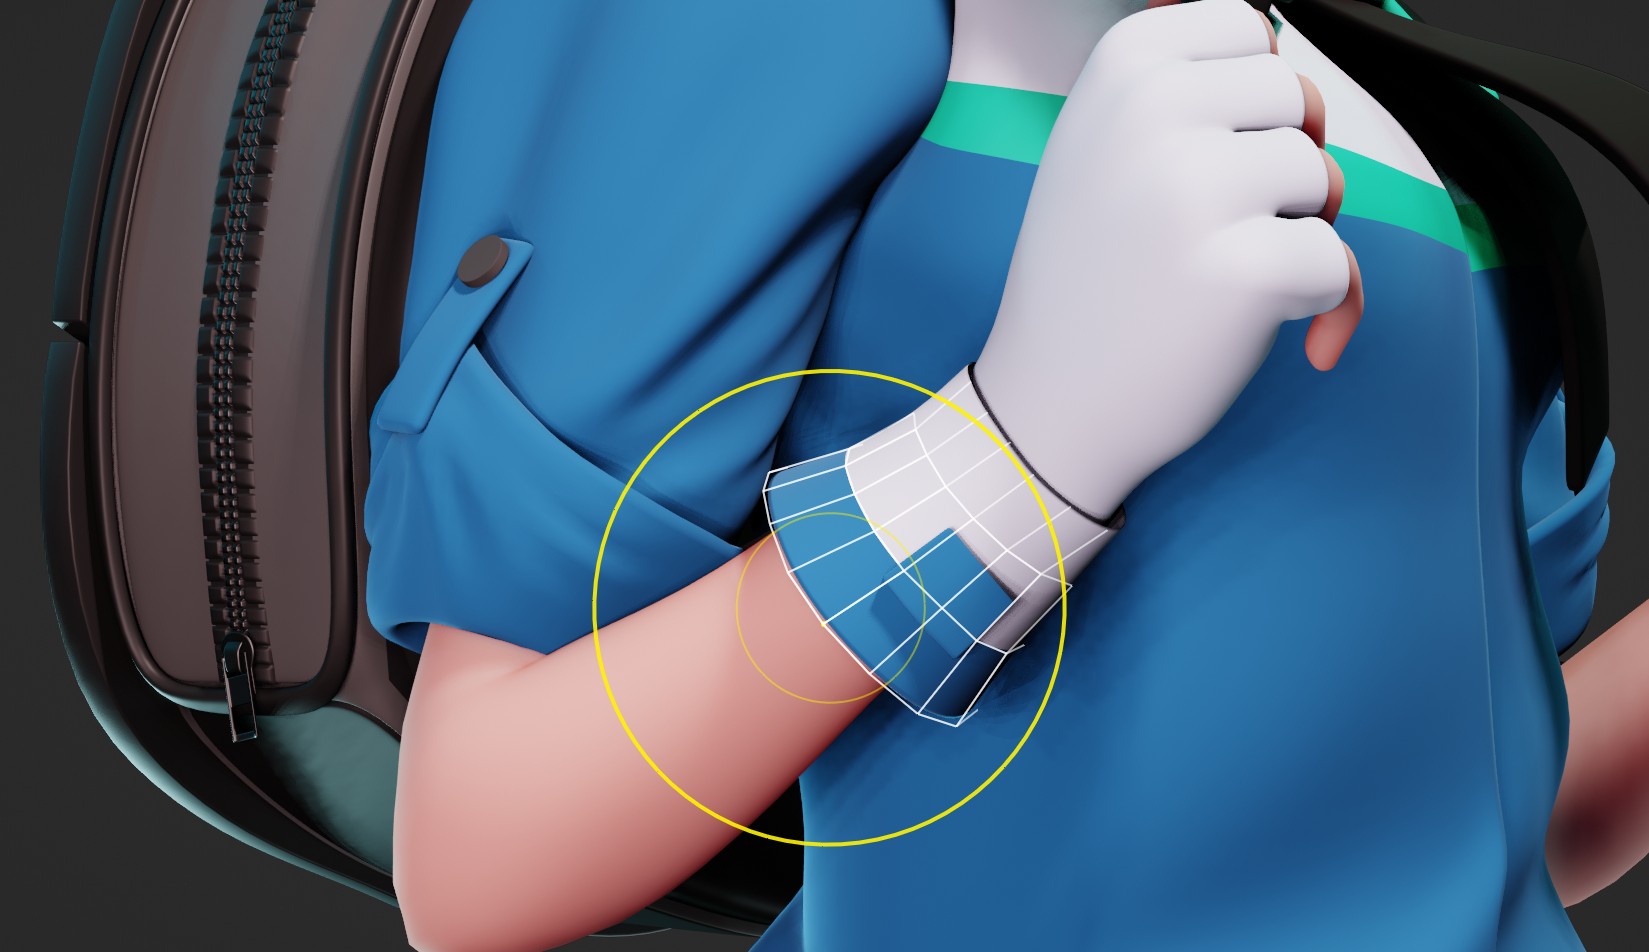
- Túm Nắm Điểm Đỉnh đang Hoạt Động (Grab Active Vertex)
Áp Dụng the tối đa độ đậm/sức mạnh/cường độ của đầu bút tới the được nêu bật điểm đỉnh đang hoạt động, making it easier tới manipulate thấp-đa giác mô hình hoặc khung lưới với bộ điều chỉnh.
Bật/cho Phép this Tùy Chọn đồng thời Bật một Màu Trắng Khung Dây Hình/Lớp Vẽ/Lồng nội trong the Bán Kính Đầu Bút. This helps tới visualize the thật/thực Cơ Sở Hình Học that được ở/trong vị trí là manipulated trong khi Điêu Khắc với Bộ Điều Chỉnh (Modifiers).
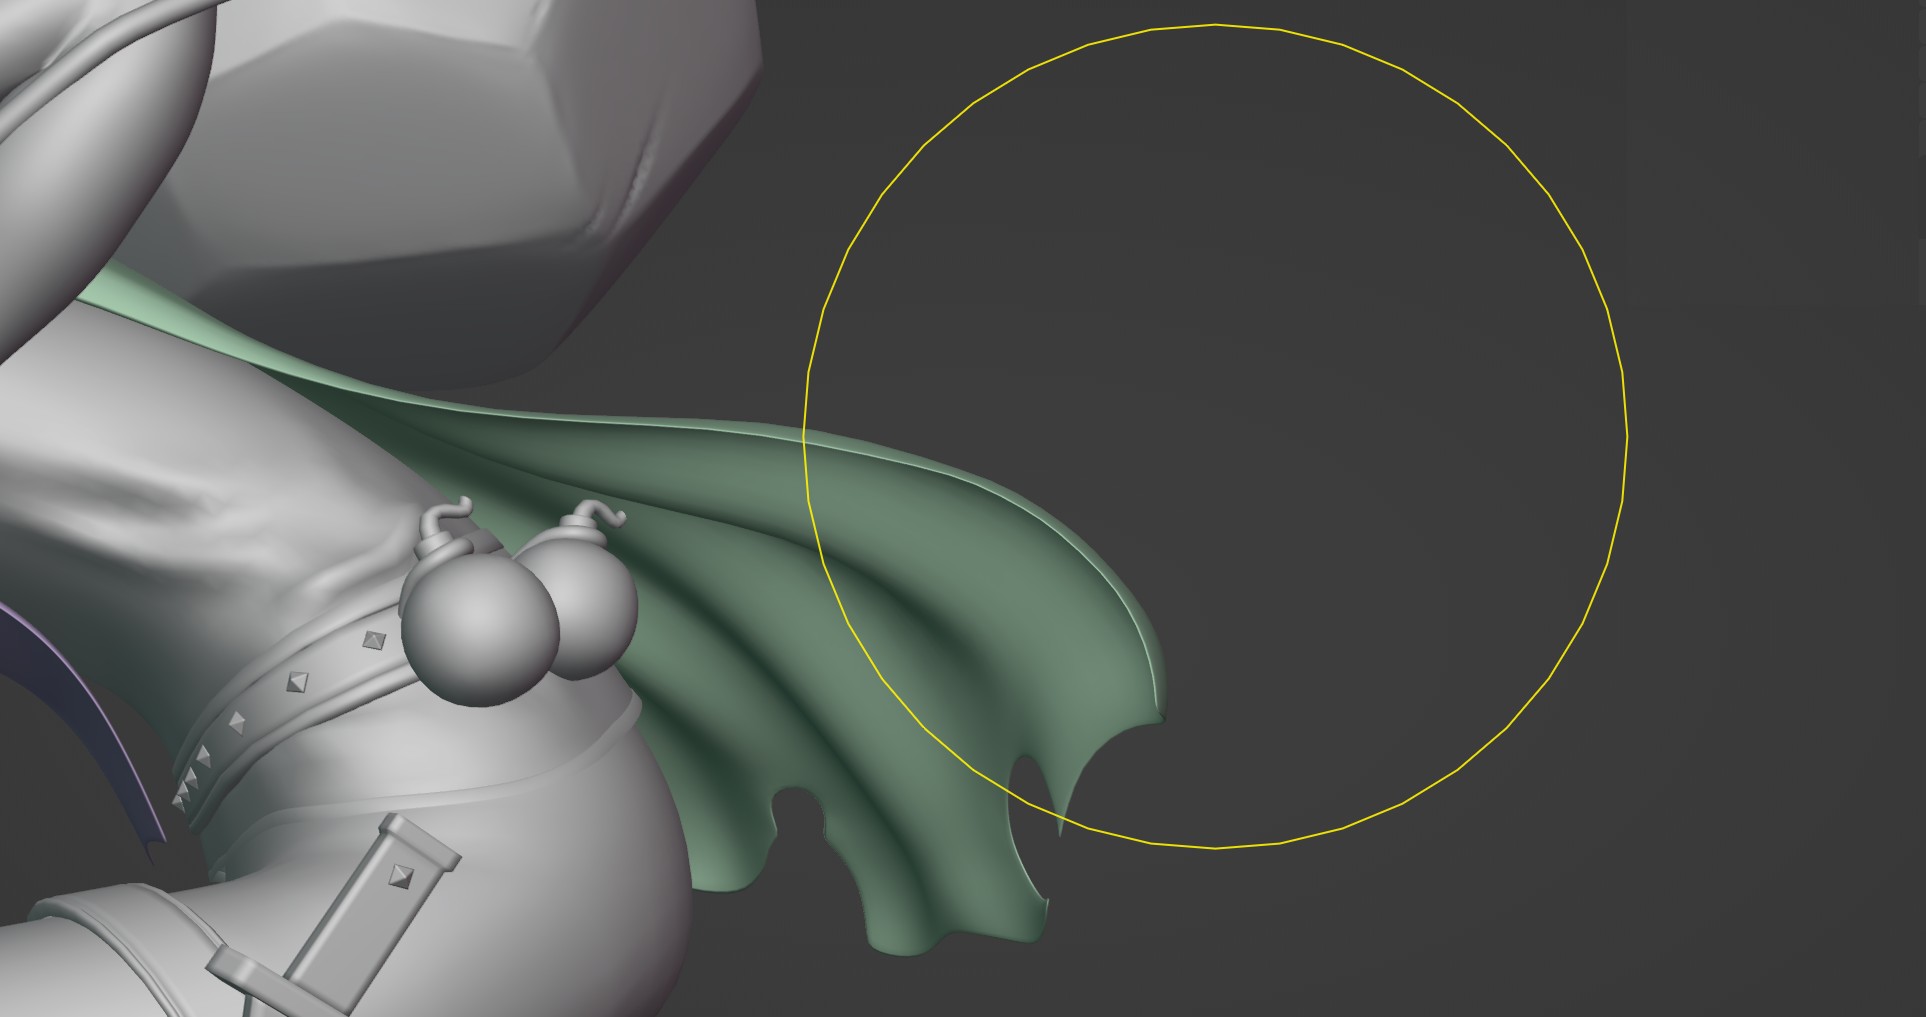
- Túm Nắm Hình Bóng (Grab Silhouette)
Preserves the object's silhouette shape by only grabbing vertices on one side of the mesh curvature. The shape of the silhouette is determined by the orientation of the 3D Viewport and the start of the stroke.
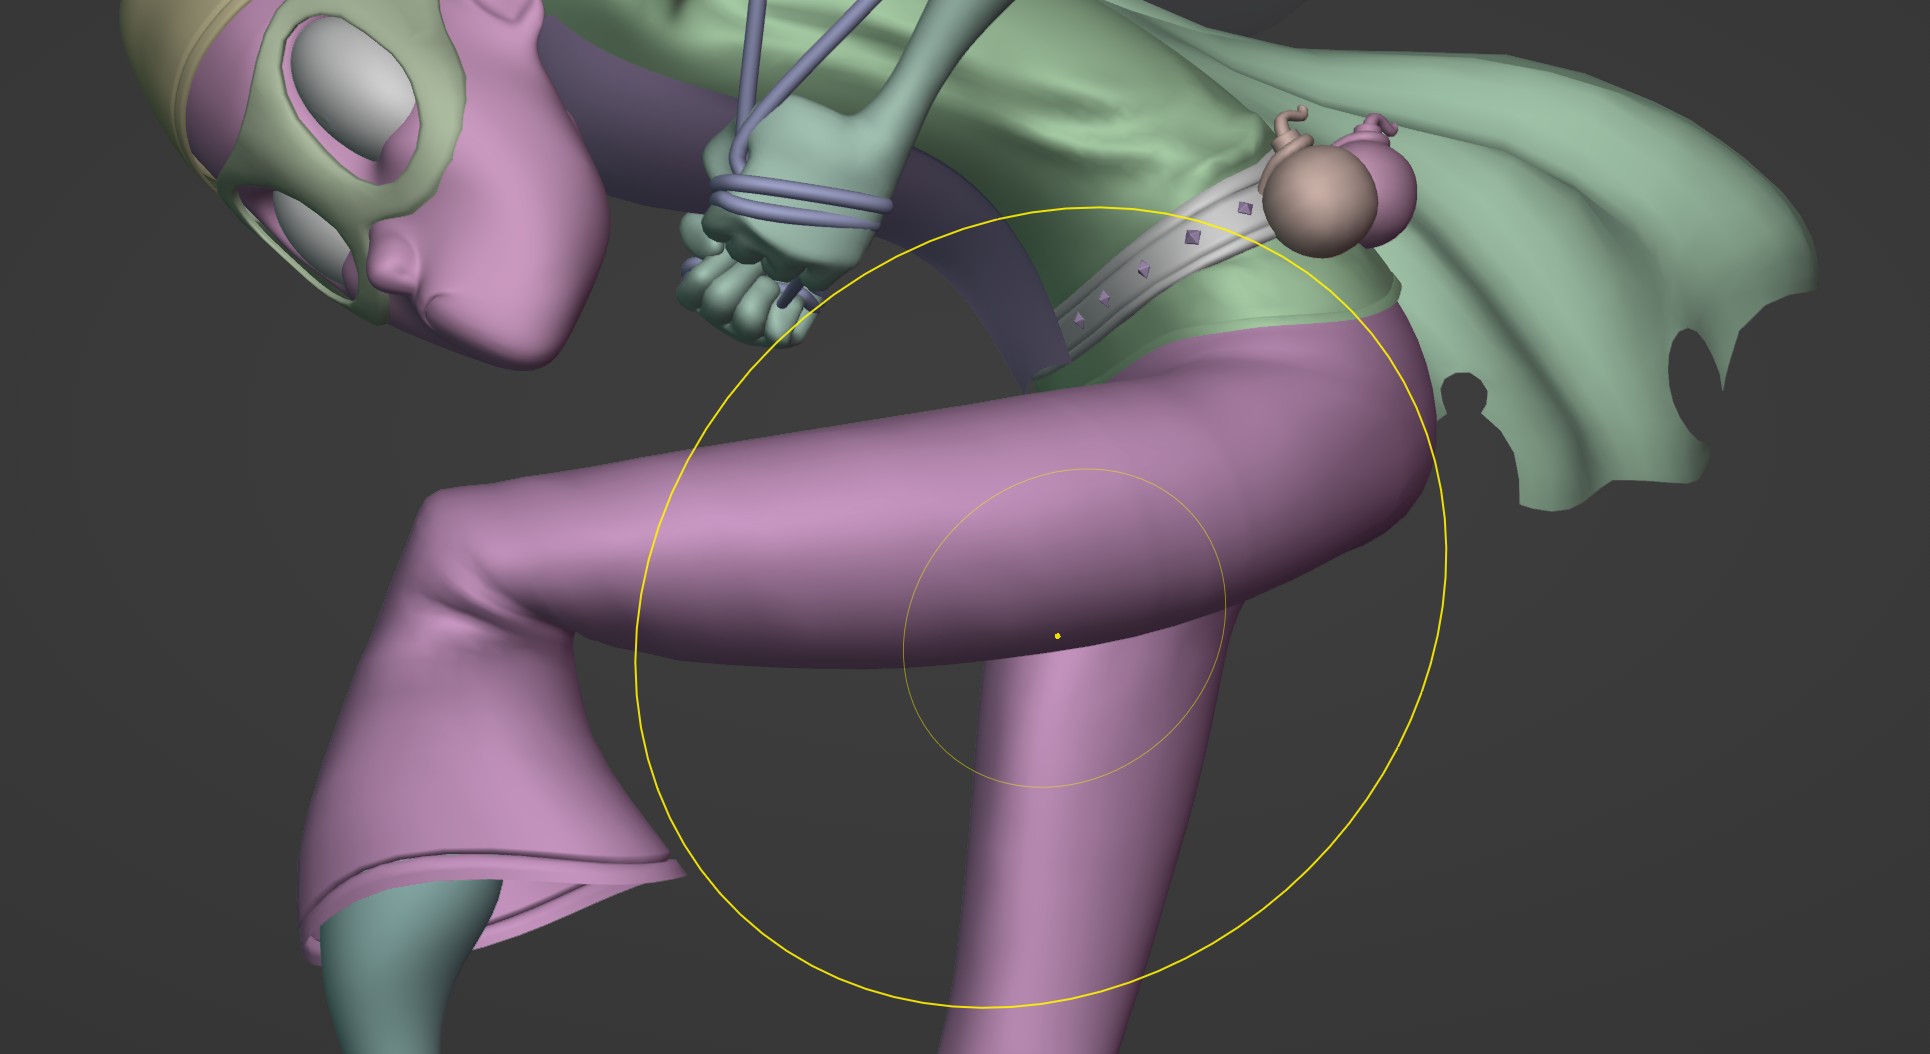
Note how in the image only the bottom side of the leg is pulled down, despite the size of the brush.
Mẹo
This setting is also useful for grabbing a single side of a crease and pushing it further inwards, creating a more pinched crease.
Những Quy Trình Làm Việc Bổ Sung [Additional Workflows]
- Đầu Bút Túm Nắm 2D (2D Grab Brush)
If the Falloff Shape is set to Projected, the brush can grab infinitely deep into the viewport. This is especially useful for much broader changes to a sculpt.
The stroke can also be started outside of the mesh (like in empty 3D space) and grab the vertices within the brush radius. This can be useful for sculpting flat and tube-like meshes.