Tầm Nhìn, Chắn Lọc & Mặt Ấn Định (Visibility, Masking & Face Sets)
Điều Khiển Tầm Nhìn (Visibility Control)
Parts of the mesh can be hidden in Sculpt Mode. Because hidden faces cannot be sculpted, hiding makes it easier to isolate what you want to work on. Hiding geometry also improves the viewport performance.
Hiding is shared between all modes, except Object Mode (i.e. hiding/showing of faces in one mode will hide the same faces in other modes too).
Unlike Selection Masking in other painting modes, Sculpt Mode primarily uses Masks and Face Sets to easily control the mesh visibility and which faces can currently be edited. The exception is the Clipping Region, which can be used in any mode.
The most common shortcuts are H to hide the face set under the cursor and Shift-H to isolate the face set under the cursor (or show everything).
Inverting the visibility and showing all is also available in the Alt-W pie menu.
Modifying visibility can also be done via the Những Công Cụ Cử Chỉ [Hide Gesture Tools].
Xem thêm
More information for controlling the visibility at Show & Hide.
Màn Chắn Lọc (Masks)
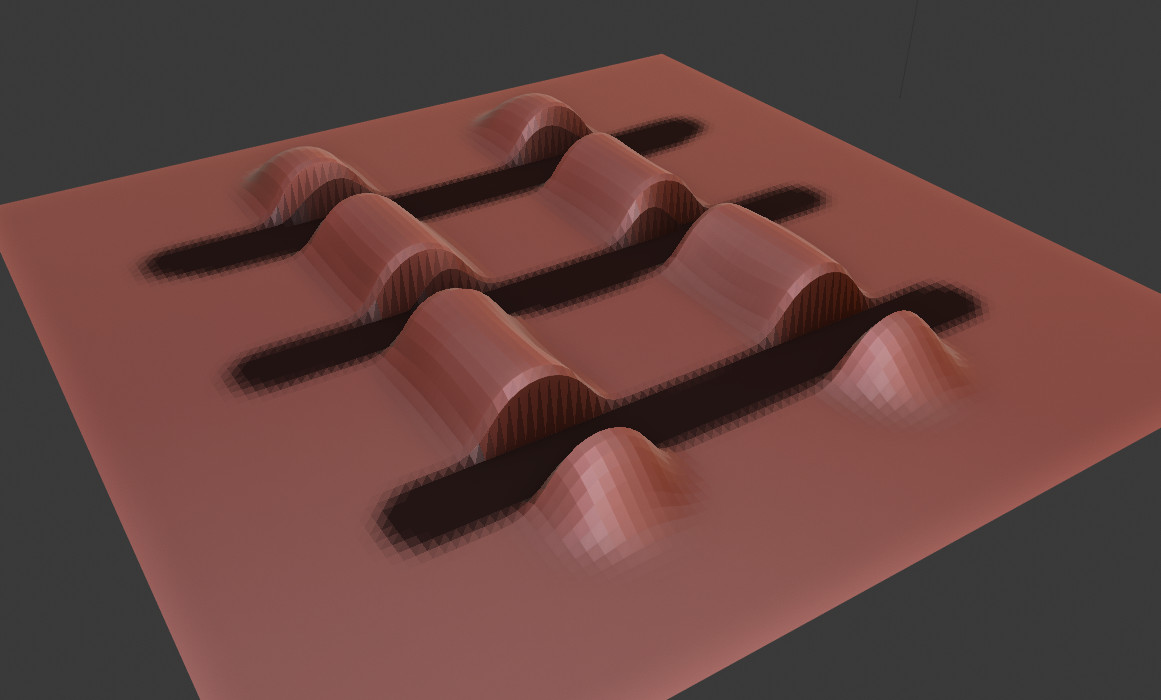
một Màn Chắn Lọc được used tới Điều Khiển which các điểm đỉnh của khung lưới sẽ được influenced bởi/theo Điêu Khắc và Sơn. The Màn Chắn Lọc có thể cho/đối với Ví Dụ be created/đã Chỉnh Sửa thông qua the Những Công Cụ Cử Chỉ [Mask Gesture Tools] và Chắn Lọc theo Màu (Mask by Color) công cụ.
Nội Bộ, màn chắn lọc sẽ được stored using the "điêu khắc" Thuộc Tính (Attributes).
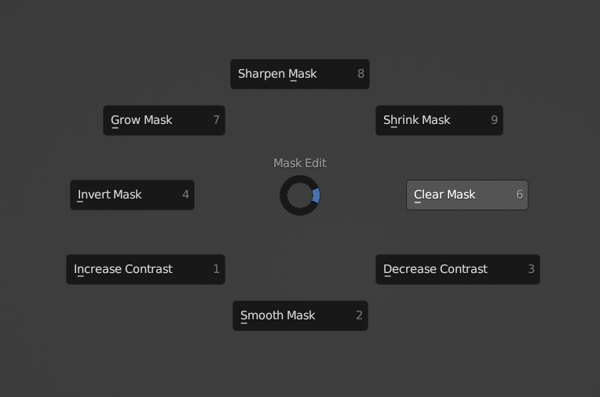
Xóa & Đảo Ngược (Clear & Invert)
Creating masks follows a slightly different mental model than selecting in other modes. For example Shift-LMB is used for smoothing instead of adding to a mask.
Masking is also conceptually inverted to selection (i.e. You cannot edit masked vertices. But you can edit selected vertices).
Instead a mask is typically always added to the current mask with LMB and subtracted with Ctrl-LMB. So if you wish to edit the masked surfaces, you'll need to use the Invert operator, In the case of masking everything that is visible, the best workflow is to first Clear and then Invert the mask.
Both these operators can be quickly accessed in the A pie menu.
Xem thêm
Thông tin thêm về biên soạn và sử dụng Màn Chắn Lọc tại mục Trình Đơn màn chắn lọc (Mask Menu)
Mặt Ấn Định (Face Sets)
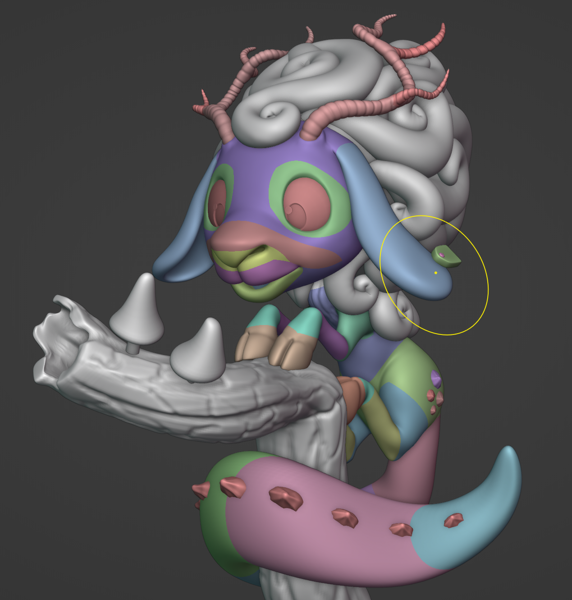
Face sets are used to group your mesh into differently colored faces, which can then be quickly hidden or shown like mentioned above. They can also be used for fast mask creation via the Mask Expand. Face Set Expand is also useful for creating, editing and joining face sets.
Tăng các tùy chọn có thể be found trong Alt-W trình đơn
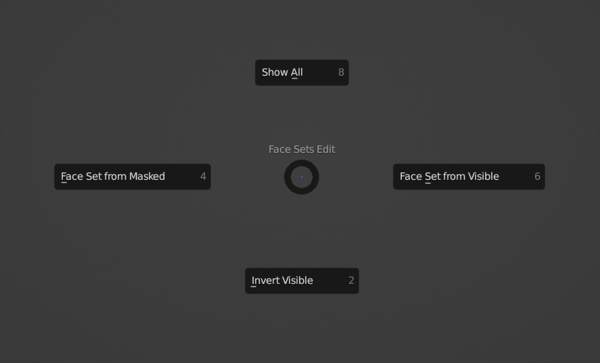
Nếu Không/ngoài ra Mặt Ấn Định có thể be created/đã chỉnh sửa với the Vẽ Mặt Ấn Định (Draw Face Sets) đầu bút, Những Công Cụ Cử Chỉ [Mask Gesture Tools]. They có thể đồng thời be đã chỉnh sửa với the Biên Soạn Mặt Ấn Định (Edit Face Set) công cụ.
Xem thêm
Thông tin thêm về biên soạn và sử dụng mặt ấn định tại mục Trình Đơn Mặt Ấn Định (Face Sets Menu)
Nội Bộ, mặt ấn định sẽ được stored using the "điêu khắc_mặt_đặt" Thuộc Tính (Attributes).
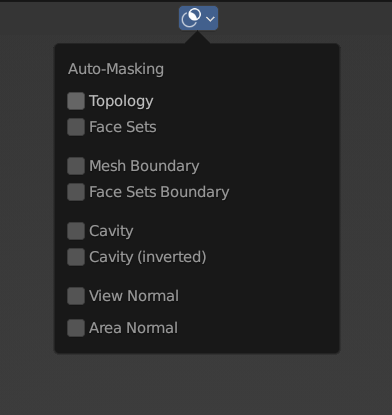
Tự Động Chắn Lọc
Auto-Masking is also a fast way of only editing specific geometry without having to manually create a new mask or hide geometry. This feature is especially useful in combination with face sets.
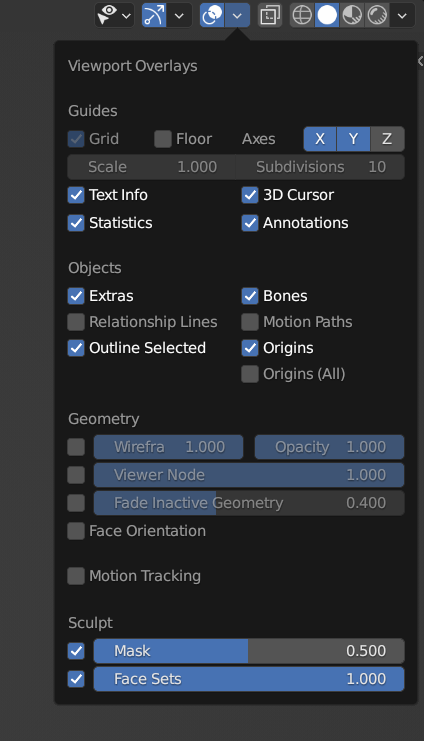
Các Sắp Đặt về Hiển Thị (Display Settings)
The mask and face sets display can be toggled and adjusted in the Các Sắp Đặt về Hiển Thị (Display Settings).
Ghi chú
When Xray shading is enabled, masks and face sets will not be displayed.