可见性、遮罩 & 面组
可见性控制
Parts of the mesh can be hidden in Sculpt Mode. Because hidden faces cannot be sculpted, hiding makes it easier to isolate what you want to work on. Hiding geometry also improves the viewport performance.
Hiding is shared between all modes, except Object Mode (i.e. hiding/showing of faces in one mode will hide the same faces in other modes too).
Unlike Selection Masking in other painting modes, Sculpt Mode primarily uses Masks and Face Sets to easily control the mesh visibility and which faces can currently be edited. The exception is the Clipping Region, which can be used in any mode.
The most common shortcuts are H to hide the face set under the cursor and Shift-H to isolate the face set under the cursor (or show everything).
Inverting the visibility and showing all is also available in the Alt-W pie menu.
Modifying visibility can also be done via the 隐藏手势工具.
See also
More information for controlling the visibility at Show & Hide.
遮罩
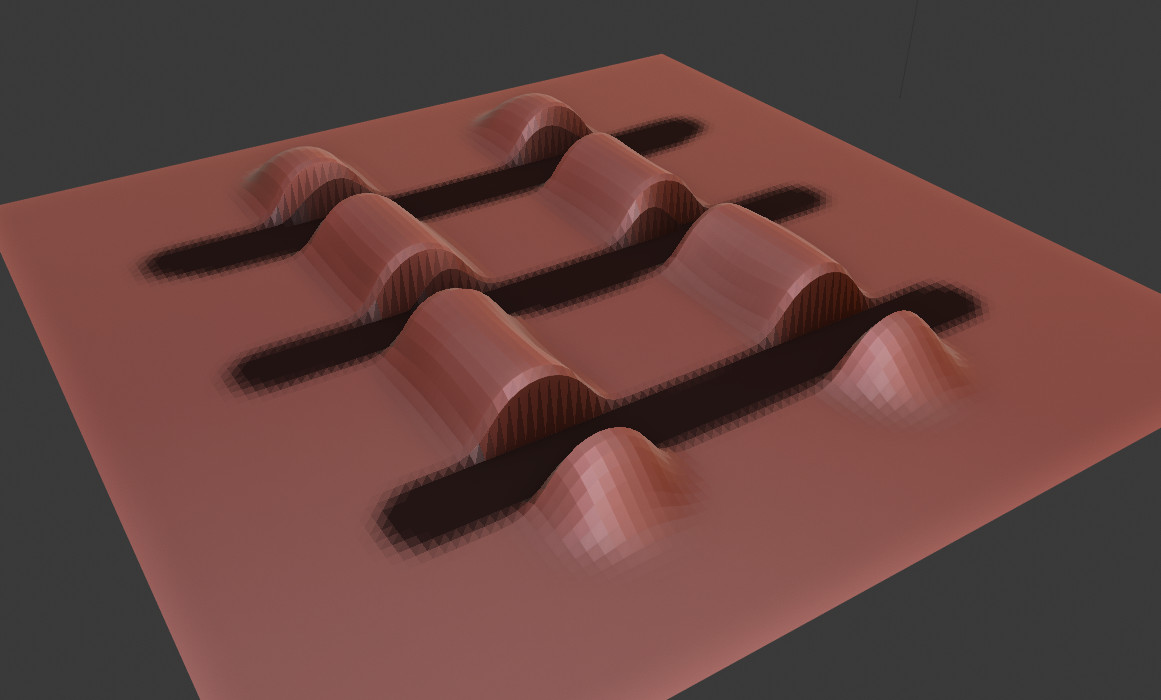
A mask is used to control which vertices of the mesh are influenced by sculpting and painting. The mask can for example be created/edited via the 遮罩手势工具 and Mask by Color tool.
Internally, masks are stored using the sculpt_mask 属性.
清除 & 反转
Creating masks follows a slightly different mental model than selecting in other modes. For example Shift-LMB is used for smoothing instead of adding to a mask.
Masking is also conceptually inverted to selection (i.e. You cannot edit masked vertices. But you can edit selected vertices).
Instead a mask is typically always added to the current mask with LMB and subtracted with Ctrl-LMB. So if you wish to edit the masked surfaces, you'll need to use the Invert operator, In the case of masking everything that is visible, the best workflow is to first Clear and then Invert the mask.
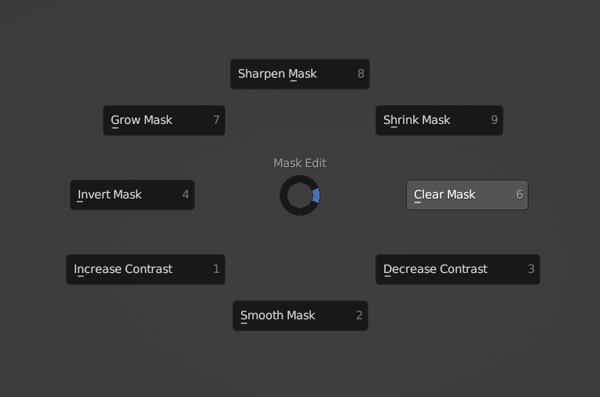
Both these operators can be quickly accessed in the A pie menu.
See also
更多关于编辑和使用遮罩的信息见于 遮罩菜单
面组
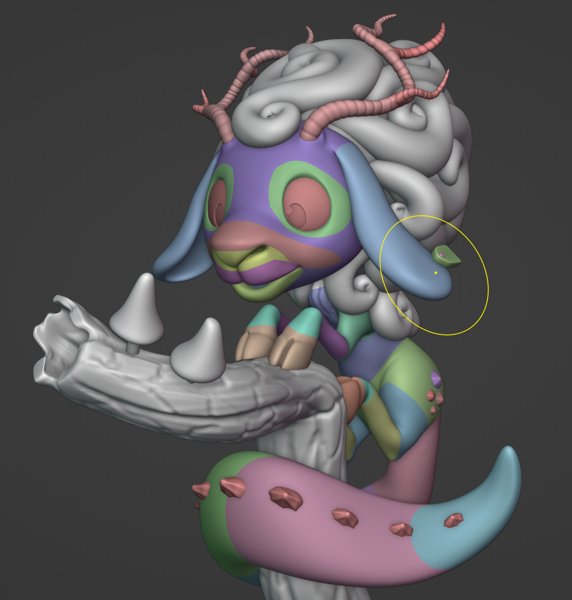
Face sets are used to group your mesh into differently colored faces, which can then be quickly hidden or shown like mentioned above. They can also be used for fast mask creation via the Mask Expand. Face Set Expand is also useful for creating, editing and joining face sets.
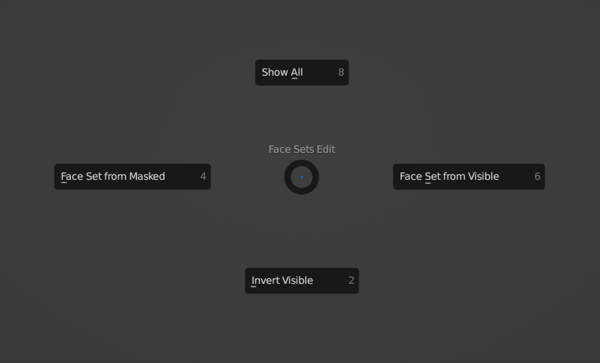
更多选项可在 Alt-W 饼菜单中找到。
Otherwise Face Sets can be created/edited with the Draw Face Sets brush, 遮罩手势工具. They can also be edited with the Edit Face Set tool.
See also
更多关于编辑和使用面组的信息请参考 面组菜单
Internally, face sets are stored using the sculpt_face_set 属性.
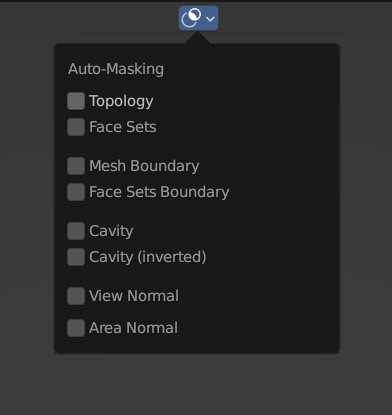
自动遮罩
Auto-Masking is also a fast way of only editing specific geometry without having to manually create a new mask or hide geometry. This feature is especially useful in combination with face sets.
显示设置
The mask and face sets display can be toggled and adjusted in the 显示设置.
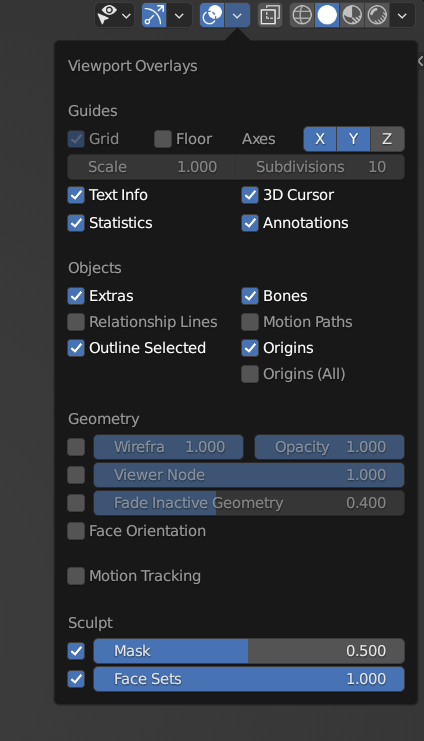
Note
When Xray shading is enabled, masks and face sets will not be displayed.