Esculpir
Sculpt Mode is similar to Edit Mode in that it is used to alter the shape of a model, but Sculpt Mode uses a very different workflow: instead of dealing with individual elements (vertices, edges, and faces), an area of the model is primarily changed using brushes.
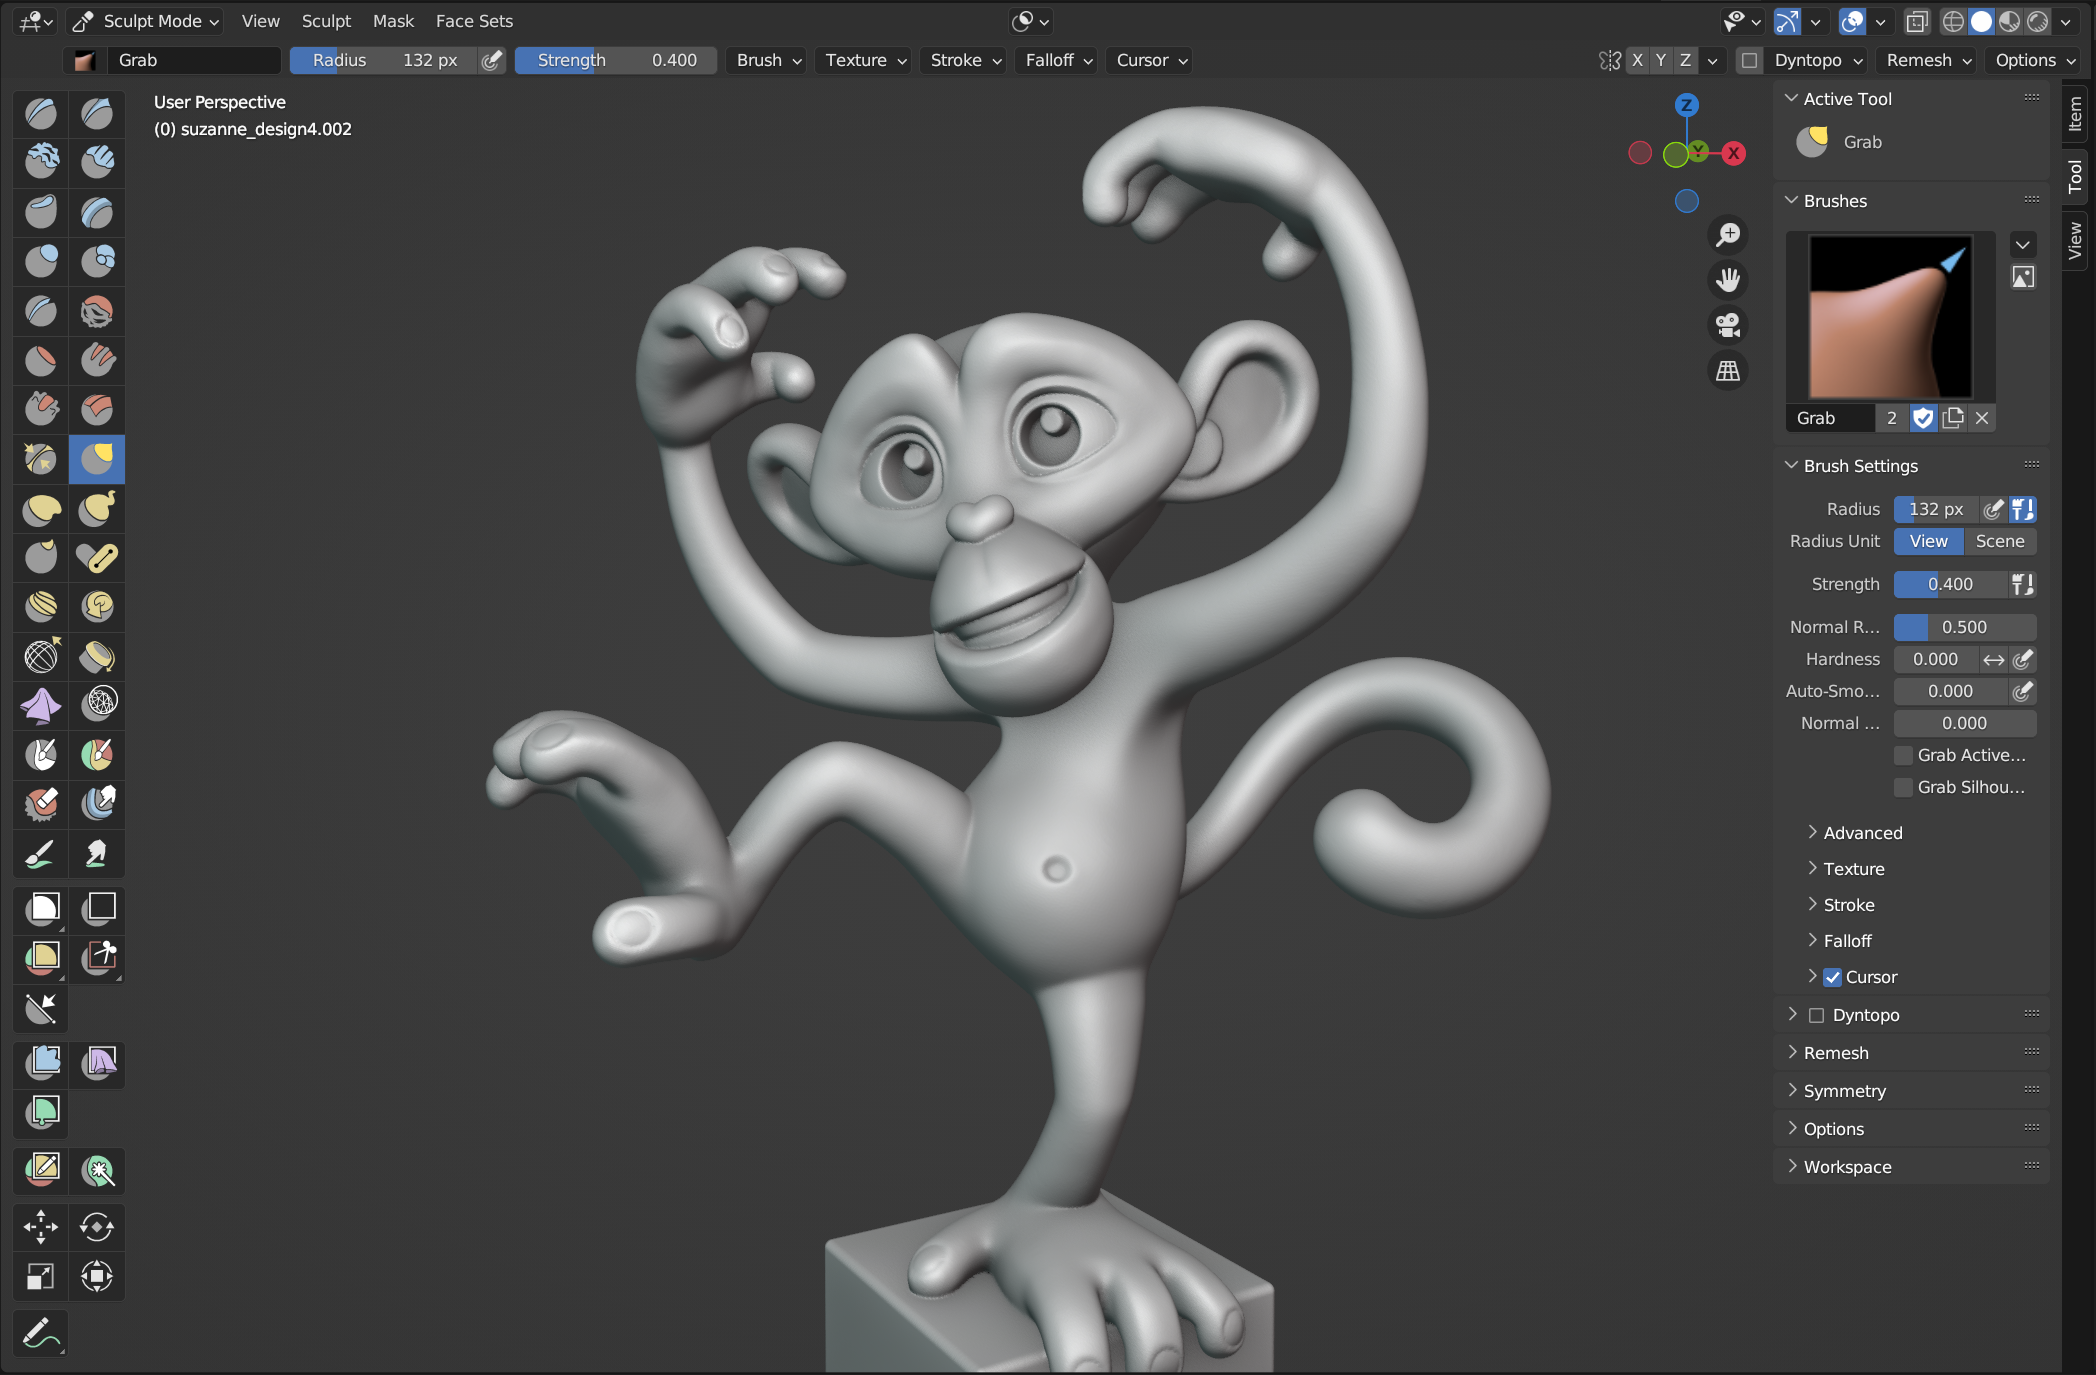
Ejemplo del modo Esculpido.
Sculpt Mode is accessed from the mode menu of the 3D Viewport header or with the pie menu via Ctrl-Tab. Once inside Sculpt Mode, the Toolbar and Tool Settings of the 3D Viewport will change to Sculpt Mode specific panels. The cursor will change to a circle, to indicate the size of the brush.
Advertencia
To have predictable brush behavior, make sure to apply the scale of your mesh.
The following pages will briefly explain the fundamental features and concepts of Sculpt Mode, including various links to other pages for more details.
- Introducción
- Pinceles
- Barra de herramientas
- Herramientas
- Pincel
- Add Object Tools
- Herramientas con gestos para enmascarar
- Herramientas con gestos para ocultar
- Herramientas con gestos para definir conjuntos de caras
- Herramientas con gestos para recortar
- Proyectar (Línea)
- Filtro de malla
- Filtro de ropa
- Filtro de color
- Editar conjunto de caras
- Enmascarar por color
- Transformaciones
- Opciones de la herramienta
- Controles
- Edición