Cortar topología
Referencia
- Modo:
Modo Edición
- Herramienta:
- Menú:
- Atajo:
K
The Knife tool allows to interactively «cut through» faces, subdividing them and creating a chain of new edges along the way.
Uso
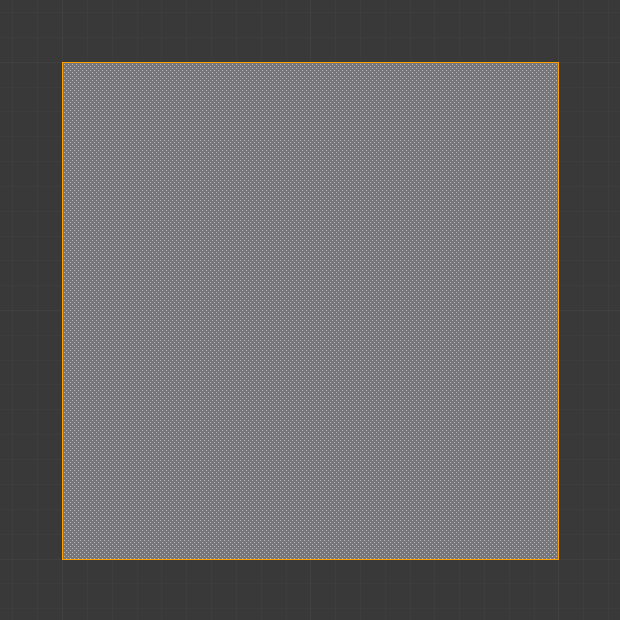
Primero, seleccionar la herramienta en la Barra de herramientas o pulsar K. El puntero cambiará a un bisturí para indicar que la herramienta se encuentra activa.
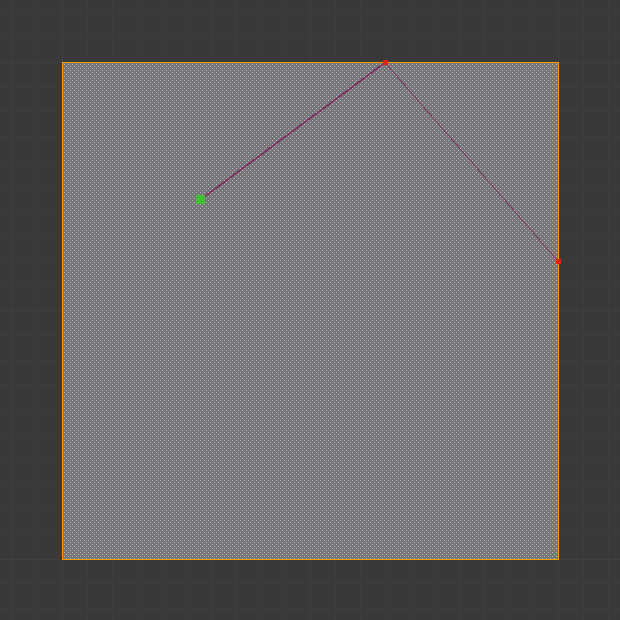
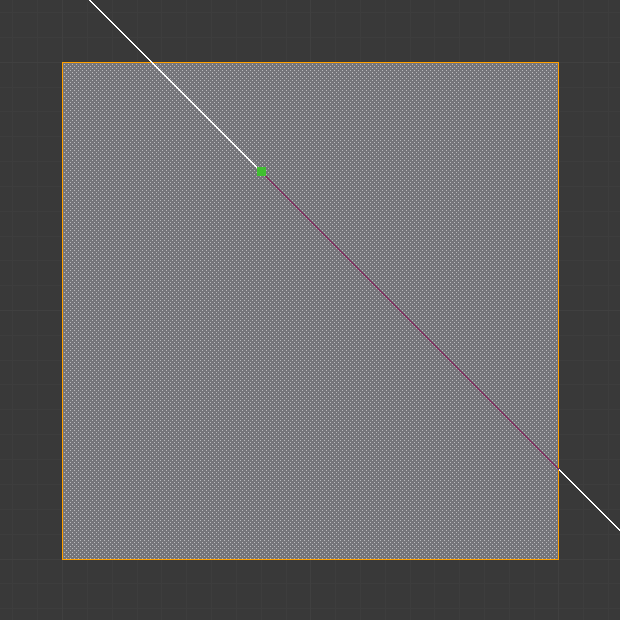
Click LMB at the place where you want to start cutting. This can be anywhere: on an existing vertex, edge, or face, or even outside of the mesh.
Move your mouse to the next location. You’ll see a yellow line indicating the new edges that will be created, and aqua dots indicating the new vertices. Click LMB to confirm and start on the next cutting segment.
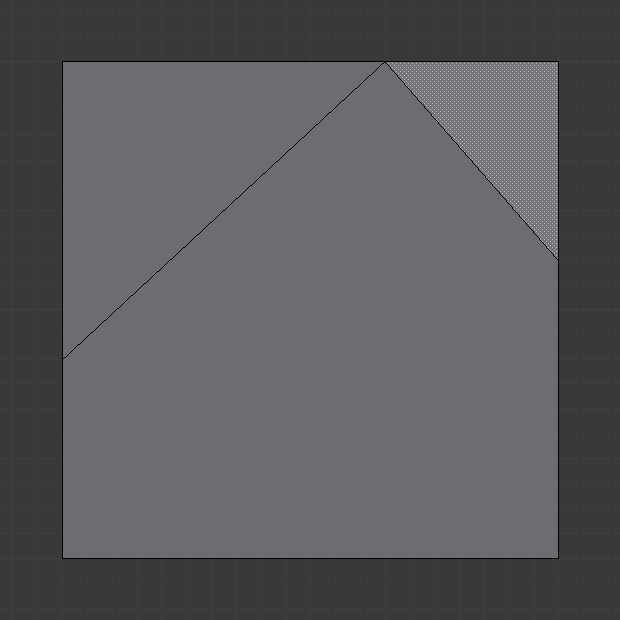
Una vez finalizado, pulsar Espacio o Intro para aplicar los cortes. Alternativamente, podrá pulsarse Esc para cancelar la operación.
Consejo
En caso de estarse usando la Edición de varios objetos a la vez, será posible cortar múltiples objetos al mismo tiempo.
Opciones de la herramienta
Estas opciones sólo estarán disponibles al activar la herramienta desde la Barra de herramientas (no al usar el atajo K). También será posible acceder a ellas desde la pestaña Herramienta del editor de Editor de Propiedades o la Barra lateral.
- Ocluir geometría
Cuando se encuentre activa, se cortará sólo la geometría que esté visible en la vista. Al desactivarla, será posible cortar en profundidad a través de la malla, incluyendo a las caras que apunten en dirección contraria a la vista o se encuentren detrás de otras.
- Sólo lo seleccionado
Permitirá cortar sólo a través de la geometría seleccionada. Será posible activar la herramienta pulsando Mayús-K en vez de K para comenzar a cortar con esta opción ya activa.
- Rayos X
Permitirá ver el camino que se está cortando, aunque se encontrara ocluido por la geometría.
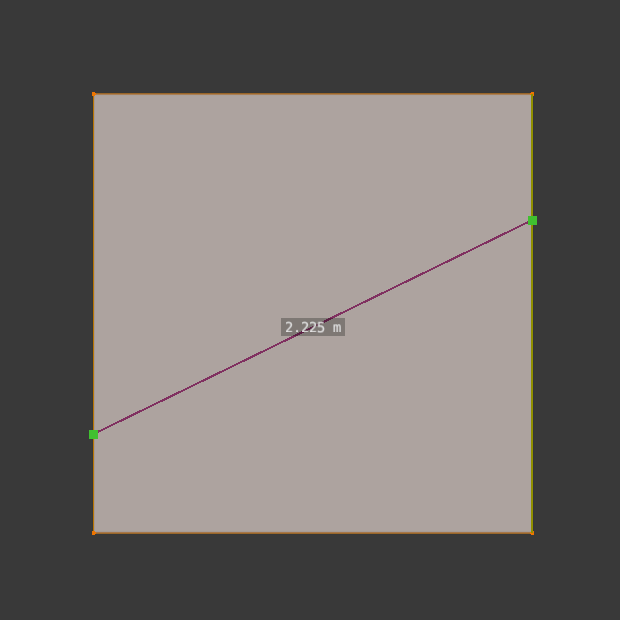
- Medidas
Permitirá mostrar distintos tipos de medidas a lo largo del camino cortado: distancias, ángulos o ambas.
- Adherencia a ángulos
Permitirá decidir si restringir las líneas cortadas a múltiplos del ángulo especificado en Incremento de adherencia.
- Ninguno:
Sin adherencia.
- Pantalla:
Adherirá en espacio de pantalla (el plano de la vista).
- Relativo:
Adherirá en un plano de la geometría, relativo a un borde adyacente o una línea de corte.
- Incremento de adherencia
El ángulo a usar para la Adherencia a ángulos.


Controles
Estos atajos se mostrarán en la Barra de estado mientras esté activa la herramienta. Estarán disponibles tanto cuando se active desde la Barra de herramientas como pulsando K.
- Cortar LMB
Será posible tanto hacer clic para agregar una nueva línea de corte, como arrastrar para crear líneas de corte a medida que se vaya pasando el ratón sobre los bordes.
- Cerrar bucle - doble clic LMB
Agregará un punto de corte en el puntero (igual que al hacer un solo clic) y luego lo conectará con el primer punto del camino cortado, cerrando así un bucle.
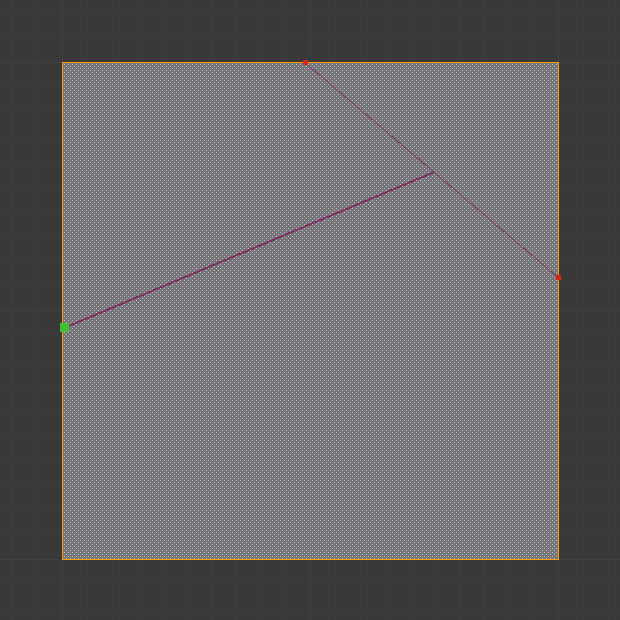
- Detener RMB
Completará el camino cortado actual y comenzará uno nuevo. El cursor se adherirá a los cortes previamente definidos.
- Confirmar Espacio o Intro
Confirmará el corte, transformando los caminos cortados en bordes de la malla.
- Cancelar Esc
Cancelará el corte.
- Deshacer Ctrl-Z
Deshará la línea de corte recién trazada (o, en caso de que se hubiera arrastrado el ratón, todas las líneas de corte durante esa operación).
- Adherir a punto medio Mayús
Mantener pulsada para activar temporalmente la adherencia al punto medio de los bordes.
- Ignorar adherencia Ctrl
Mantener pulsada para desactivar temporalmente la adherencia a los vértices, bordes y líneas de corte existentes.
- Cortar a través: C
Permitirá cortar a través de las caras ocluidas, en vez de sólo hacerlo en las caras visibles. Es lo opuesto de la opción Ocluir geometría, descripta más arriba.
- Restringir eje X, Y o Z
Restringirá la línea de corte actual a uno de los ejes globales. Pulsar una segunda vez para usar los ejes locales del objeto y una tercera vez para volver a desactivar la restricción.
- Medir S
Permitirá recorrer cíclicamente las opciones de visualización de medidas: distancias, ángulos, ambas.
- Rayos X V
Permitirá alternar la visibilidad de los cortes actuales ocluidos por la geometría.
- Restringir ángulo A
Restringirá las líneas cortadas a múltiplos del ángulo especificado en Incremento de adherencia. Este ángulo podrá ser definido en las opciones de la herramienta, antes de cortar (ver más arriba), o introducido mientras se corta con la opción Restringir ángulo activa.
De forma predefinida, la adherencia se realizará con respecto al plano de la Pantalla. Será posible pulsar A una segunda vez, para que la adherencia se produzca en planos de la geometría, Relativa a un borde o línea de corte previa escogida automáticamente. Será posible pulsar R para seleccionar una línea de referencia diferente.
Pulsar A una tercera vez para desactivar nuevamente la adherencia.
Limitaciones conocidas
Vértices duplicados
En caso de que un corte creara vértices duplicados, esto a menudo será causado por un rango de recorte de la vista demasiado grande. Intentar aumentar la opción Recorte Inicio para evitar este problema. Ver también Resolución de problemas de profundidad para más detalles.