Разрезать петлёй со сдвигом (loop cut and slide)
Ссылка
- Режим (mode):
Режим редактирования (edit mode)
- Меню:
- Горячая клавиша:
Ctrl-R
Инструмент Loop Cut and Slide разделяет петлю граней на две или более параллельных петель. Новые рёбра создаются по умолчанию в середине, но вы также можете сдвинуть их ближе к стороне.
Использование
Инструмент является интерактивным и состоит из двух шагов:
Выберите петлю граней по которой будет(-ут) проходить разрез(ы)
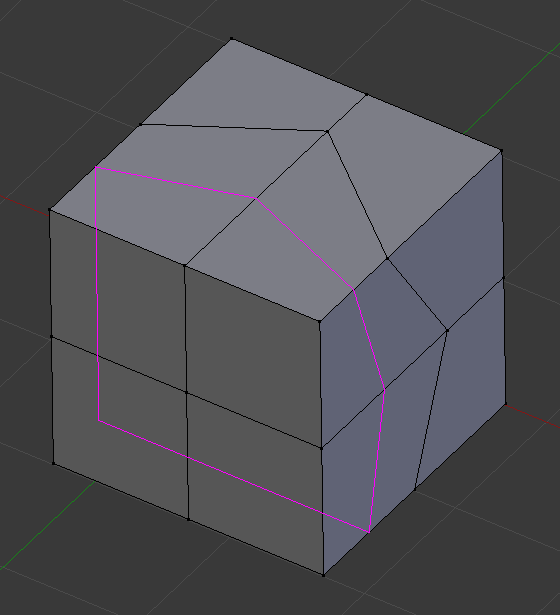
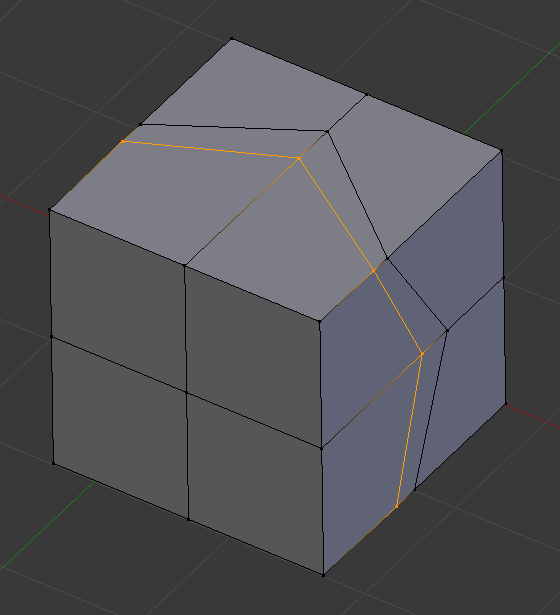
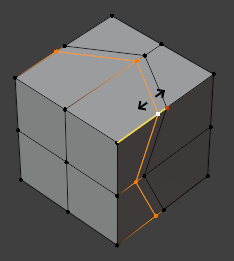
После активации инструмента – наведите курсор на ребро, через которое должен пройти разрез (то есть ребро, перпендикулярное направлению разреза). Blender показывает жёлтую линию, предварительно отображающую то, что будет сделано. Нажмите ЛКМ, чтобы подтвердить и перейти к следующему шагу, или ПКМ, чтобы отменить.
Сдвиньте новую(-ые) петлю(-и) рёбер
Теперь вы можете перемещать мышку, чтобы изменить положение новой петли рёбер. Щёлкните ЛКМ, чтобы создать разрез в выбранном месте, или ПКМ, чтобы создать его в центре.

См. также
Инструмент «Сдвиг ребра (edge slide)» для сдвига существующих рёберных петель.
Опции (options)
Эти параметры доступны во время использования инструмента, а также позже – на панели настройки последней операции.
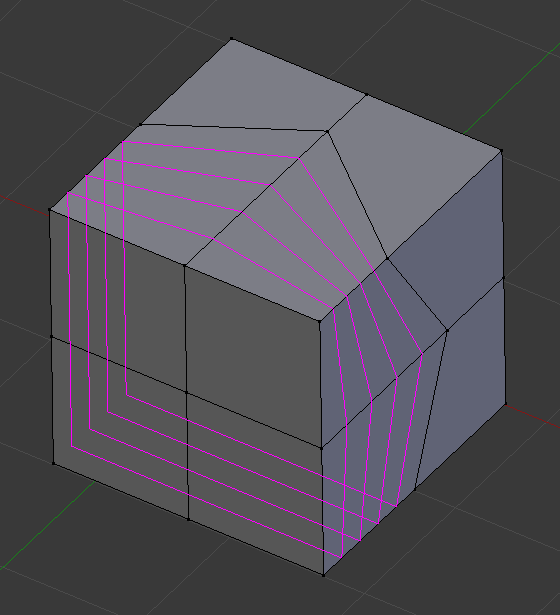
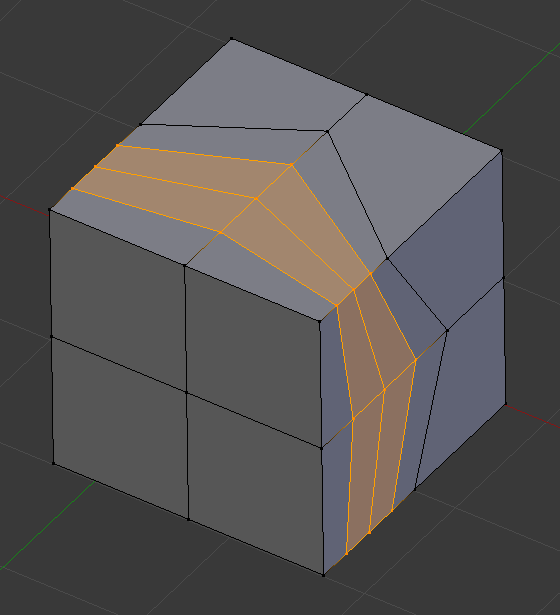
- Количество разрезов (number of cuts) Колёсико
На первом этапе выполнения инструмента – вы можете изменить количество создаваемых разрезов, прокручивая Колёсико, вводя число или нажимая PageUp/PageDown.
- Гладкость (smoothness)
Насколько смещать вновь созданные рёбра вдоль их нормалей, чтобы сохранить кривизну поверхности. Вы можете изменить этот параметр на первом этапе с помощью Alt-Колёсика, но поскольку на этом этапе гладкость не просматривается, обычно лучше изменить её позже на панели настройки последней операции.
- Спад (falloff)
Тип спада для параметра „Smoothness“. Изменяет форму профиля.
- Коэффициент (factor)
Положение петли рёбер относительно окружающих петель.
- Равномерно (even) E
Размещает новую петлю рёбер на равном расстоянии от существующей прилегающей петли (вместо расстояния, пропорционального длине каждого перпендикулярного ребра, которое она пересекает). Вы можете нажимать E во время второго шага, чтобы переключать эту настройку.
- Отражённые (flipped) F
Сохраняйте равное расстояние до другого прилегающего ребра. Вы можете нажимать F во время второго шага, чтобы переключать эту настройку.
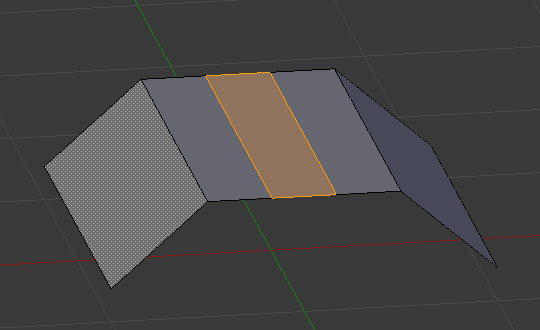
Разрез с отключённой функцией Even.¶ |
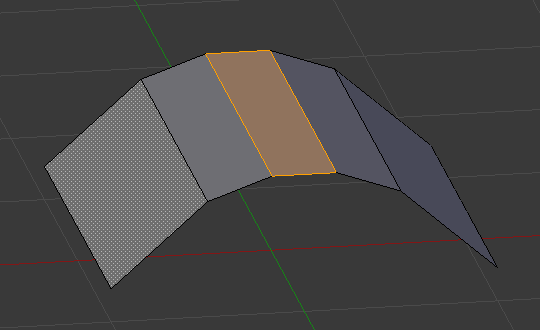
Разрез с включённой функцией Even. Красная точка показывает сторону, до которой сохраняется равномерный зазор.¶ |
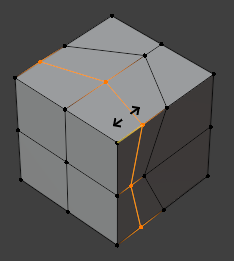
Разрез с включёнными функциями Even и Flipped.¶ |
- Ограничение (clamp) C
Если флажок не установлен – новая петля рёбер может выходить за пределы краёв петли грани на которой совершается первый шаг разреза. Вы можете нажать C или удерживать Alt во время второго шага, чтобы переключить эту функцию.
- Симметричное редактирование (mirror editing)
Если этот флажок установлен, то при перемещении вновь созданных рёбер также будут перемещаться все существующие рёбра на другой стороне меша. Для работы этого параметра необходимо включить функцию симметрии меша.
- Исправить UV (correct UVs)
Если этот флажок не установлен, грани на UV-развёртке будут разделены равномерно, даже если разрез был сделан не по центру 3D-меша.