Разрезать по проекции (knife project)
Ссылка
- Режим (mode):
Режим редактирования (edit mode)
- Меню:
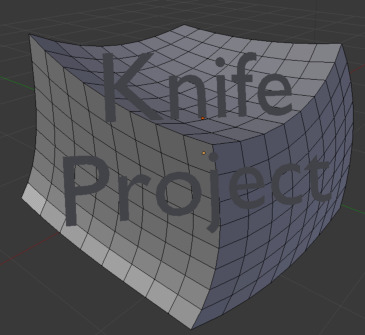
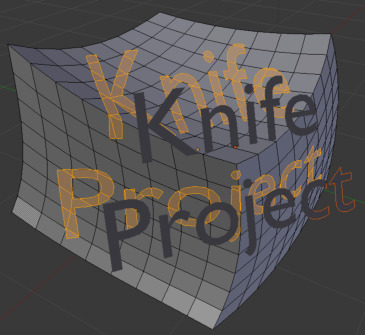
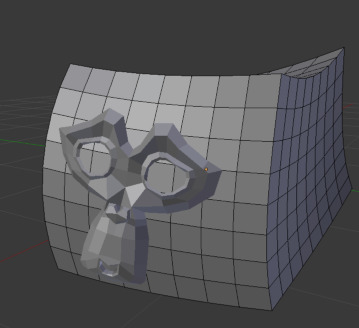
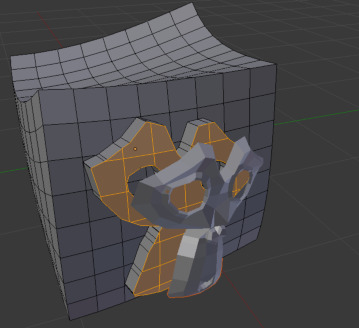
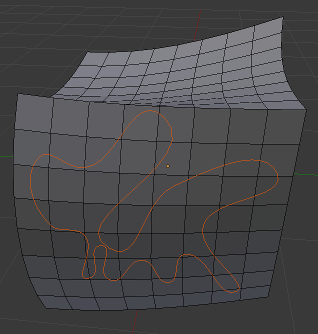
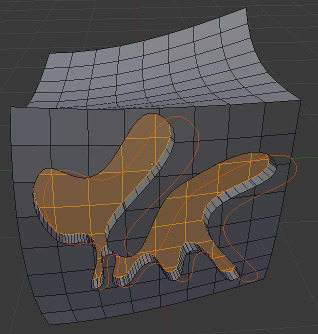
Projects the outline of one or more «cookie cutter» objects onto the edited object and creates new edges there.
The cutter objects must be Curves or non-manifold meshes (e.g. flat shapes, loose edges).
Совет
Select Non-Manifold will highlight the cutting edges of mesh objects.
Projection is done along the viewing direction.
Использование
Select the object(s) that should receive the cut and switch to Edit Mode.
Select the object(s) that should perform the cut by clicking them with Ctrl-LMB in the 3D Viewport or the Outliner.
Click in the menu.
If Blender switches back to Object Mode when selecting the cutting objects, make sure that is checked in the topbar.
Опции (options)
- Разрезать насквозь (cut through)
Проецирует разрез через весь меш, включая задние грани, которые в данный момент не видны.
Примеры
Известные ограничения
При одновременном разрезе нескольких мешей в режиме редактирования, геометрия этих мешей не перекрывает отдельные меш-объекты позади них.