Режим редактирования частиц (particle edit mode)
Используя режим редактирования частиц, вы можете редактировать ключевые точки (ключевые кадры) и пути волос, частиц, ткани и симуляцию мягкого тела. (Вы также можете отредактировать и уложить волосы перед запеканием.)
Поскольку работать в режиме редактирования частиц довольно легко и очень похоже на работу с вершинами в 3D-вьюпорте, мы рассмотрим, как настроить систему частиц, а затем познакомимся с описанием различных функций.
Важно
Режим редактирования частиц, особенно для волос – устарел; вместо этого используйте новый объект «волосы-пустышки» со взаимодействующим с ним режимом скульптуры.
Важно
Редактирование кэшированной симуляции ткани в настоящее время не работает, подробности см.: «blender/blender#77114».
Использование
Совет
Редактировать можно только кадры, запечённые в памяти!
Если вы не можете редактировать частицы, убедитесь, что вы не записываете их в кэш диска.
Настройка частиц волос
Создайте систему частиц «волосы».
Придайте ей начальную скорость в направлении «нормалей».
Создайте симуляцию.
Установите флажок «динамика волос».

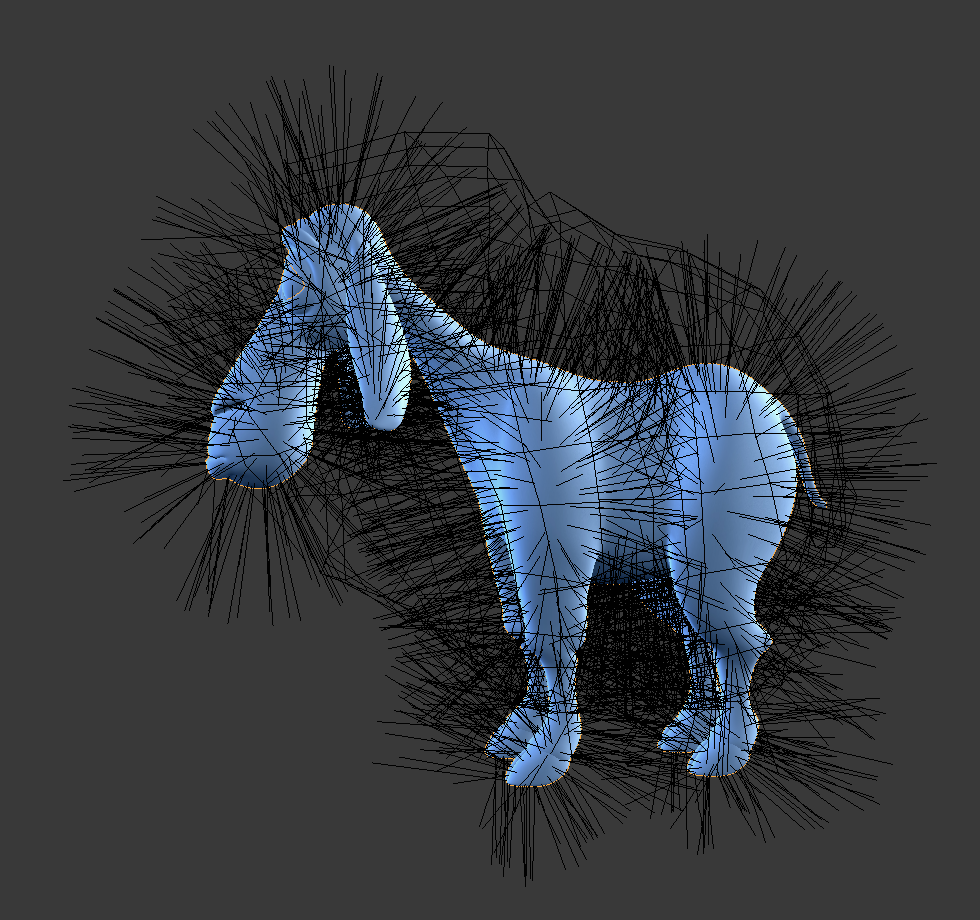
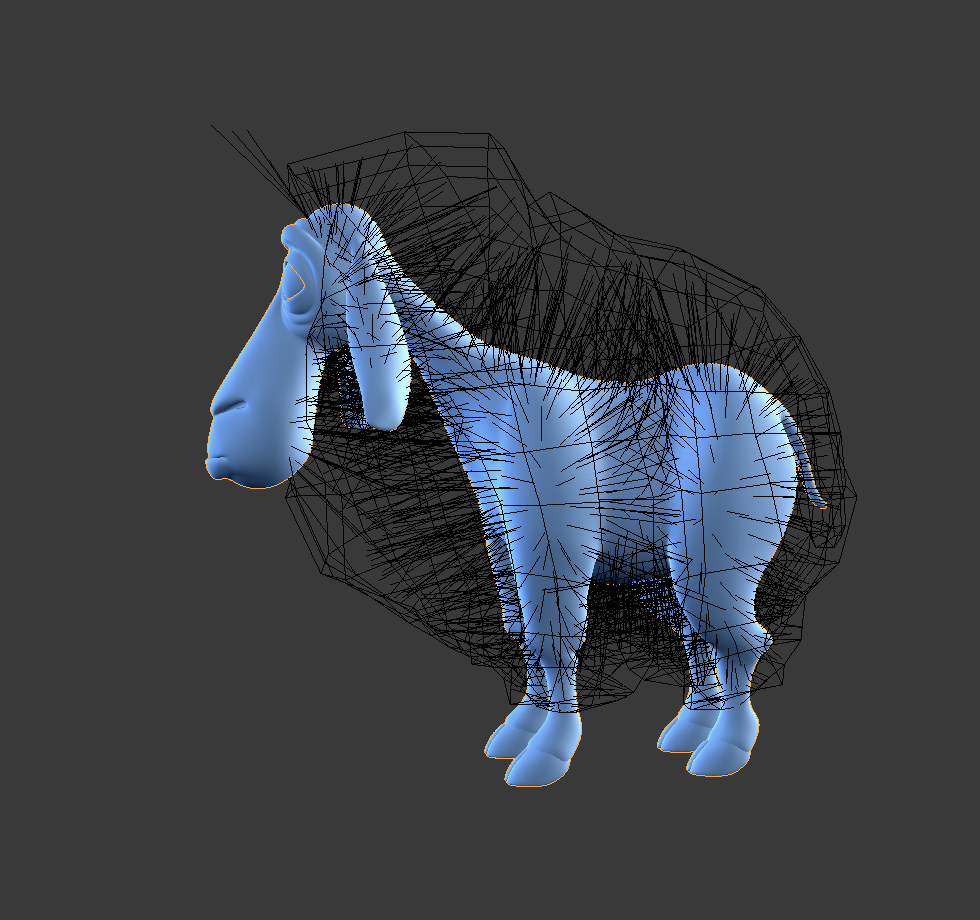
Редактирование прядей волос в режиме редактирования частиц.
Настройка для симуляции частиц, ткани и мягкого тела
Используйте частицы источника или симуляцию ткани/мягкого тела.
Создайте симуляцию, настроив объекты и/или источники, установите временной диапазон (используйте небольшой диапазон, если вы только начинаете и экспериментируете), настройте симуляцию так, как вам нужно, воспроизведите анимацию для предварительного просмотра.
Запекание симуляции
Как только вы будете довольны общей симуляцией, запеките её в объектном режиме. Для возможности редактирования – симуляция должна быть запечена.
Редактирование симуляции
Переключитесь на редактирование частиц в меню выбора режима в заголовке 3D-вьюпорта, чтобы редактировать пути частиц/ключевые кадры. Возможно, вам придётся нажать T в 3D-вьюпорте, чтобы увидеть панель редактирования частиц. Перейдите к кадру, который вы хотите отредактировать, и используйте различные инструменты для редактирования вашей симуляции.
Выделение (selecting)
Совет
Переключитесь в режим выделения точек (см. ниже) в заголовке 3D-вьюпорта, чтобы иметь возможность видеть и выделять ключевые точки.
Одинарное выделение: ЛКМ.
«Добавить к»/»удалить из» выделения: Shift-ЛКМ.
Всё: A.
Снять выделение со всего: Alt-A.
Инвертировать выделение: Ctrl-I.
Выделить рамкой: B.
Выделение окружностью: C.
Выделить обводкой: Ctrl-Alt-ЛКМ.
Выделить связанные: наведите указатель мышки на путь и нажмите L, чтобы добавить все его точки к выделению.
Снять выделение со связанных: наведите указатель мышки на путь и нажмите Shift-L, чтобы удалить все его точки из выделения.
Корни/концы: .
Выделить случайным образом (select random)
Выделяет частицы в случайном порядке.
- Процент (percent)
Процент частиц для случайного выделения.
- Случайная вариация (random seed)
Вариативное значение, используемое для выделения.
- Действие (action)
Метод выделения случайным порядком можно использовать как для выделения, так и для снятия выделения частиц.
- Тип (type)
Выделяет либо волосы, либо точки. Здесь эти термины могут сбивать с толку, поскольку волос/точка относится не к типу частицы, а к пути/точкам волоса/частицы.
Режимы выделения

Режимы выделения.
- Путь (path):
Ключевые точки не видны, вы можете выделить/снять выделение только всех частиц.
- Точка (point):
Вы видите все ключевые точки.
- Конец (tip):
Вы можете видеть и редактировать (включая кисти) только концы частиц, то есть последнюю ключевую точку.
Инструменты (tools)
Ссылка
- Режим (mode):
Режим редактирования частиц (particle edit mode)
- Инструмент (tool):
Расчёска (comb)
Перемещает ключевые точки (аналогично инструменту «пропорционального редактирования»).
- Отклонить излучатель (deflect emitter)
Только частицы волос – Не перемещает ключевые точки сквозь излучающий меш.
- Расстояние (distance)
Расстояние, которое следует соблюдать от излучателя.
Сглаживание* (smooth)
Параллели визуально соседних сегментов.
Добавить (add)
Добавляет новые частицы.
- Количество (count)
Количество новых частиц за шаг.
- Интерполировать (interpolate)
Интерполирует форму новых волос на основе существующих.
- Шаги (steps)
Количество шагов кисти.
- Ключи (keys)
Количество ключей, для которых создаются новые частицы.
Длина (length)
Масштабирует сегменты так, что волосы становятся длиннее с помощью «наращивания» или короче с помощью «сокращения».
- Нарастить / Сокращение (grow/shrink)
Устанавливает кисть для добавления эффекта или его реверсирования.
Раздувание (puff)
Вращает волосы вокруг первой ключевой точки (корня). Таким образом, волосы встают дыбом с помощью «добавления» или укладываются с помощью «вычитания».
- Раздуть объём (puff volume)
Применяет раздувание на невыделенные конечные точки. (Помогает сохранить объём волос при раздувании корня.)
Разрезать (cut)
Масштабирует сегменты до тех пор, пока последняя ключевая точка не достигнет кисти.
Вес (weight)
Это особенно полезно для анимации мягкого тела, поскольку вес определяет «цель» мягкого тела. Ключевая точка с весом 1 – вообще не будет перемещаться, а ключевая точка с весом 0 – полностью подвергается анимации мягкого тела. Это значение масштабируется в зависимости от диапазона интенсивности от мин до макс целей мягкого тела…
Общие параметры
Под типами кистей отображаются их настройки:
- Радиус F (radius)
Установить радиус кисти.
- Интенсивность Shift-F (strength)
Установить интенсивность эффекта кисти (не для кисти «добавить»).
Опции (options)
Ссылка
- Режим (mode):
Режим редактирования частиц (particle edit mode)
- Панель:
- Авто-скорость (auto-velocity) Источник Emitter
Пересчитать скорости частиц в соответствии с их отредактированными путями (траекториями). В противном случае исходные значения скоростей остаются неизменными независимо от фактического расстояния, на которое перемещаются частицы.
- Симметрия по X (mirror X)
Включить зеркальное редактирование по локальной оси X.
- Сохранять (preserve)
- Длина пряди (strand length)
Сохранять длину сегментов между ключевыми точками при расчесывании или сглаживании волос. Это делается путём перемещения всех остальных ключевых точек.
- Позиции корней (root positions)
Оставить первый ключ неизменным, чтобы вы не смогли пересадить волосы.
Обрезать частицы по форме (cut particles to shape)
- Объект формы (shape object)
Меш-объект, граница которого используется инструментом разрезания по форме.
- Разрезать (cut)
Этот инструмент подстригает волосы до формы, заданной в объекте формы. Это более быстрый способ избежать удлинения выступающих участков волос, чем использование режущего инструмента. Это особенно хорошо работает для персонажей с обширным мехом, где работа с режущим инструментом в одной плоскости становится утомительной.
Отображение во вьюпорте (viewport display)
- Шаги пути (path steps)
Количество шагов, использованных для рисования пути; улучшает плавность пути частиц.
- Потомки (children) Волосы Hair
Также отображает дочерние элементы частиц. Это позволяет точно настроить частицы и увидеть их влияние на результат, но может замедлить работу вашей системы, если у вас много потомков.
- Частицы (particles) Источник Emitter
Отображает фактические частицы поверх путей.
- Время исчезновения (fade time)
Постепенное исчезновение путей и ключей дальше от текущего времени.
- Кадры (frames)
Сколько нужно кадров для исчезновения.
Редактирование (editing)
Перемещение ключевых точек или частиц
Чтобы переместить выделенные ключевые точки, нажмите G или используйте один из других методов перемещения вершин.
Чтобы переместить корень частицы, вам необходимо отключить параметр сохранения корня на панели инструментов (позиции корней).
Вы можете делать многие вещи, например, с вершинами, включая масштабирование, вращение и удаление (полных частиц или отдельных ключей).
Вы не можете дублировать или выдавливать ключи или частицы, но вы можете подразделять частицы, что добавляет новые ключевые точки .
В качестве альтернативы вы можете сменить ключ частицы .
Насколько плавно отображаются траектории волос и частиц, зависит от настройки «шагов пути» на панели инструментов. Низкие настройки создают блочную интерполяцию между точками, а высокие настройки создают плавную кривую.
Зеркало (mirror)
Ссылка
- Режим (mode):
Режим редактирования частиц (particle edit mode)
- Меню:
Если вы хотите создать симметричную стрижку по оси X, вам необходимо выполнить следующие шаги:
Выделите все частицы с помощью A.
Зеркально отразите частицы с помощью .
Включите «симметрию по X» в .
Может случиться так, что после зеркального отражения две частицы займут почти одно и то же место. Поскольку это будет пустой тратой памяти и времени рендеринга – вы можете использовать «объединение по расстоянию» в меню «частица».
Унифицировать длину (unify length)
Ссылка
- Режим (mode):
Режим редактирования частиц (particle edit mode)
- Меню:
Этот инструмент используется для придания одинаковой длины всем выделенным волосам путём определения средней длины.
Показать/скрыть (show/hide)
Ссылка
- Режим (mode):
Режим редактирования частиц (particle edit mode)
- Меню:
Скрытие и отображение частиц работает так же, как и с вершинами в 3D-вьюпорте. Выделите одну или несколько ключевых точек частицы, которую хотите скрыть, и нажмите H. Частица на самом деле не исчезает, а только её ключевые точки.
Скрытые частицы (т. е. частицы, ключевые точки которых скрыты) не реагируют на различные кисти. Но:
Если вы используете зеркальное редактирование, даже частицы со скрытыми ключевыми точками могут быть перемещены, если перемещается их зеркальный аналог.
Чтобы отобразить все скрытые частицы, нажмите Alt-H.