Motion Blur – Розмив Рухом
Посилання
- Панель:
«Рендер > Розмив Рухом» –
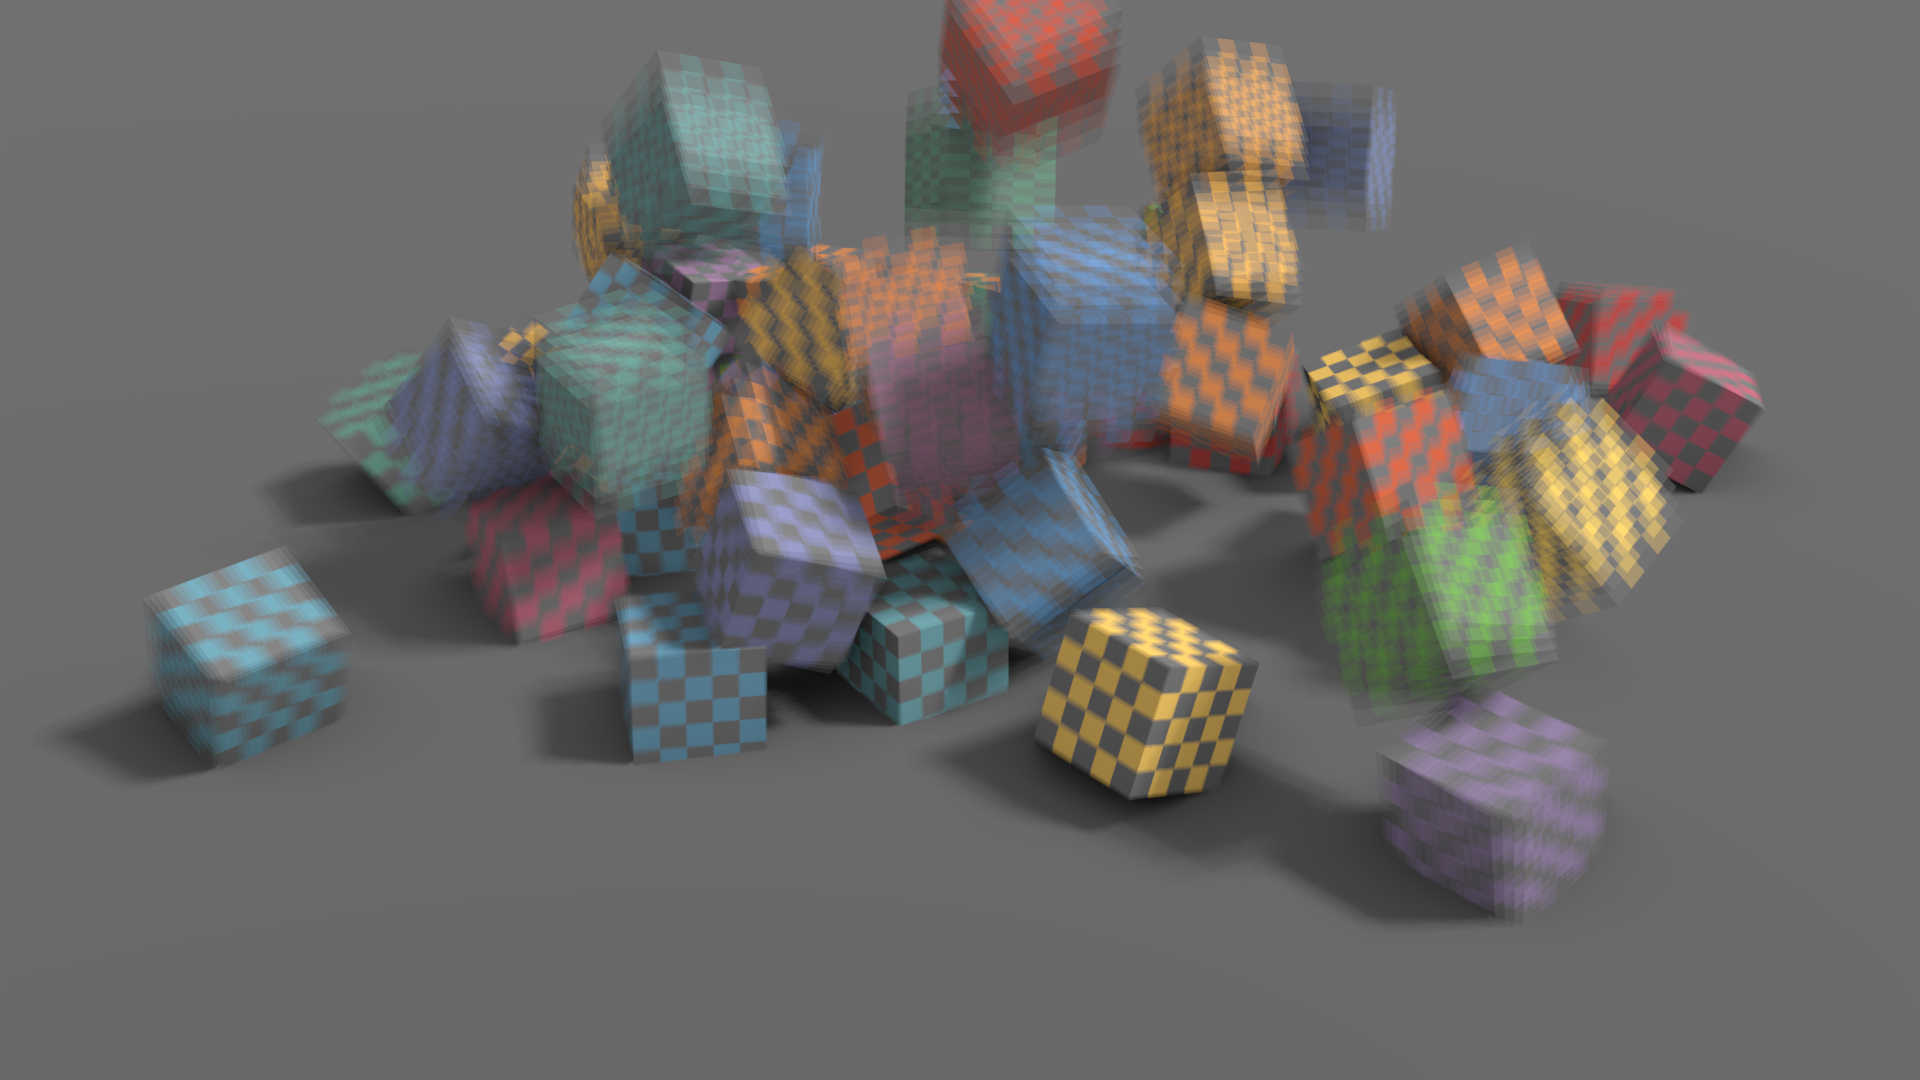
Blender’s animations are by default rendered as a sequence of perfectly still images. While great for stop-motion and time-lapses, this is unrealistic, since fast-moving objects do appear to be blurred in the direction of motion, both in a movie frame and in a photograph from a real-world camera.
Примітка
Motion blur is only visible in the viewport during animation playback and uses a simpler algorithm than final render. Same thing applies to Viewport Renders.
- Position – Позиція
Керує тим, в який момент відкривається затвор, відносно поточного кадру.
- Старт на Кадрі – Start on Frame:
Затвор починає відкриватися на поточному кадрі.
- Центр на Кадрі – Center on Frame:
Затвор повністю відкривається на поточному кадрі.
- Кінець на Кадрі – End on Frame:
Затвор повністю закривається на поточному кадрі.
- Shutter – Затвор
Час (у кадрах), що проходить між відкриттям та закриттям затвора.
- Bleeding Bias
Used by the post-process blur to avoid blurring the background over the foreground. Lower values will reduce background bleeding onto foreground elements.
- Max Blur – Макс Розмиву
Max Blur призначений, щоб діяти як засіб оптимізації шляхом лімітування кількості пікселів, по яких розмив розраховується.
- Steps – Кроки
This controls the number of steps used by the accumulation blur and thus its accuracy. More steps means longer render time.
Примітка
When using multiple time steps, the render sample count is rounded up to the next multiple of steps to ensure even distribution of samples across steps. This can lower the quality of jitter camera depth of field. Increasing the number of viewport or render samples will get the quality back.
EEVEE splits the render into multiple time steps and accumulates the result which is known as Accumulation Motion Blur. This technique is precise but requires many steps for clean gradients. This is used in combination with the post-process blur to handle the inter-step gaps. Each step corresponds to a full scene re-evaluation and can add a lot of overhead to the render time. By adding more steps you can also reduce the Max Blur options because the post-process blur has to cover a smaller distance.
Підказка
High velocity overlapping objects can result in cross pattern if the are not traveling in the same direction. Increasing the amount of Steps can be used to reduce these artifacts.
- Крива Затвора – Shutter Curve
Use a custom shutter curve.